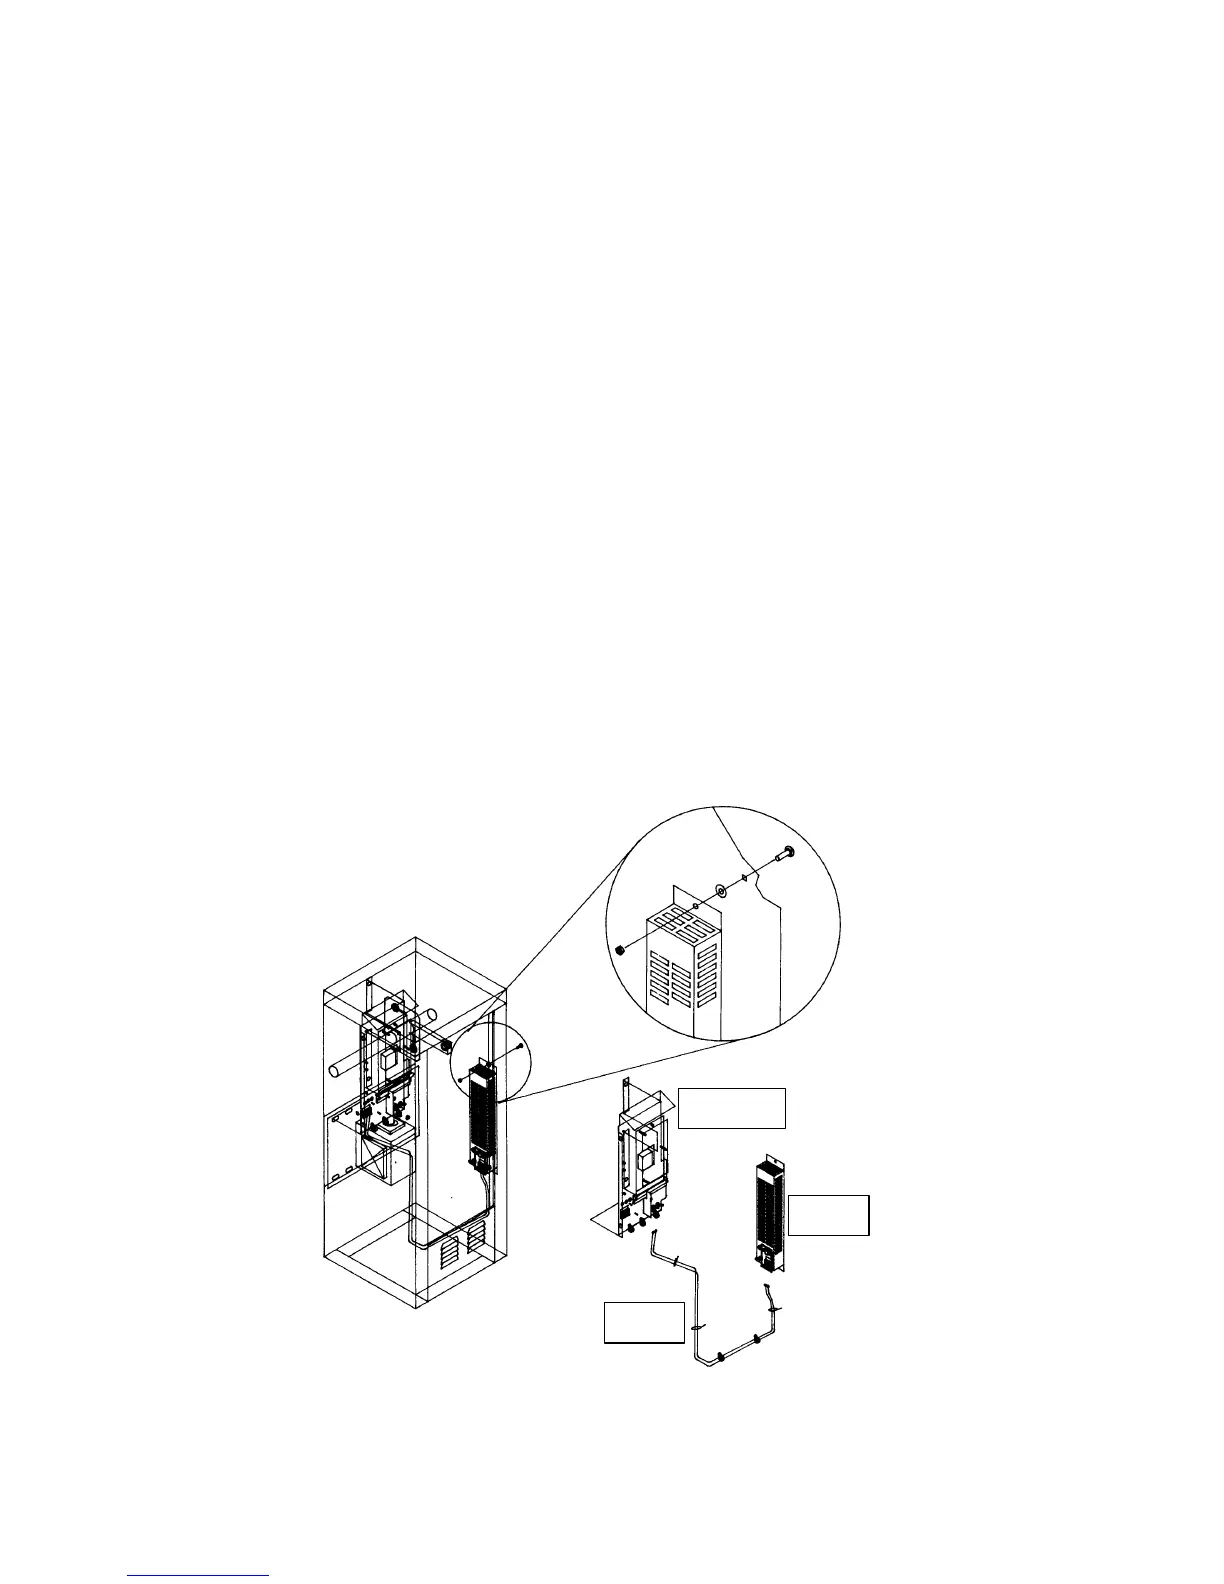
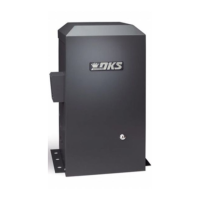
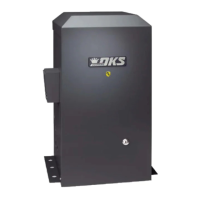
4.2.2 HEATER KIT INSTALLATION
The optional heater kit is recommended for usage in areas where temperatures will routinely drop
below 40°F (4°C). This is necessary to keep the oil in the gearbox from freezing.
1. Be sure that power to the operator is OFF at the circuit breaker panel since connections
will be made to the high voltage terminal strip.
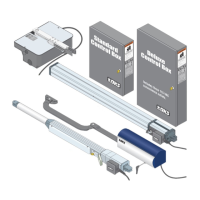
2. Mount the heater assembly on the right inside wall of the cabinet to the mounting screws
provided so that the terminal strip is positioned on the bottom. IMPORTANT: Be sure to
place #10 washers on the mounting screws before placing the heater assembly on the
screws. The washers should be between the cabinet and the heater assembly.
3. Connect the BLACK wire from the wire assembly to the 117 VAC terminal on the heater.
Connect the WHITE wire to the NEUT terminal on the heater.
4. Route the wire assembly as shown below. Use the supplied cable ties to secure the wire
assembly. Be sure that the wire assembly is clear of all moving parts.
5. Connect the BLACK wire to the 117 VAC terminal on the high voltage terminal block.
Connect the WHITE wire to the NEUT terminal.
Switch Settings
OFF - Turns the heater off.
ON - Turns the heater on continuously. Use with caution since the heater can become
very hot when running continuously.
AUTO - This is the normal setting. The heater will automatically turn on when the
temperature inside the cabinet falls below 40°F, and will turn off when the temperature
rises above 40°F.
Cable
Assembly
Heater
Assembly
Operator
Control Panel
Screw
Washer
Nut
Figure 31
40