3. Choose a Camera
1. High Speed Camera (Option 1)
The following instructions assume the user has a strong knowledge of the Eagle Eye Pro
system as described in the previous pages. For this reason, certain instructional pieces
will not be duplicated in this section.
TIP: Eagle Eye Pro software will default to the frame rate for the particular camera you are
connected to and its settings. Your windows computer will also allow you to change
camera properties (frame rate, image quality, etc.) via its camera management program.
2. USB Camera (Option 2 )
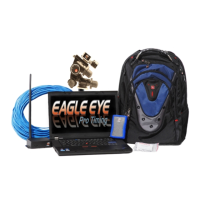
Reduce Frame Rate: When using the high speed camera, reducing its
frame rate will create a much smaller video file and reduce the
overall load on the CPU (helpful when choosing to record and
playback race video simultaneously during the competition).
1. ➔ With the camera connected, SELECT the Live
Adjustments tab .
2. ➔ SELECT-FRAME RATE (fps) from the list (see Tip below).
3. ➔ TYPE the frame rate of your choice in the space
provided and PRESS Enter on the keyboard.
TIP: Standard video is generally recorded at 30fps. 30-60 fps is
adequate for cross country.
A USB camera can draw power directly from the timing laptop
computer, thus creating a completely portable system.
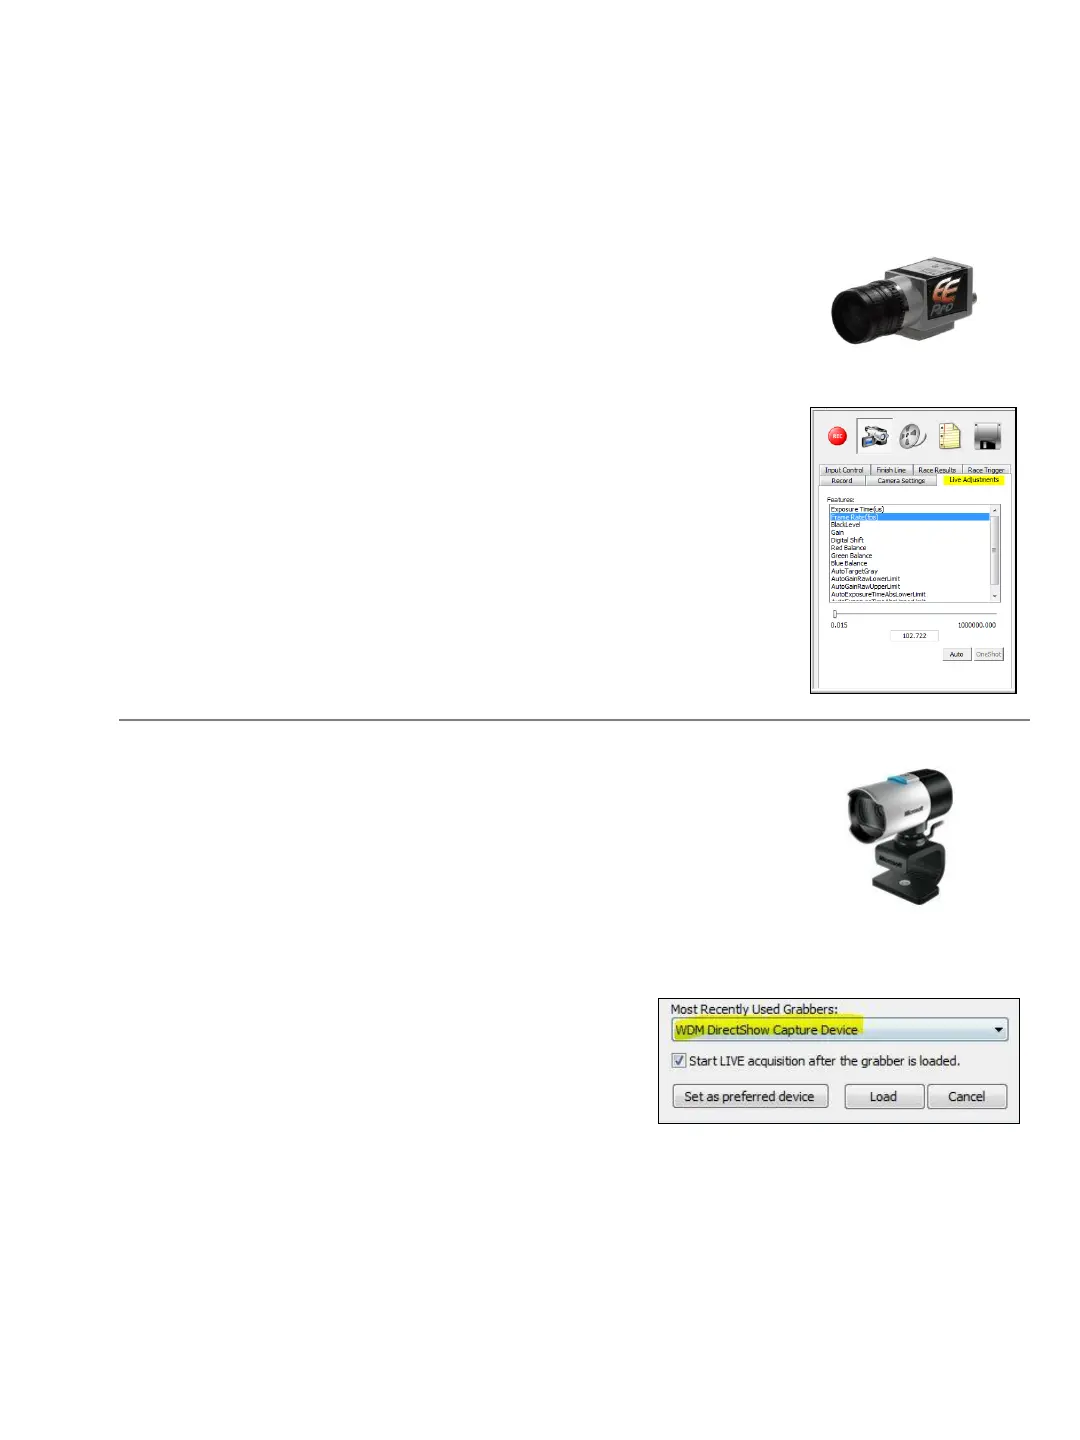
1. ➔ With the camera connected to a USB port, from the top-toolbar,
SELECT-HARDWARE and choose Load Grabber.
2. ➔ SELECT-WDM DirectShow Capture Device from the list.
3. ➔ SELECT-Hardware and hardware properties
to adjust camera properties (frame rate,
image size, pan, tilt, etc.) as needed.
25