MAINTENANCE, SERVICE AND FAULT FINDING
4-6 25364 Issue 8 March 2018
Cleaning The Print Head
Note: Always clean the print head after replacing it or a ribbon.
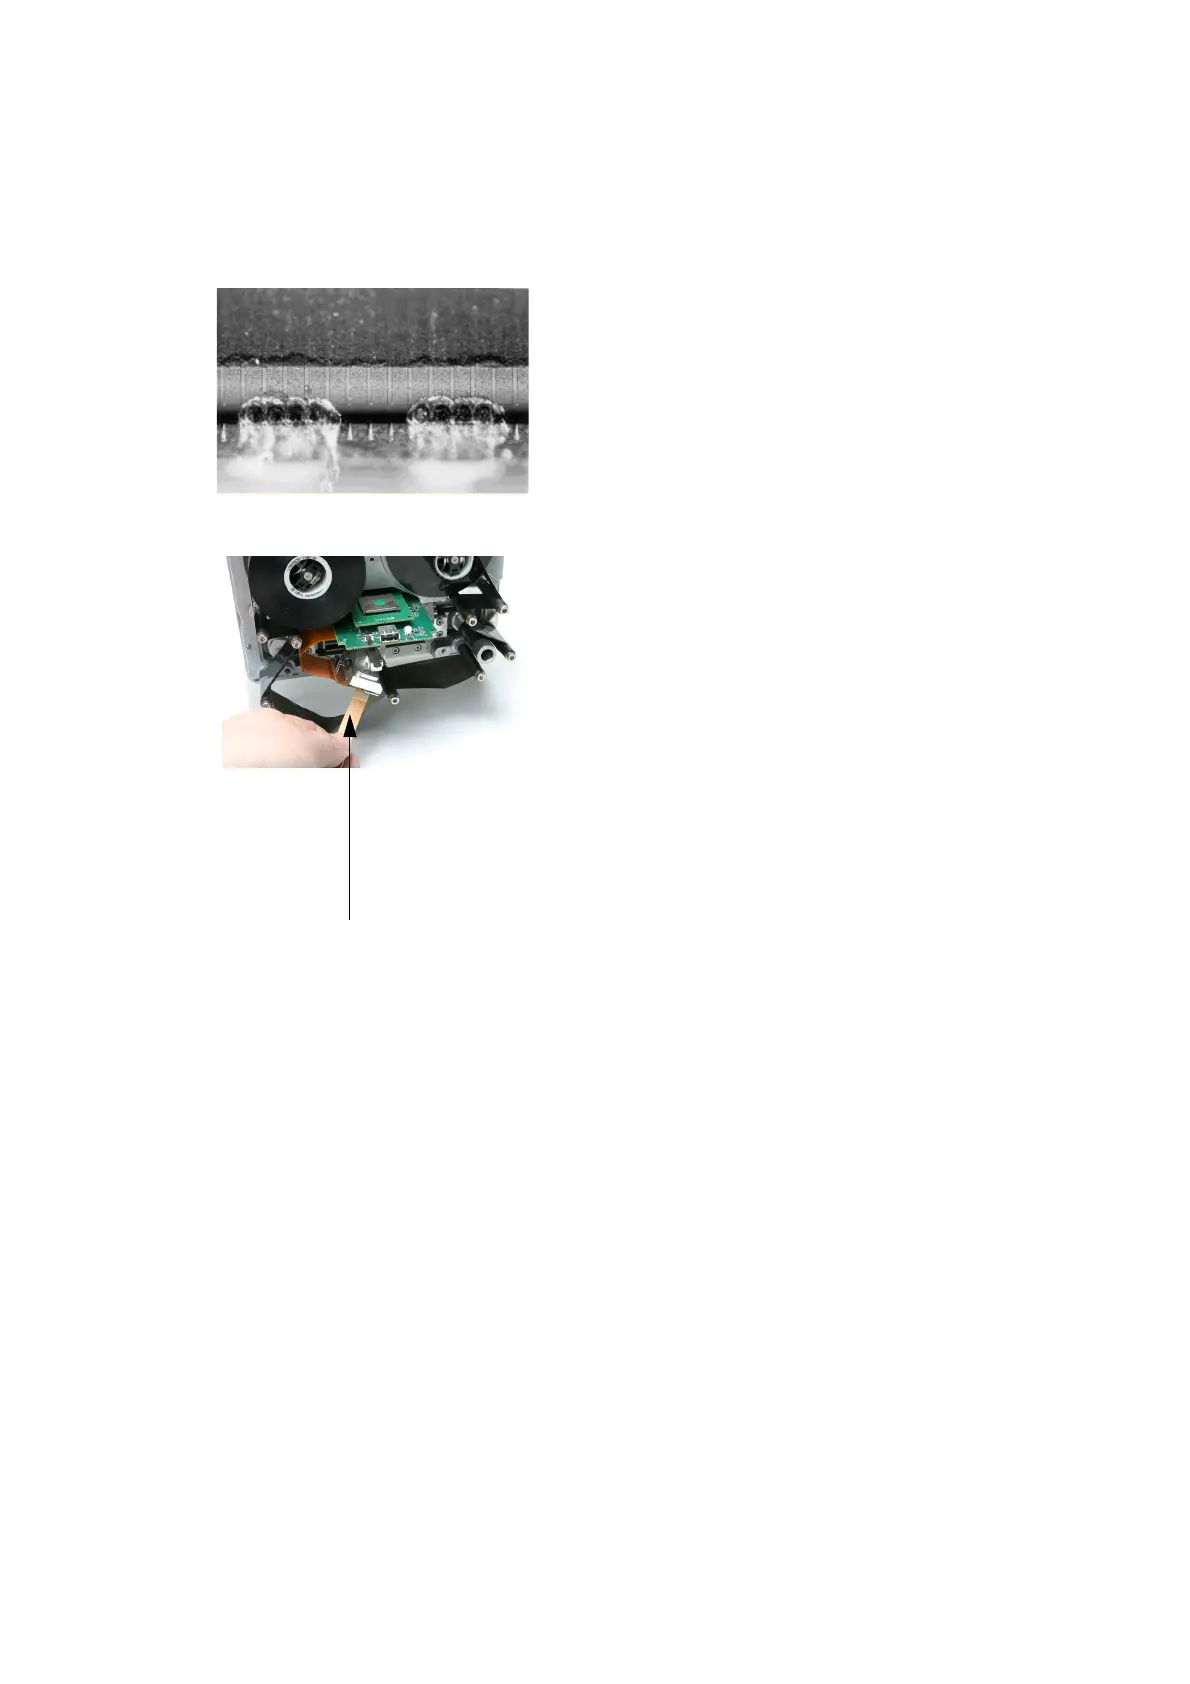
Damaged Print Head
Some of the dots on the print head
can get damaged during use.
Overhea
ted dots can result in
disintegration of the ceramic material
as shown in the picture on the left.
Follow the instructions below to
prevent this and prolong print head
life.
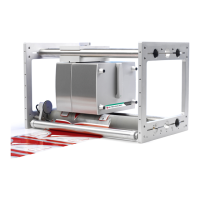
Cleaning Pen Impregnated
with Cleaning Fluid
Print Head Cleaning
During the printing operation the print
head temperature will be increased,
and label debris, adhesive and
scraps of paper will melt and clog the
surface and the corners of the print
head. A dirty print head will result in
poor print quality or can even result in
total print head destruction. Move the
cleaning pen from side to side over
the print head as shown in these
pictures to clean the head.
Note: Do not try to solve the
problem of po
or quality
print by increasing the
contrast settings.
For cleaning, always use these parts:
• Cleaning Pens (P/N VPR0223)
• Cleaning Fluid (P/N WJ-111)
• Print Head Cleaning Wipes (P/N MT25215)