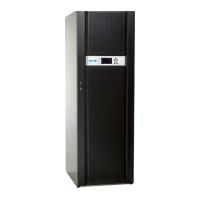
86 Eaton BladeUPS 5 kVA to 60 kVA (N+1) User’s Guide 164201649—Rev 14
NOTE 1 Since there is only one UPS module, retain the redundant signal cable.
NOTE 2 Also retain one of the two pin terminal blocks, which has the small jumper wire, used on
the external connection terminal strip.
IMPORTANT
Whenever service is performed and the electronics module needs to be removed, the jumper must be installed
on the Standalone/Parallel terminals/pins on the UPS to ensure the internal maintenance bypass works
properly.
10. If you are installing power management software, connect your computer to the UPS communication port
or optional X-Slot card ( See 6.2 Installing Communication Options and Control Terminals ). For the
communication port, use the supplied serial cable.
11. If you left the UPS unattached to the rack, secure the front and rear of the UPS as described in step 14 and
Step 15.
12. If your rack has conductors for grounding or bonding of ungrounded metal parts, connect the ground cable
(not included) to the ground bonding screw. See Figure 63 for the location of the ground bonding screw.
13. You can install an optional REPO circuit that will shut down the entire parallel-ready system using a single
switch. See 6.9 Remote Emergency Power-off install the REPO switch before powering on the parallel-
ready system.
14. Connect the parallel input cord from each paralleled UPS as shown in Figure 70 .
• Loosen the two screws on the plug retainer and slide the plug retainer out.
• Gently loop and twist the parallel input cord as shown to minimize stress on the cord. The loop and
twist for each cord may vary depending on configuration and strain relief to the BladeUPS Bar in the
rack.
• Insert the parallel input cord into the socket. The plug is fully seated when the plug latches snap into
place.
NOTE Make sure the connectors are snapped in tightly to prevent incorrect system operation.
• Slide the plug retainer back in and tighten the screws.
NOTE The plug retainer prevents the plug from being inadvertently unplugged.
15. Continue to the Parallel Initial System startup section.
Single Parallel Ready UPS Installation
 Loading...