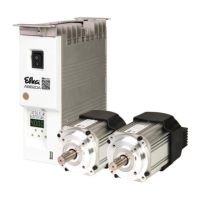
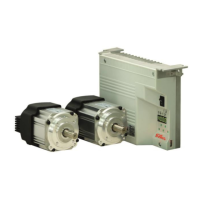
- AB620A5035
6.9.2 Setting the Positions
This is an explanation of terms for the following descriptions:
Position 1 means "Needle lower position"
Position 2 means "Thread lever up" or "Needle rod TDC"
Each position has a starting angle (start) and ending angle (end). The needle stop position always refers to the
starting angle.
Start position 1
End position 1
Start position 2
End position 2
The position window 1 and position window 2 must not overlap. Consider that the width of the position window is
at least 30° (difference between start and end of the position)!
If positions are set via the Setting and Putting into Service with the Aid of the Fast Installation Routine (SIR),
then only the starting angle must be set. The end angles are automatically set to 60° after the starting angle.
The needle positions should in principle only be set via the quick installation routine (SIR) to prevent erroneous
inputs. You are guided through the required parameters with it.
See Section Fehler! Verweisquelle konnte nicht gefunden werden. Setting and Putting into Service with the
Aid of the Fast Installation Routine (SIR)
It is only important to set the position window including end angle for specific cutting systems. For these
systems, the cutting duration is controlled via the end angle of the position.
6.10 Display of the Signal and Stop Positions
Function with or without control panel
Display of positions 1 and 2
The position settings can easily be checked by means of parameter 172.
Select parameter 172
The control panel display shows "Sr3"
Turn hand wheel according to the direction of motor rotation