31
A Z
2 3
4
5 6
7 8 9
10
11 12
A
Auto
Adjust
3
1
SETSET
2 3
4
5 6
7 8 9
10
11 12
1
SET
?
Straight Stitch
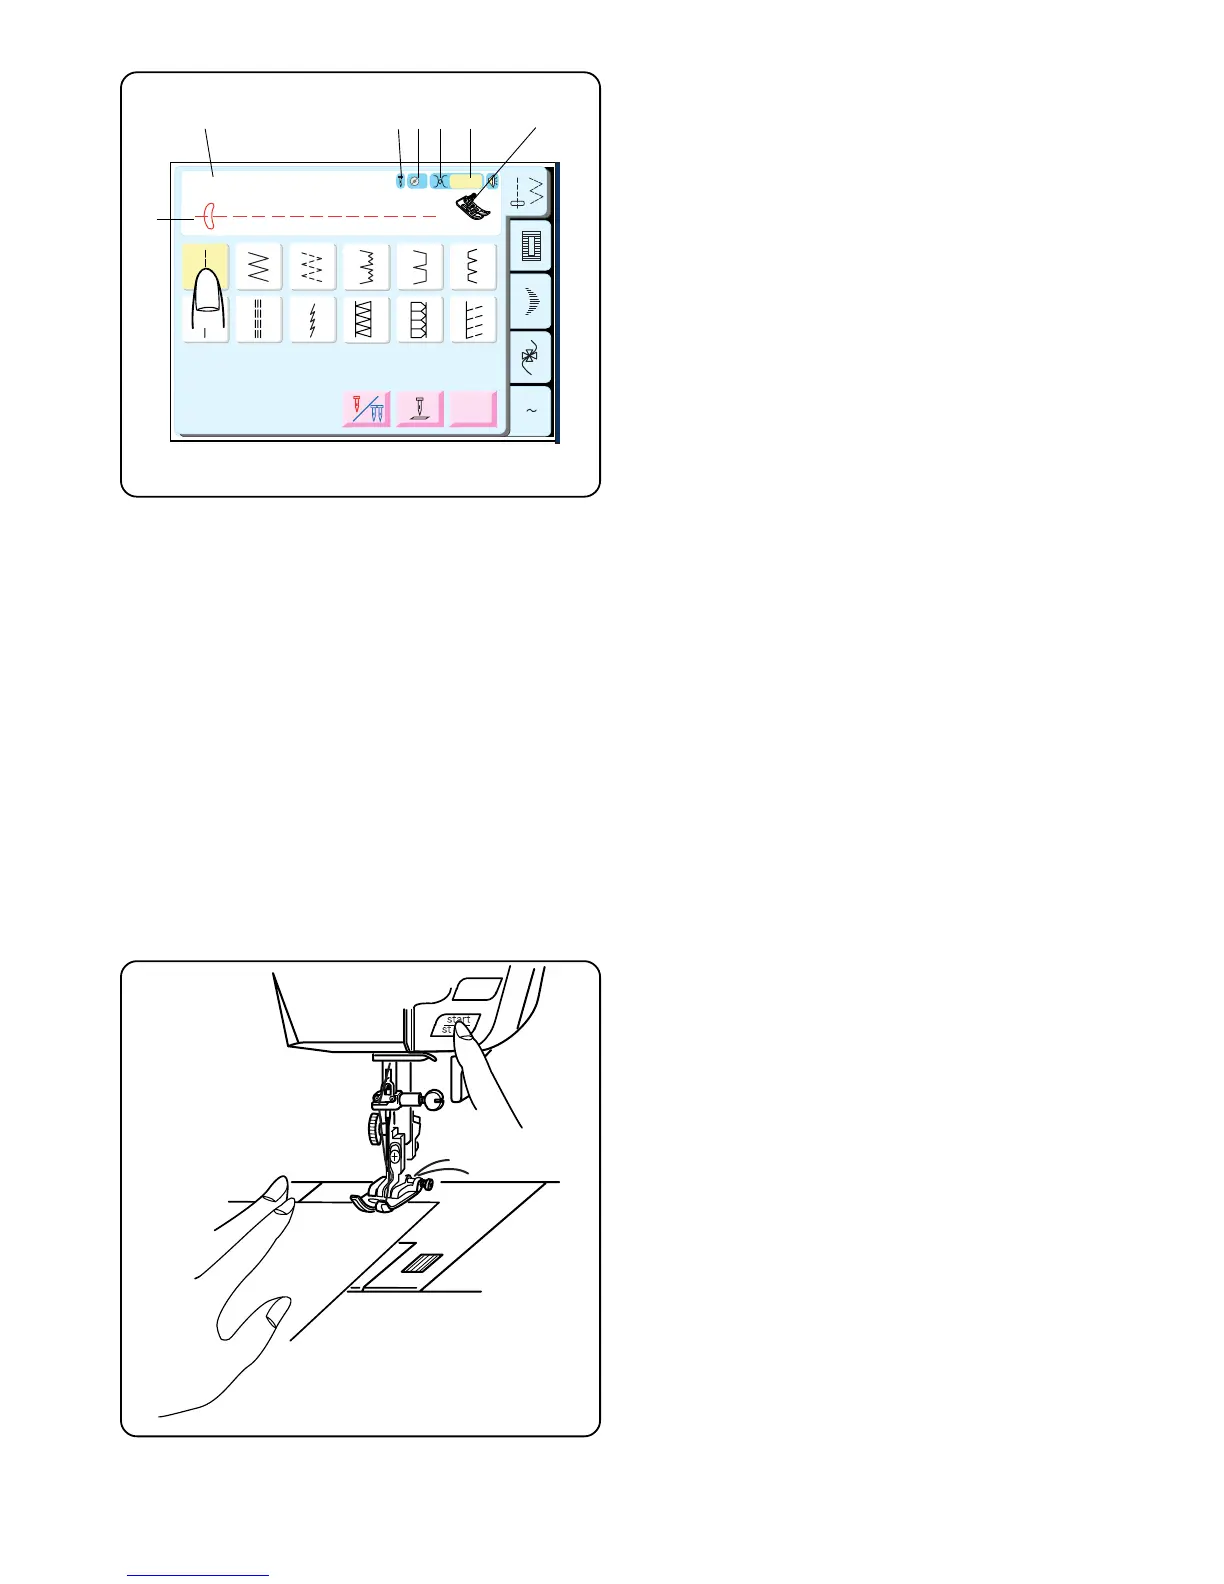
How to Select a Stitch and What the Symbols
Represent
Touch the key that represents the desired stitch. That
key will darken and in the top portion of the LCD screen
the following information will appear:
q Stitch Name
w Stitch Illustration
e Single or Twin Needle Selected
r Recommended Setting for Foot Pressure
t Recommended Setting for Needle Thread Tension
y Sound On or Off
u Recommended Presser Foot
Please follow the recommendations shown in the LCD
screen unless directed otherwise in this instruction
manual.
Utility Stitch Key
Straight Stitch
When the machine is turned on, it is automatically set to
sew a straight stitch in the center needle position.
The straight stitch is used to sew a seam in woven
fabrics. The straight stitch can also be used for
gathering, basting, sewing in a zipper, pintucks, rolled
hems and twin needle hems.
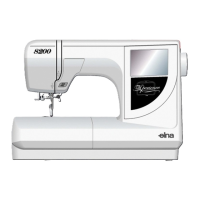
Starting To Sew
Raise the presser foot and position the fabric next to a
seam allowance line on the needle plate. Pull the
threads under the foot towards the back and lower the
presser foot.
Press the foot control or “Start/Stop” key. Gently guide
the fabric along the seam allowance line letting the fabric
feed naturally.
Press the “Start/Stop” key or remove foot from foot
control to stop sewing.
w
q
er t
y
u