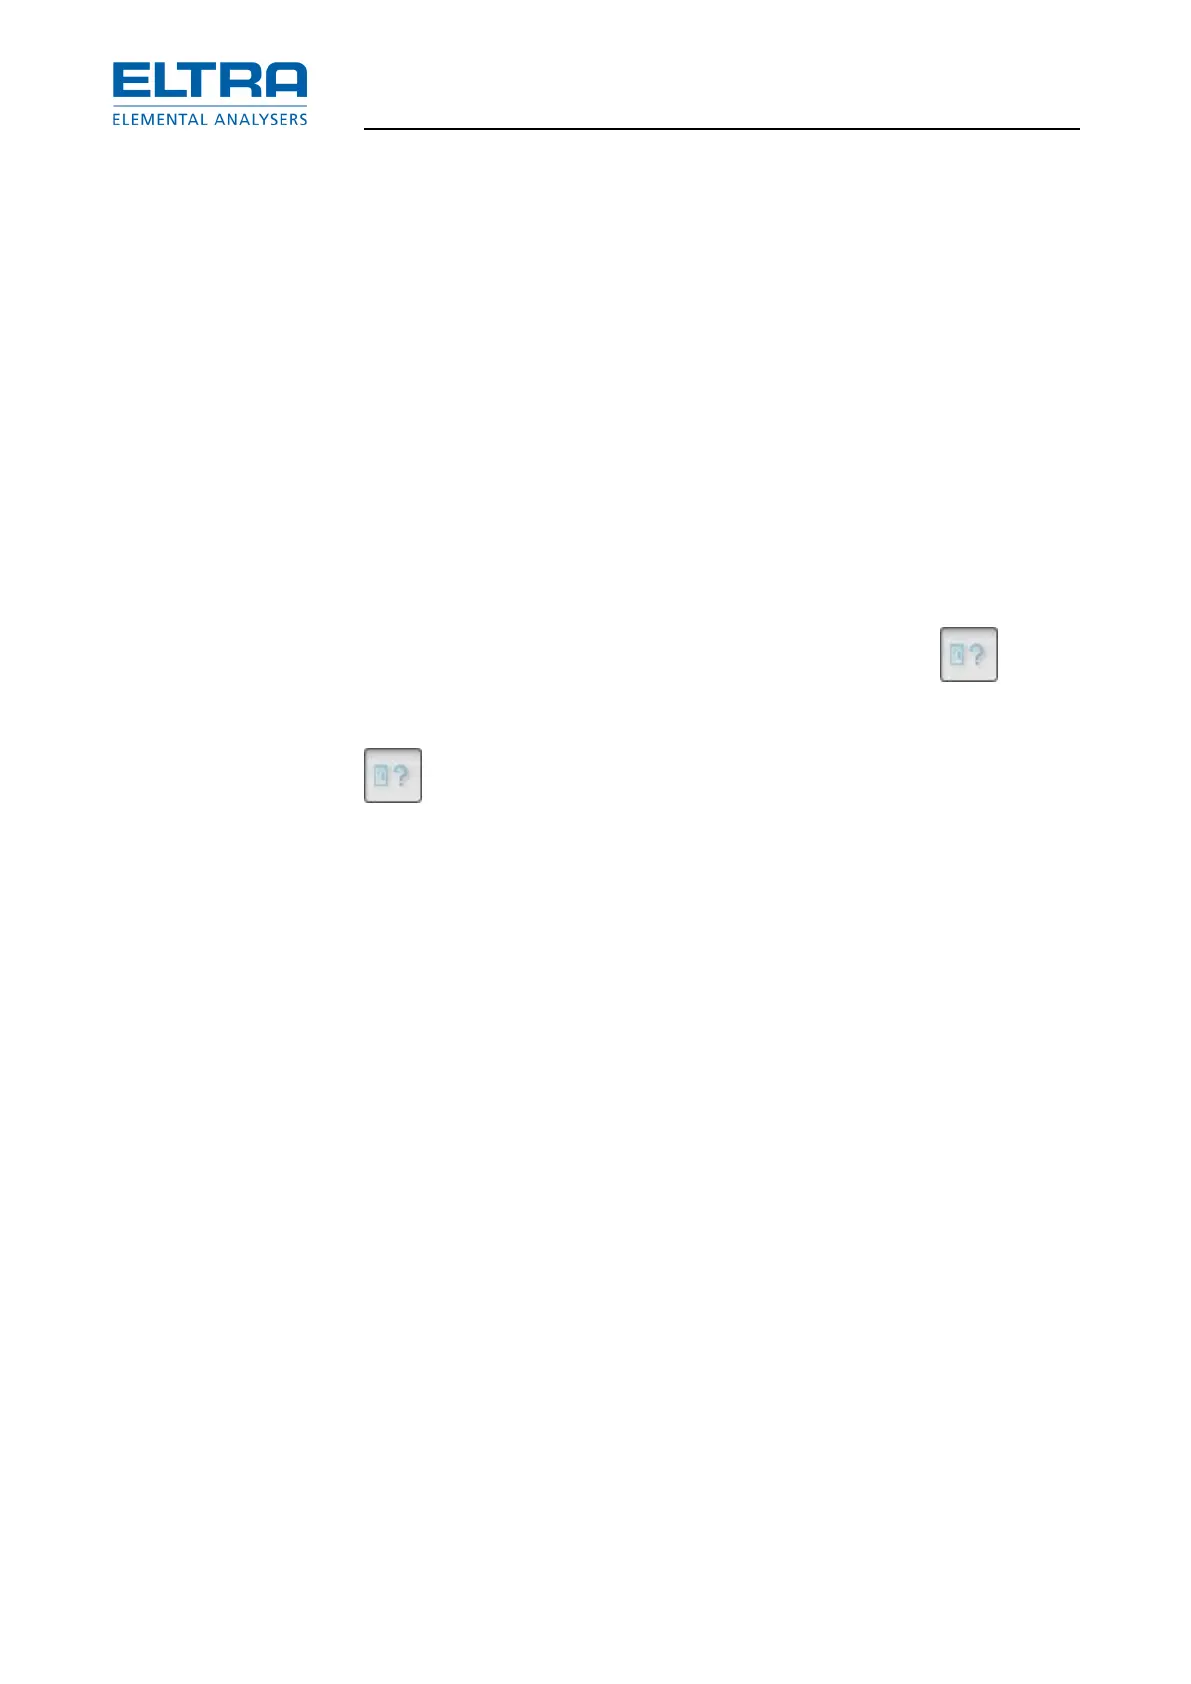
: Gas flow regulation
Caution: This board is installed in the analyzer upside down. The above schematic shows the
components side of the board, which is the lower side of the board in the analyzer.
Test points explanations:
TP1–TP2: AC voltage across the pump coil
TP3: GND for measuring DC voltages on P4, P5, P6.
TP4: Start/stop controling of the pump by the UNI board. 5VDC means no start command.
0.5VDC means, the command for the pump to start is available.
TP5: DC Voltage corresponding (proportional) to the pump voltage. This voltage is used for
displaying the pump voltage on the PC screen. The voltage displayed on the screen is
recalculated and it is higher than what is measured on TP5. The maximum pump voltage
displayed on the screen is 24V. This can be verified by squeezing a plastic tube causing the
pump to run at maximum voltage.
One of the reasons why the voltage on TP5 is kept at lower level, is that the analog inputs of the
microcontroller board has a maximum input voltage of 10V.
In normal operation the pump voltage is displayed in the “device state window” lies
between 5V to 8V.
TP6: Flow sensor output voltage. This voltage is displayed on the PC screen in the “device
state window” next to the flow rate in L/h.
R6: Flow rate adjustment. The flow rate can be adjusted by turning this trimmer, clockwise for
higher and counter clockwise for lower flow rate.
R13: Pump frequency adjustment. The pumping frequency of the pump can be adjusted by
turning this trimmer, clockwise for higher and counter clockwise for lower pump frequency. The
pumps are basically designed for 50 Hz operation. The pump frequency has a factory
adjustment so that it is not advisable to change it.
X1: Flow sensor connector FD9.
Pin 2: Sensor output
Pin 3: GND
Pin 5: +12V
X2: Connector to UNI board.
Pin 1: Sensor output / TP6
Pin 2: Input for flow start command/TP4. 12V means no flow. 0.5V for flow.
X3: 24V power supply.
Pin (middle) +24V. Outer contact GND.
X4: Pump connector.
Alternating 24V square voltage voltage/TP1 – TP2. Frequency adjustable by R13.
The duty cycle of this square voltage defines the power of the pump.
JP1: The pins 1 and GND must be connected with a jumper for late analyzers.
Older analyzers work also with a jumper, however the pump and flow voltages in the device
state window are more stable without jumper.
For details about wiring see chapter “Wiring diagrams”.