11
Installation overview steps
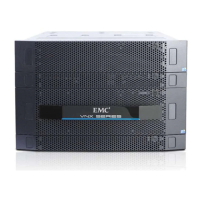
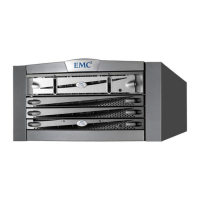
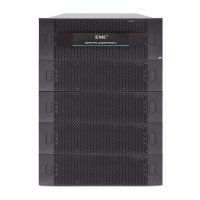
Your VNX5300 may arrive at the site fully installed in a cabinet. In this case, you can use this manual to
verify the cabling before powering the system up.
If it is to be installed in a customer-supplied cabinet, follow the instructions in this guide. Your system
cabinet may vary from the illustrations shown in this document.
Installation steps:
1. Unpack the shipping boxes and ensure that the site has been prepared. Check that you have
received all of the system’s components, including cables and bezels.
2. Assemble the hardware and cable your VNX5300 according to the instructions in this
guide. Ensure that all of your cables are seated securely and install the bezels on the front of
each system component.
3. Power up the system and install any optional disk-array enclosures. Once the system is powered
up, proceed to install the system software.
a. Use the VNX Installation Toolbox CD, which contains the documentation and utilties required for the
installation of the software.
b. Download and run the Unisphere Initialization Utility for Block.
c. Then install and set up the VNX ESRS IP Client from the Toolbox.
4. Register your system with EMC. If you do not register your system now, your request for support
from your service provider will be delayed.
5. Use EMC Unisphere™ to confi gure the system, provision storage, and connect to storage from
hosts and applications on the network. Download, install, and launch the Unisphere Server Utility
to connect hosts to the array.
These steps are explained in more detail in the rest of this Installation Guide.

 Loading...