48
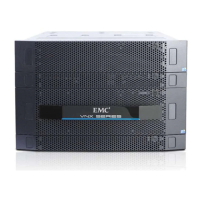
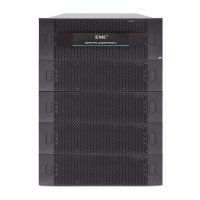
Contents of VNX5300 mini-rack
Two people are required to remove the components. Only remove screws holding
the components in place at this time. Do not remove the screws holding the
ganged rails in place; this may cause damage to the components. Remove the
components one at a time.
1. Using a Phillips-head screwdriver, remove the component screws from both sides. Keep the
removed screws to install the components in the site rack.
2. Remove the components; once you have removed the screws holding them in the mini-rack.
Carefully set aside each component as it is removed from the shipping container.
CAUTION
AC
AC
AC
AC
B
PS B0
PS B1
CPU B
DVD
Control Station 1
DVD
Control Station 0
PS A0
PS A1
CPU A
A
B
PS B0
PS B1
CPU B
Remove component
screws ONLY
Front
5 Disk processor enclosure (DPE)
4 Control Station (CS) 0
3 Control Station (CS) 1
optional
1
Blade enclosure
2
PS A0
PS A1
CPU A
A
7 Standby power supply
6 DPE
Rail do not remove
Rail do not remove
Remove components
top to bottom.
5 Standby power supply
4 Disk processor
enclosure
1 Blade enclosure
3 Control Station 0
2 Control Station 1
(optional)
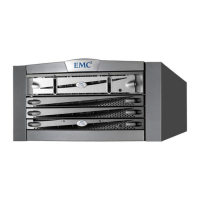
Control Station
DVD
DVD
Control Station
Standby power supply
Disk processor enclosure
Blade enclosure
Front
Remove labels and
paste them on the
back of the front cover
of this installation guide.
8U ganged rail
Mini-rack

 Loading...