THIS DOCUMENT CONTAINS CONFIDENTIAL INFORMATION PROPRIETARY TO ENERGATE INC. NO PART OF ITS CONTENTS MAY BE DISCLOSED OR CONVEYED TO,
USED BY, OR COPIED TO A THIRD PARTY WITHOUT PRIOR WRITTEN CONSENT BY ENERGATE INC. PRINTED COPIES WILL BE CONSIDERED UNCONTROLLED.
AW000873-G 18
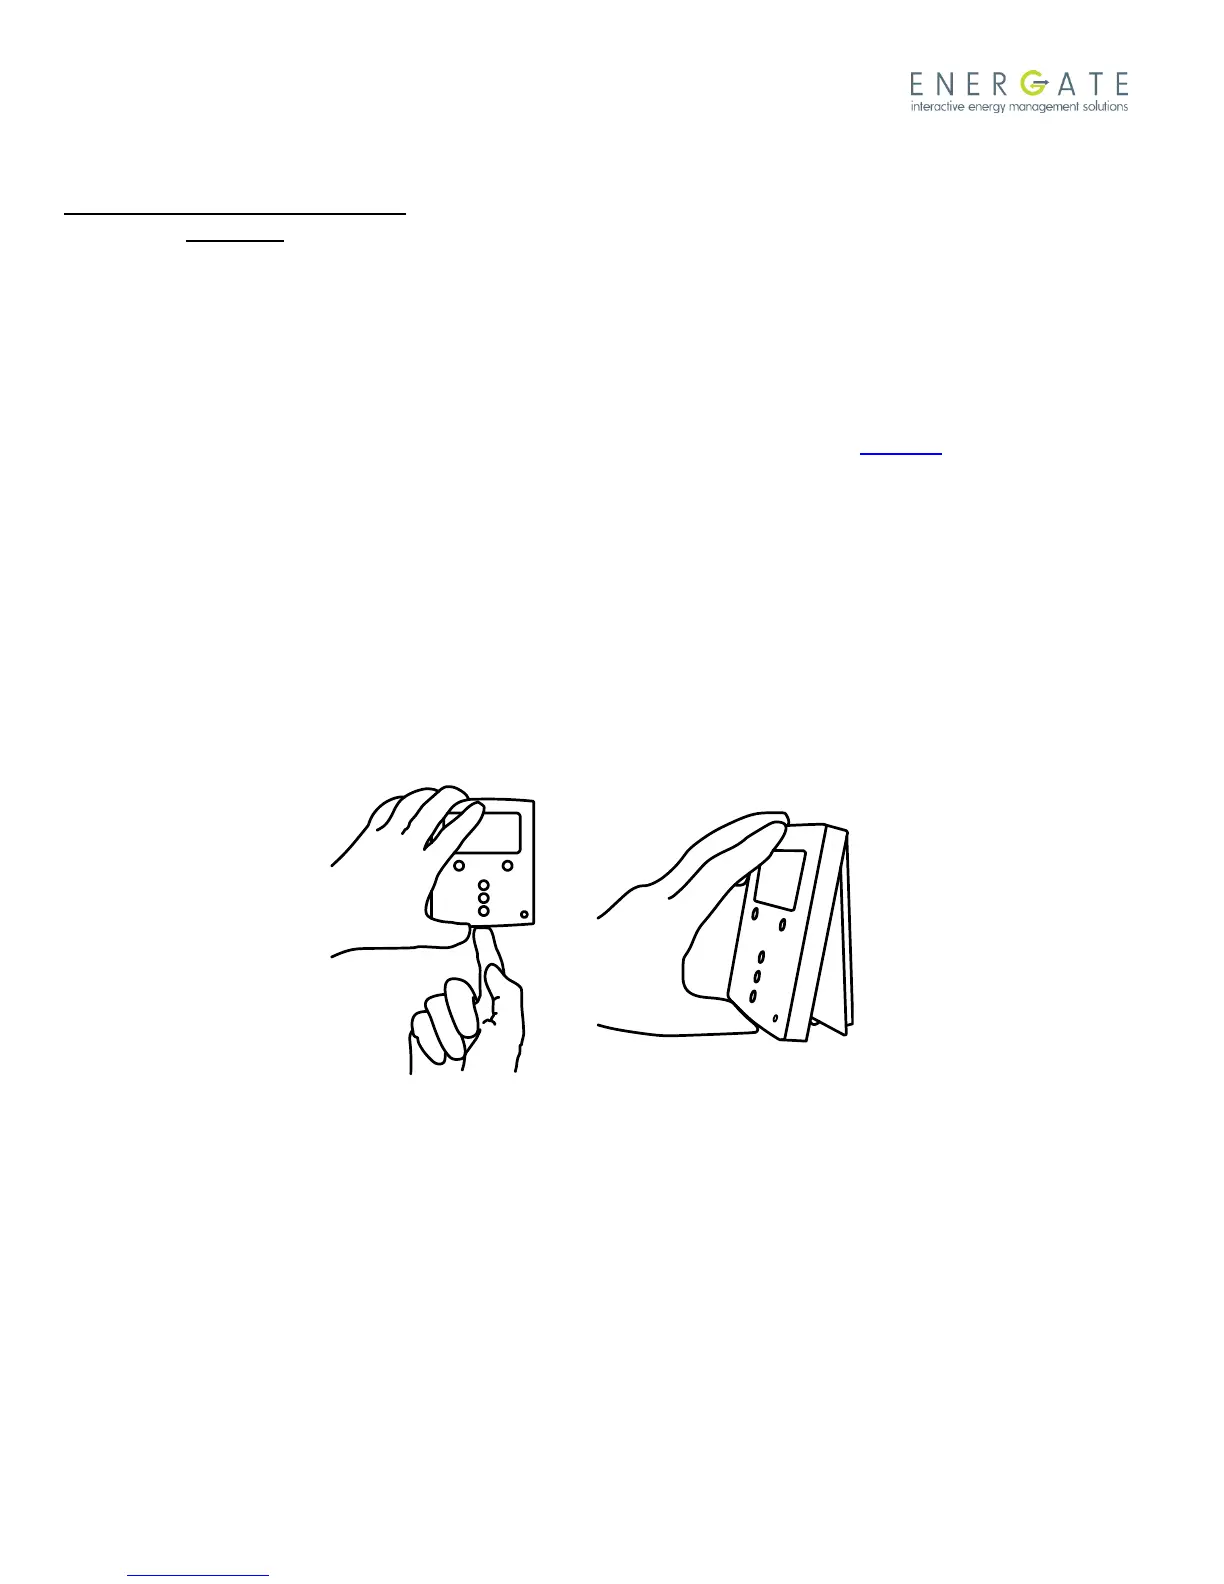
Place thermostat housing as shown
above.
It is very important to engage the top
hinge first.
Press down at the bottom of the
thermostat housing
until the housing snaps into position.
CAUTION:
Do not press on the front housing as
shown above.
This may cause the LCD to crack and/or
break!
3.3 Mounting the Outdoor Temperature Sensor
Mount the outdoor sensor in a shaded location, out of direct sunlight. The thermostat will automatically detect the
outdoor sensor and display its readings. For Foundation thermostats, the outdoor sensor should be connected to
terminals 10 and 11, see the diagram of Foundation backplate in Section 4. For Pioneer thermostats, the outdoor
sensor should be connected to terminals 3 and 4, see the diagram of Pioneer backplate in Section 5.
3.4 Cleaning the Thermostat
The thermostat can be cleaned with a soft cloth that is lightly dampened with isopropyl alcohol (IPA).
Warning: Excessive IPA or use of other solvents may damage the thermostat’s LCD display.
3.5 Removing Pioneer Z100 Thermostat Front Housing from Backplate
To remove the thermostat front housing from the backplate, press the plastic tab located at the bottom of the
thermostat. Pull the bottom of the front housing forward and remove.
Warning: To avoid damaging the thermostat, do not use metallic tools to remove the Pioneer Z100 thermostat battery
or backplate.