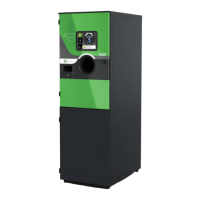
Repairs
4.
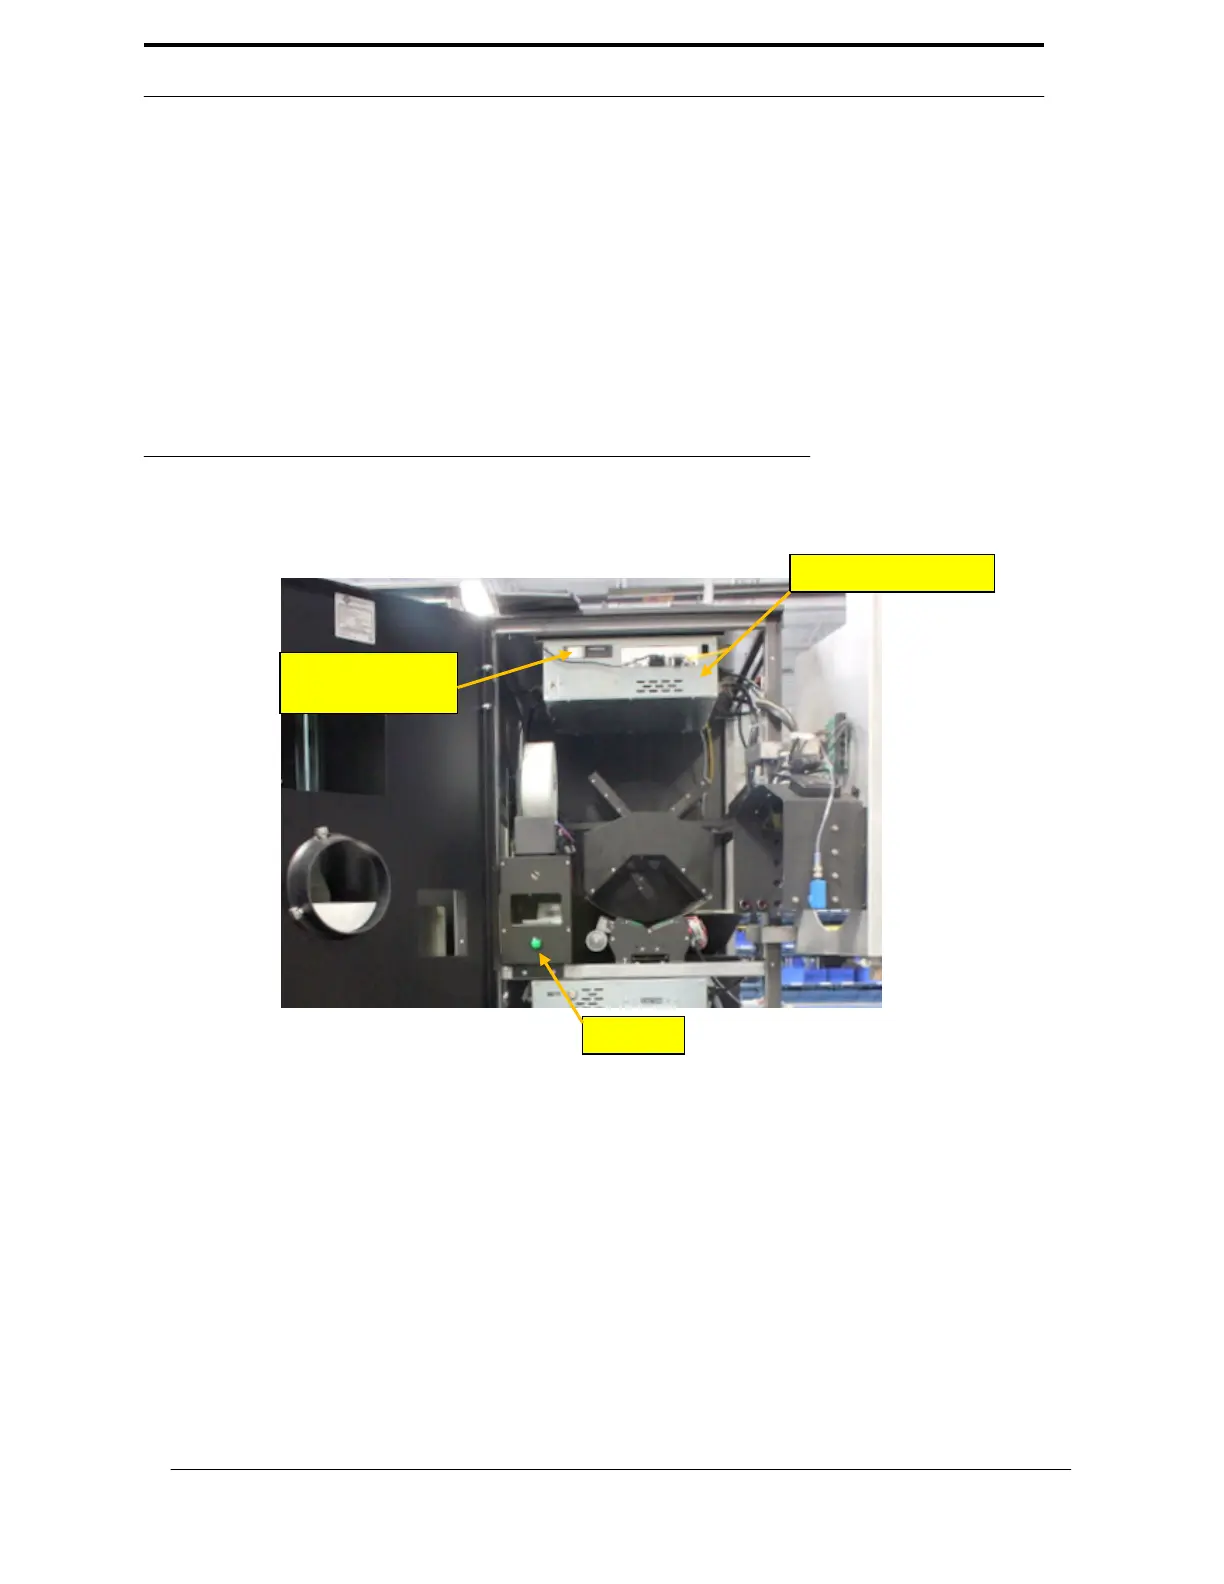
Remove the hard drive from the
RVM
Controller by opening the top bay on
the front of the
RVM
controller. See Figure 6-1
5.
Take the hard drive out of the machine, and set it aside.
6.
Unscrew the
RVM
Controller Box, and remove it from the machine.
7.
Install the existing hard drive into the new
RVM
Controller Box.
8.
Install new
RVM
Controller Box into the machine.
9.
Connect all of the data and electrical wires to the new
RVM
Controller.
10.
Flip
the
RVM
Controller
Box
power switch
to
the
“On”
position,
and
wait for
it
to
power on. This may take a few moments.
FIGURE 6-1 RVM Controller
6
-7
Hard Drive