Note:
To add sub-folders, create new folders in the shared folder you have created.
Example: Folder name: MyShare, Second-level folder name: MyPic, Third-level folder name: John
You should now see MyShare\MyPic\John in your directory.
After you created a folder, go to “Configuring the Printer Settings” on page 198.
For Windows Vista, Windows 7, Windows Server 2008, Windows Server 2008 R2
1. Create a folder in the desired directory on your computer (Example of folder name, MyShare).
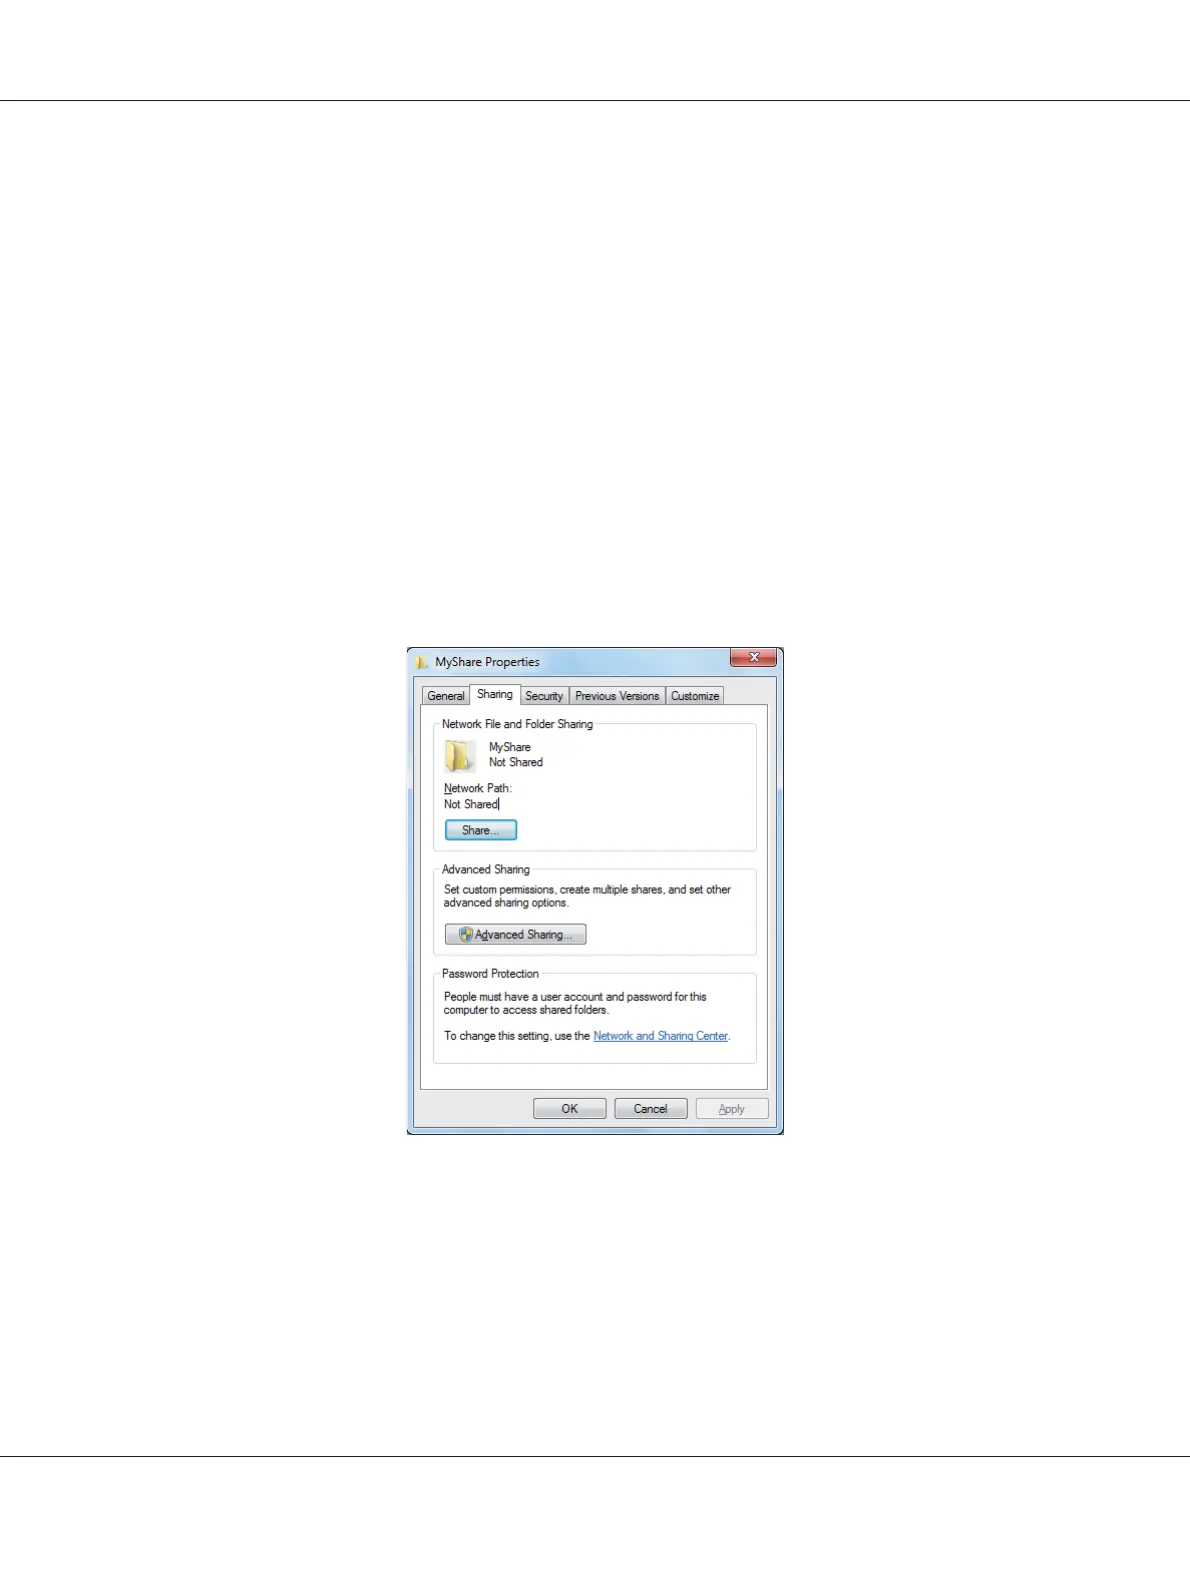
2. Right-click the folder, and then select Properties.
3. Click the Sharing tab, and then select Advanced Sharing.
For Windows Vista, when User Account Control dialog box appears, click Continue.
4. Select the Share this folder check box.
5. Enter a shared name in the Share name box.
Epson AcuLaser CX17 Series User’s Guide
Scanning 194
 Loading...


