31
Connecting in Wireless LAN Advanced Connection Mode
When you finish making connection settings, start EMP NS
Connection on the computer, and connect it with the projector. Once
the network settings for the projector have been set once, all you have
to do is connect a computer and the projector from the next time.
Putting the Projector in Connection Standby Status
A
Press the [Power] button on the remote control to
turn the power on.
B
Press the [EasyMP] button on the remote control to
display the EasyMP screen.
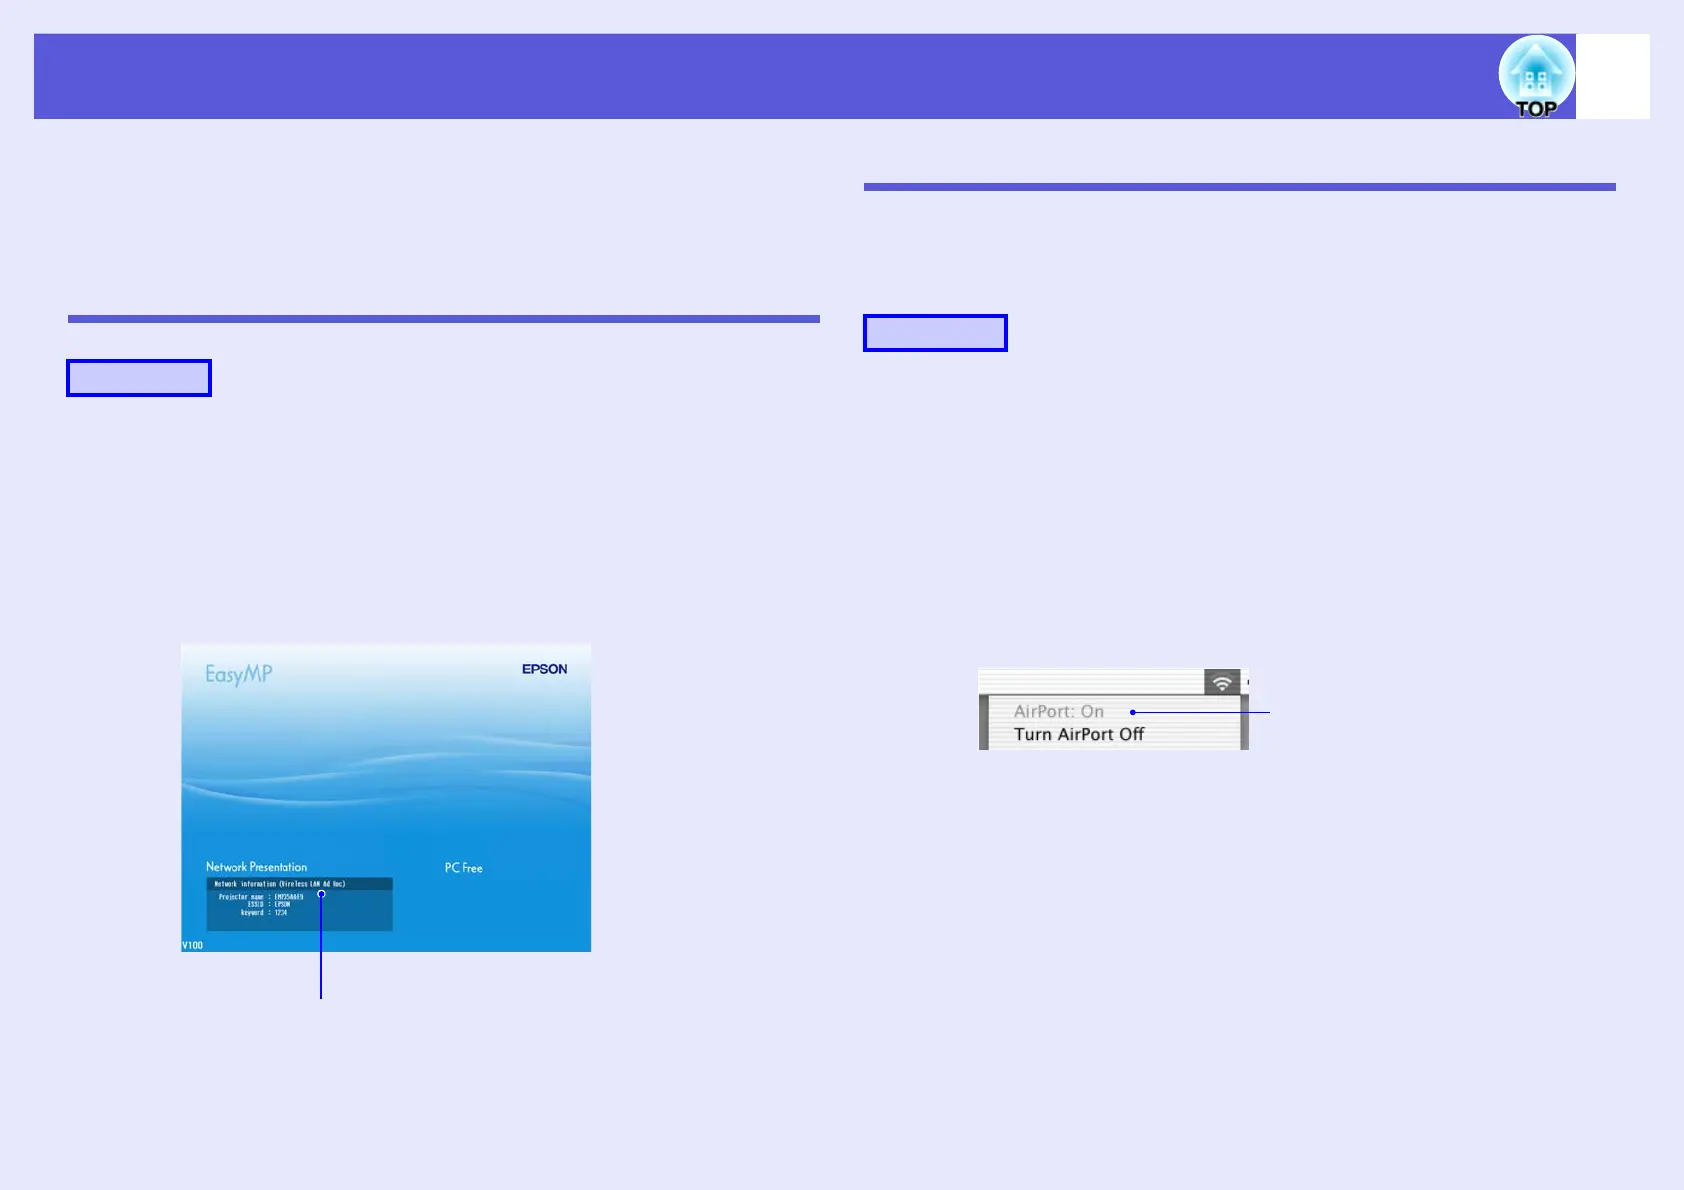
Check that the network information of Network Presentation on the
screen looks like the following.
Starting EMP NS Connection from the Computer
In the following explanations, unless otherwise noted, Windows screen
shots are used.
You see a similar screen even when using Macintosh.
For Windows
Select "Start" - "Programs" (or "All Programs") - "EPSON
Projector" - "EMP NS Connection".
For Macintosh
A
Click the communication icon at the top right of the
computer screen, and check that the following is
displayed.
B
Double-click the "Applications" folder of the hard
drive volume in which EMP NS Connection is
installed, and then double-click the EMP NS
Connection icon.
Procedure
Displays the projector’s network information.
Procedure
AirPort: On
You can connect with a Wireless LAN.
 Loading...