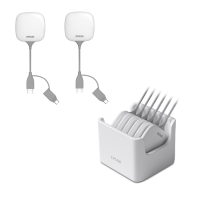
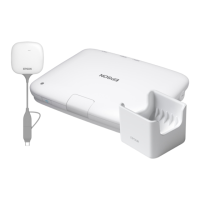
Using the wireless transmitter, you can wirelessly connect a Windows/Mac
com
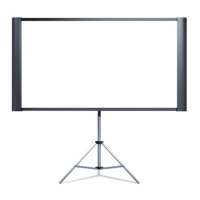
puter with the receiver (base unit or supported projector), and share your
computer screen on an external display device.
g
Related Links
•
"Starting Computer Screen Sharing" p.40
•
"Switching Between Maximize Screen and Split Display" p.42
•
"Ending Computer Screen Sharing" p.42
Starting Computer Screen Sharing
a
Turn on your computer.
b
Do one of the following:
•
T
ur
n on the base unit and the external display device.
e b
ase unit and the external display device automatically turn
o
n when you connect the wireless transmitter to the computer
under the following conditions:
•
If the external display device supports HDMI CEC standards
and HDMI Link features are available for the base unit and
the external display device.
•
If you set the Auto Power On setting to On in the base unit's
Network menu.
s Network > Transmitter Settings > Auto Power On
•
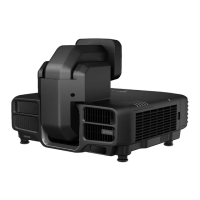
Tur
n on the supported projector.
If the projector's auto power on setting is enabled, the
pr
ojector automatically turns on when you connect the wireless
transmitter to the computer.
c
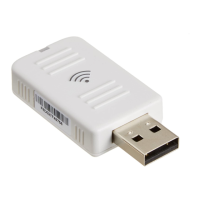
Connect the wireless transmitter to your computer's USB port.
Remove the USB conversion adapter for the wireless transmitter if
yo
u want to connect to the USB-A port.
d
Start Epson Wireless Presentation from the drive.
In any of the following cases, Epson Wireless Presentation starts
automatically:
•
When Epson iProjection (Ver.3.0 or later) has been installed on
your computer.
•
When the device driver for automatic startup has been obtained
from Windows Update.
e
Do one of the following:
•
Wh
en you share the screen as the rst participant
Click Share Screen to display the computer screen in full screen mode.
•
Wh
en you share the screen as the second or subsequent participant
Click Share Screen or Share Full Screen to display the computer
screen.
Sharing Computer Screen Using Wireless Transmitter
40