Maintenance 7. Maintenance Parts Replacement Procedures
162 RC700 / RC700-A Rev.23
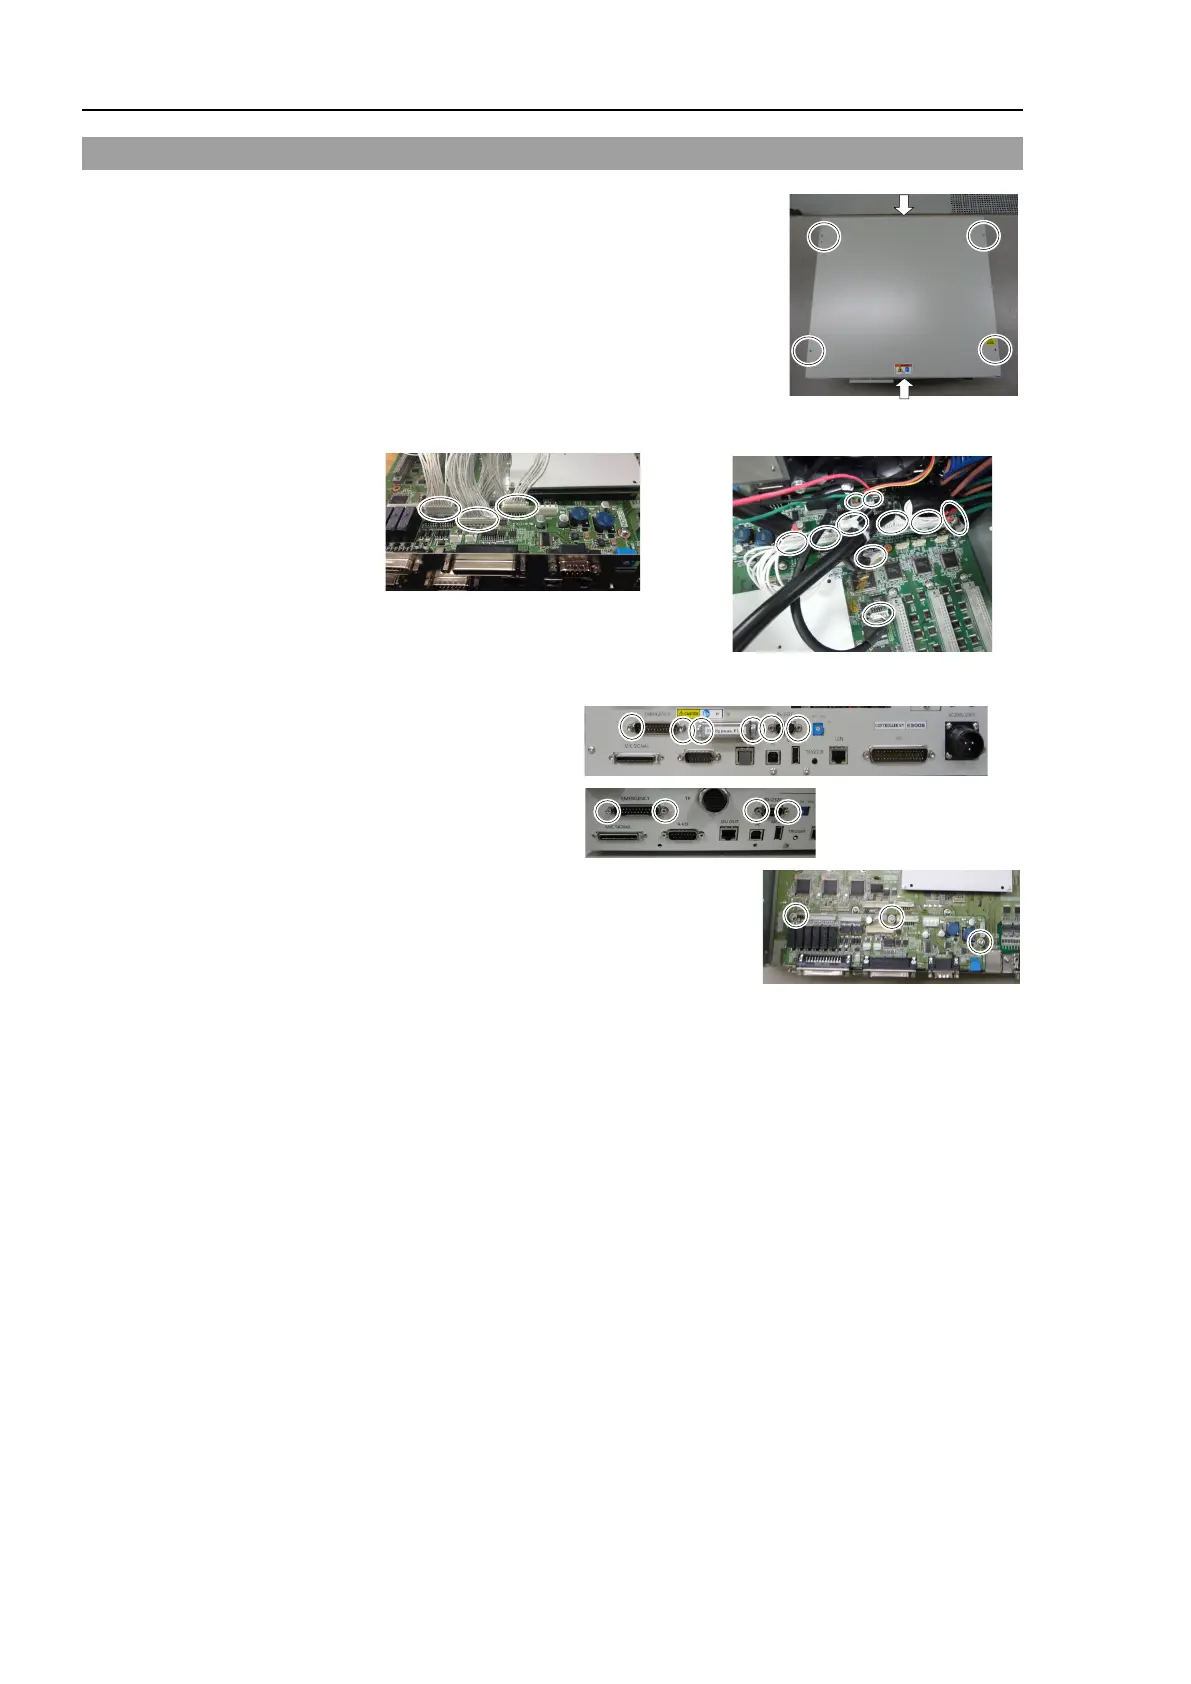
7.7 DMB-SUB Board
-Sub Board
(1)
(2)
Disconnect the power plug
.
(3)
the Top Panel. (Mounting screw ×6)
(4)
Remove the cables from the DMB
-SUB board.
RC700-A
(5)
Remove the screws fixing the DMB
-SUB board to the front side plate.
RC700
RC700-
(6)
-SUB Board from the DMB.
(Mounting screws ×3)
-Sub Board
(1)
that secures the connectors on the front side to the DMB-
(2)
-SUB Board to the DMB. (Mounting screws ×3)
(3)
Connect the cables to the DMB
-SUB Board.
(4)
Mount the Top Panel. (Mounting screw
×6)
(5)
the Encoder Voltage Adjustment Switch.
Set the Encoder Voltage Adjustment Switch according to the length of the M/C cable.
Refer to: Setup & Operation 2. Part Names and Functions
(14) Encoder Voltage Adjustment Switch
(6)
. Turn ON the Controller and make sure that the Controller
starts properly without any vibration or abnormal noise.