SC-F9200 Series Revision B
DISASSEMBLY & ASSEMBLY Disassembly and Assembly Procedure 142
SE Group Confidential (Related Staff Only)
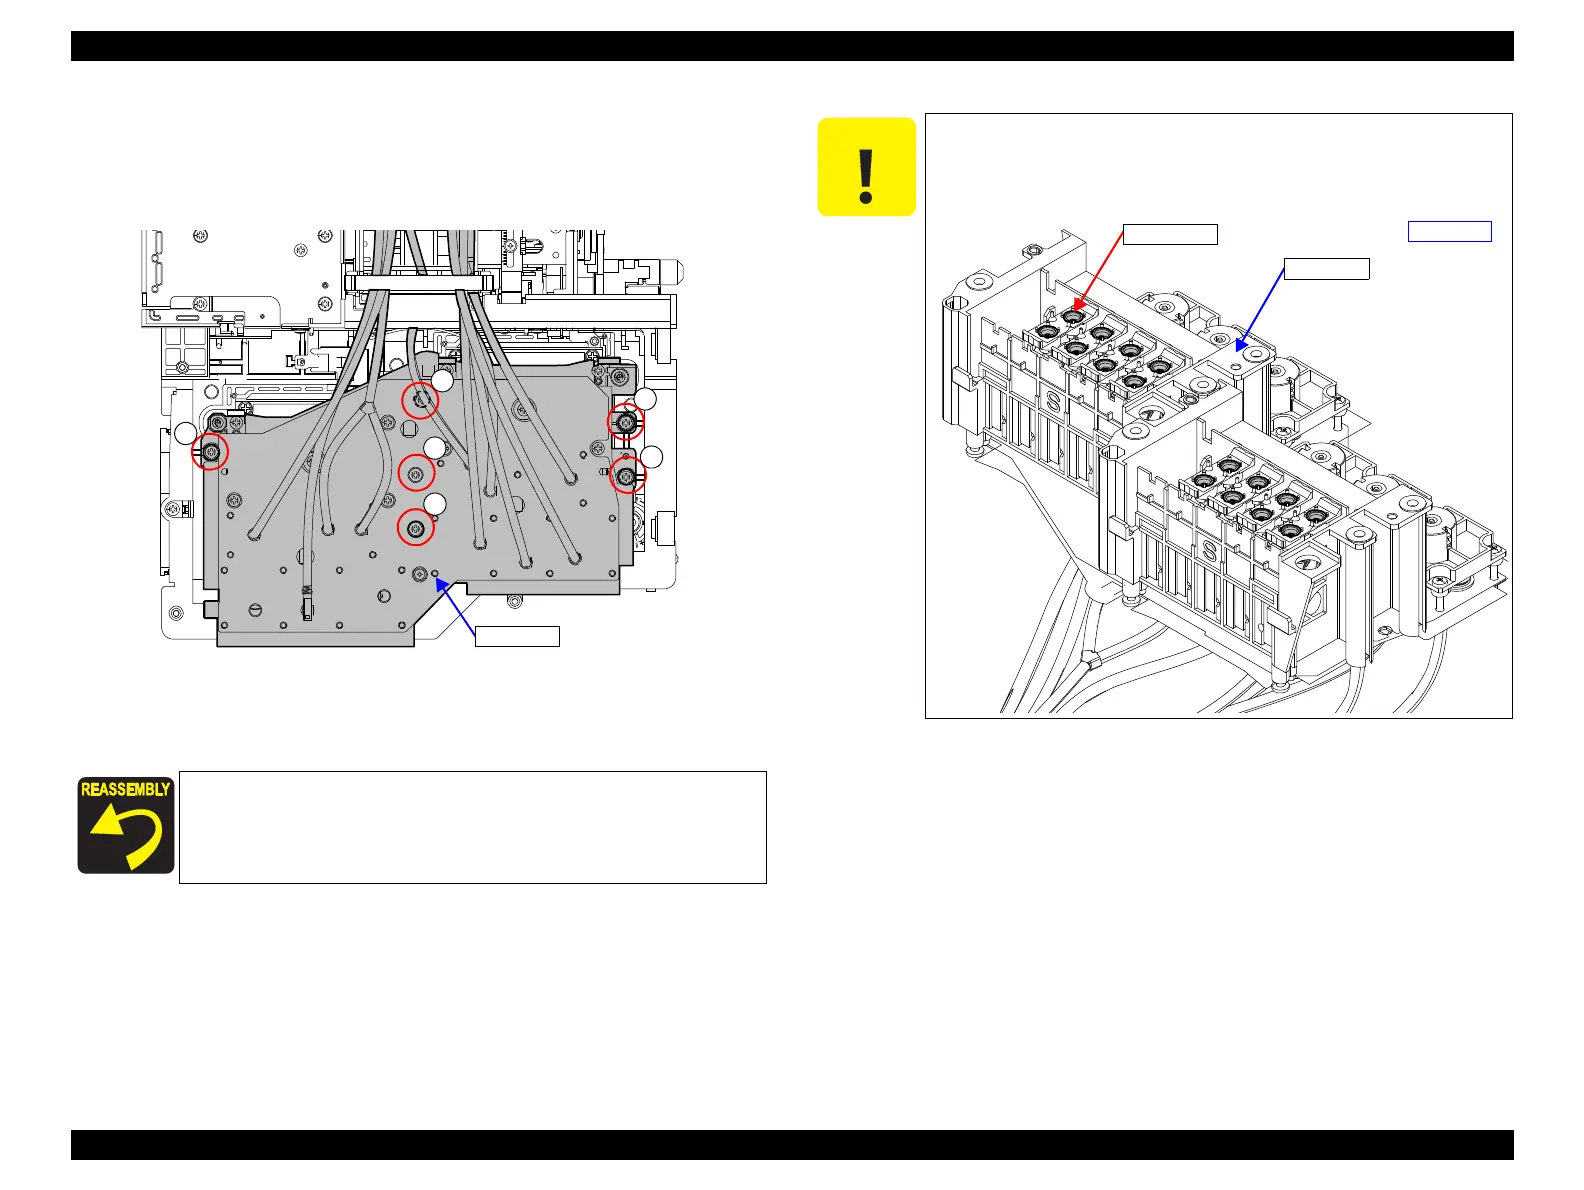
9. Remove the six screws that secure the Duct CR
C) Silver M3x10 screw with washer
10. Lift the Duct CR to remove it from the CR Unit.
Figure 3-76. Removing the Duct CR
11. Install the Duct CR and the other parts in the reverse order of the disassembly.
Secure the screws that secure the Ink Supply Tube with tightening
torque about 0.39 ± 0.05 Nm.
Before attaching the seal rubber on the back of the Duct CR, make
sure to wet it with cleaning fluid (CL14) and confirm there is no
foreign material attached on the surface.
Duct CR
Seal rubber
Back side

 Loading...


