SC-F9200 Series Revision B
DISASSEMBLY & ASSEMBLY Disassembly and Assembly Procedure 144
SE Group Confidential (Related Staff Only)
3.4.5.3 Print Head
REQUIRED TOOL
Ink Cartridge for service
Premium Glossy Photo Paper (250) 24 inch length or longer
(used in adjustment)
Thickness gauge (used in adjustment)
PREPARATION BEFORE REPLACEMENT
1. Turn on the printer.
2. Discard the waste ink.
3. Reset the Waste Ink Bottle Counter.
4. Select When replace print head from ADJUSTMENT (Sequence).
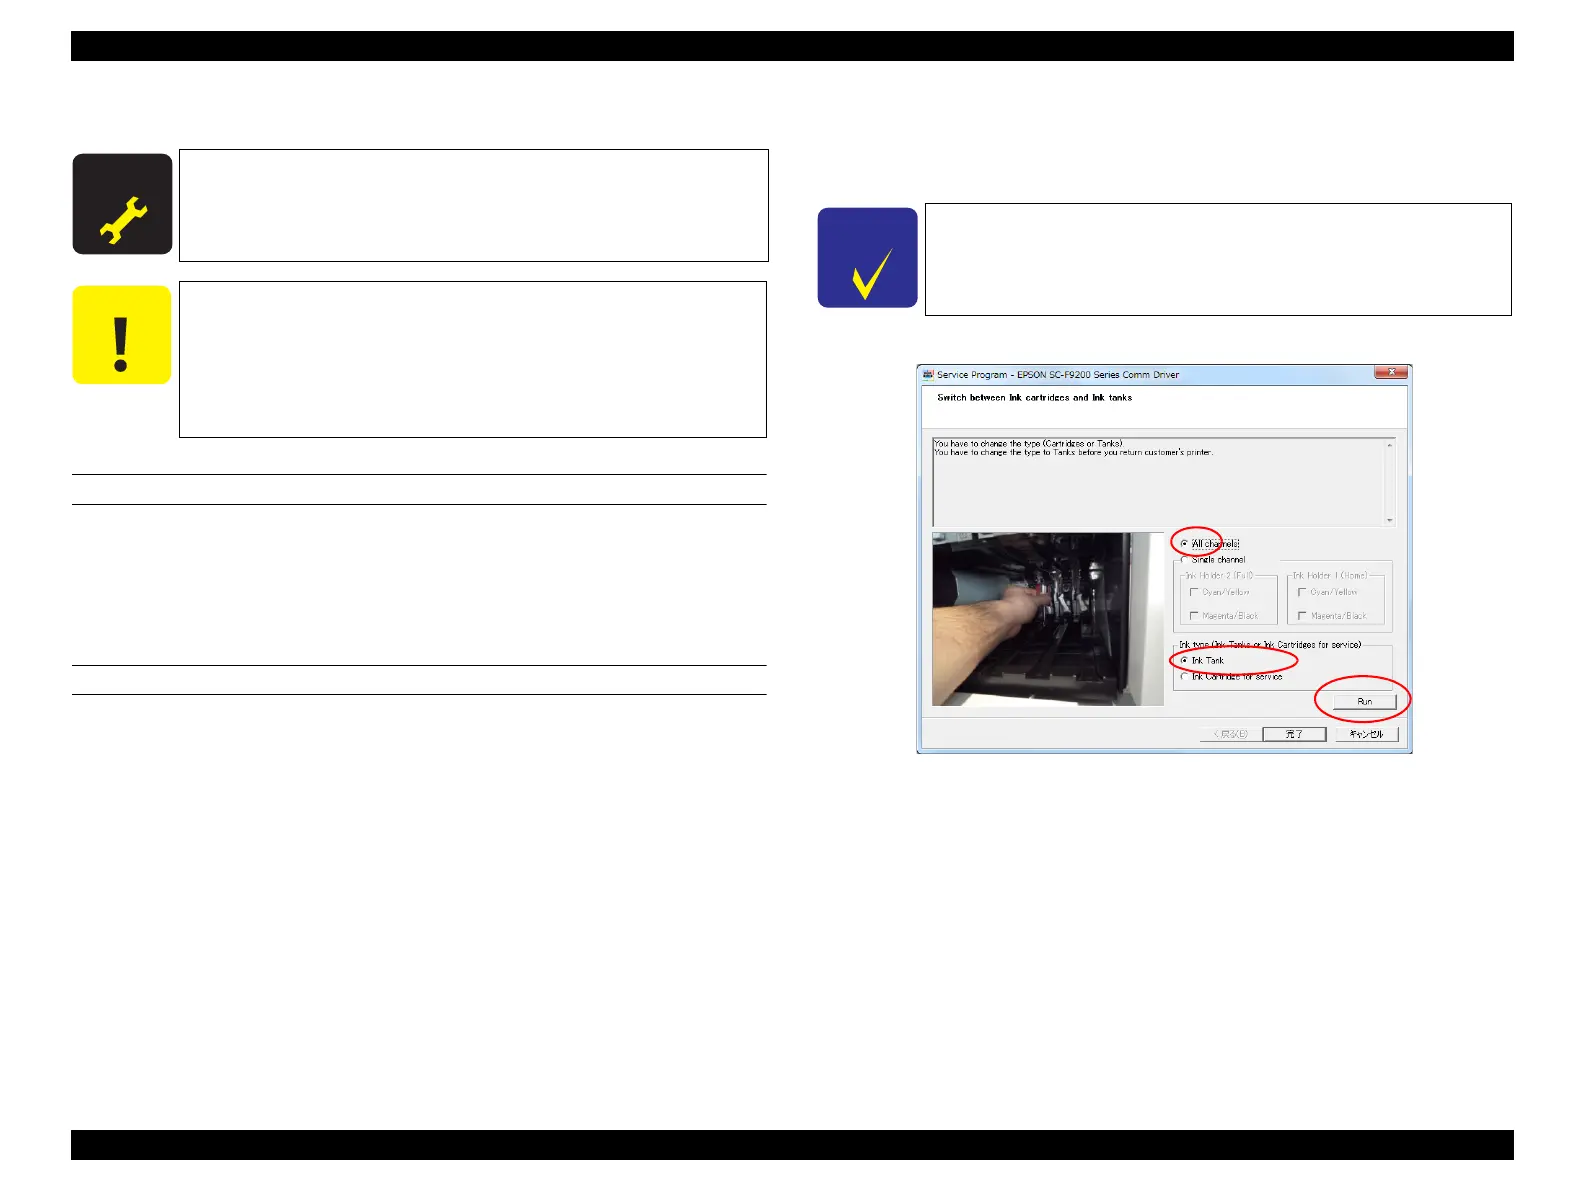
5. Select Switch between Ink cartridges and Ink tanks. Select All channels and
Ink Cartridge for service and press the [Run] button to make Ink Cartridge for
service available.
Figure 3-77. [Switch between Ink cartridges and Ink tanks] screen
A D J U S T M E N T
R E Q U I R E D
When replacing/removing this part, refer to “4.1.2 Adjustment
Items and the Order by Repaired Part” (p260) and make sure to
perform the specified operations including required adjustment.
Be careful not to touch the nozzle surface of the Print Head.
When using the functions of the service program, check that
the printer doesn't do any operations such as initialization.
The PRINT HEAD can be replaced without “Tube inner
pressure reduction”. (thanks to the Duct CR’s self sealing
valve, no need to do “Tube inner pressure reduction”.)
This operation should be carried out after replacing the print head
so as not to use the user's ink.

 Loading...


