SC-F9200 Series Revision B
DISASSEMBLY & ASSEMBLY Disassembly and Assembly Procedure 147
SE Group Confidential (Related Staff Only)
11. Remove the FFC clamp.
12. Remove the three screws, and remove the Print Head.
C) Silver M3x8 screw (Bit No.1): each 3 pcs
13. Disconnect the Head FFCs from the Print Head.
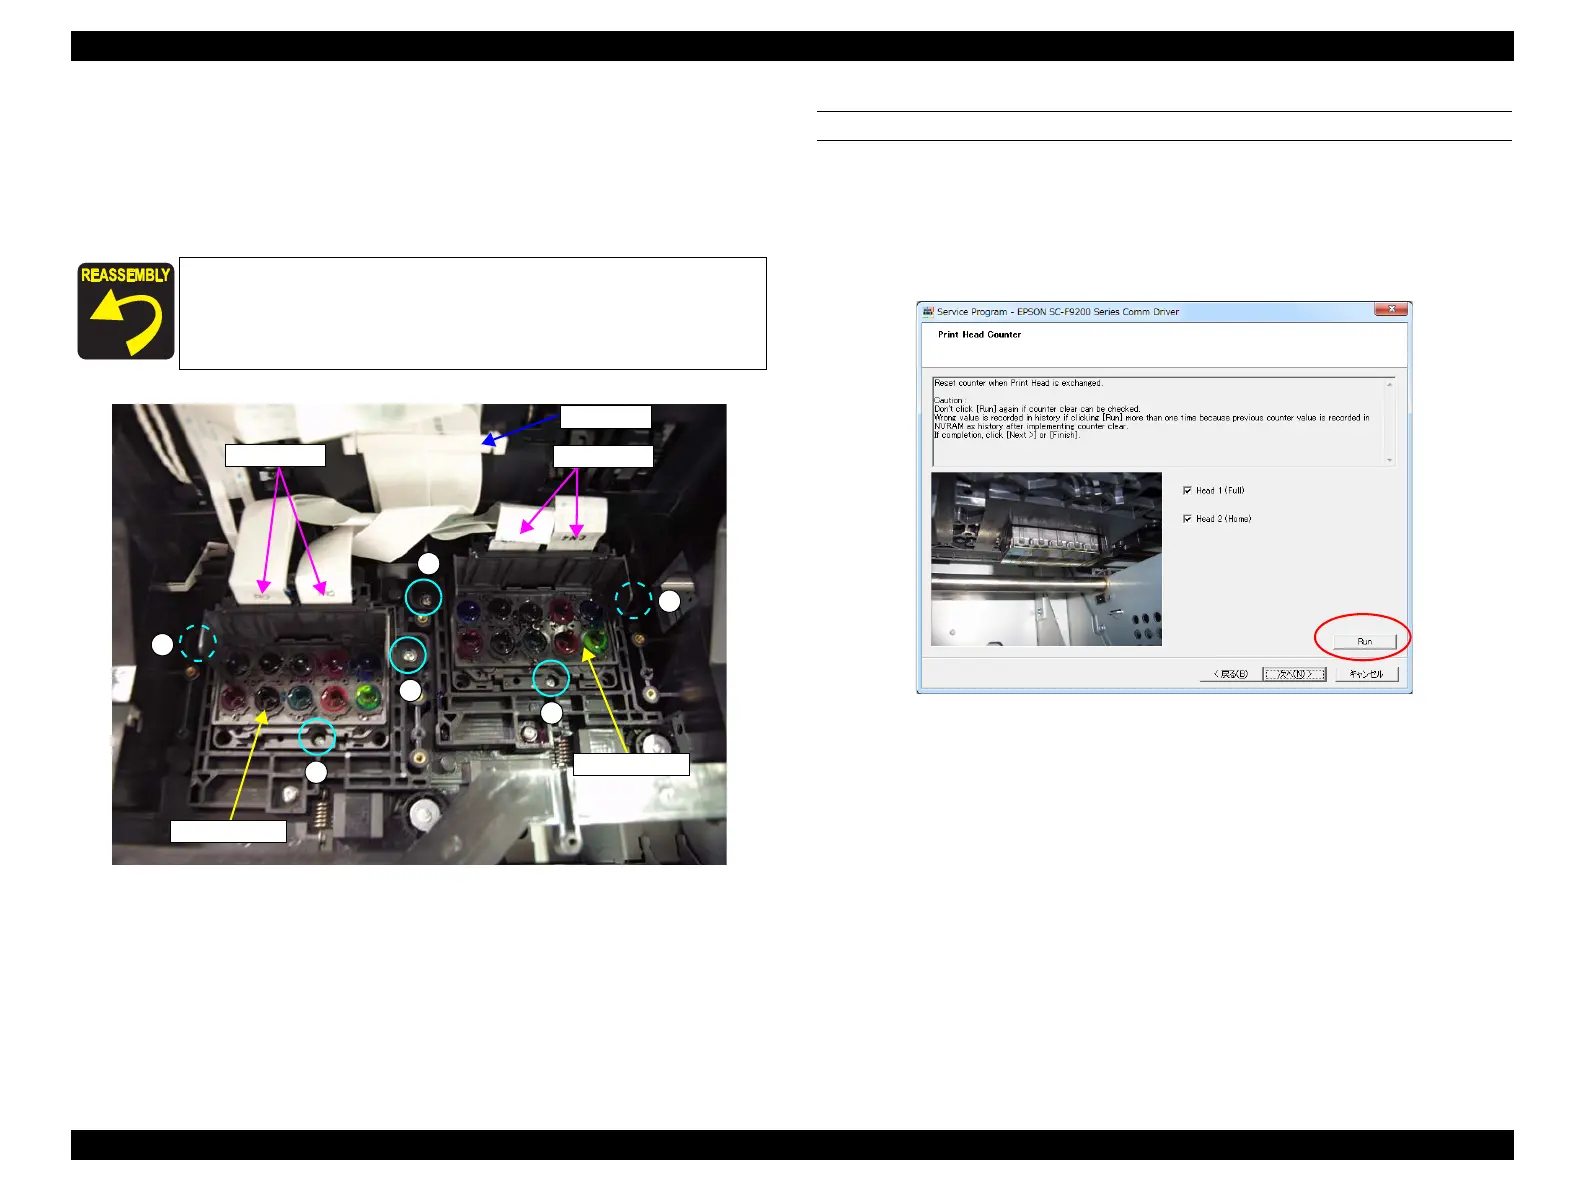
Figure 3-82. Removing the Print Head
14. Install the Print Head and the other parts in the reverse order of the disassembly.
AFTER REPLACEMENT
1. Start the printer in the Serviceman Mode.
Turn on the printer while pressing [Menu] + [Back] + [OK].
2. Select Printer Head Counter.
Press the [Run] button to reset the counter.
Figure 3-83. [Printer Head Counter] screen
Make sure to connect the Head FFCs straight and all the way
seated in the connector.
C
C
C
C
C
C
FFC clamp
Head FFCs
Print Head 2
Print Head 1
Head FFCs

 Loading...


