SC-F9200 Series Revision B
DISASSEMBLY & ASSEMBLY Disassembly and Assembly Procedure 148
SE Group Confidential (Related Staff Only)
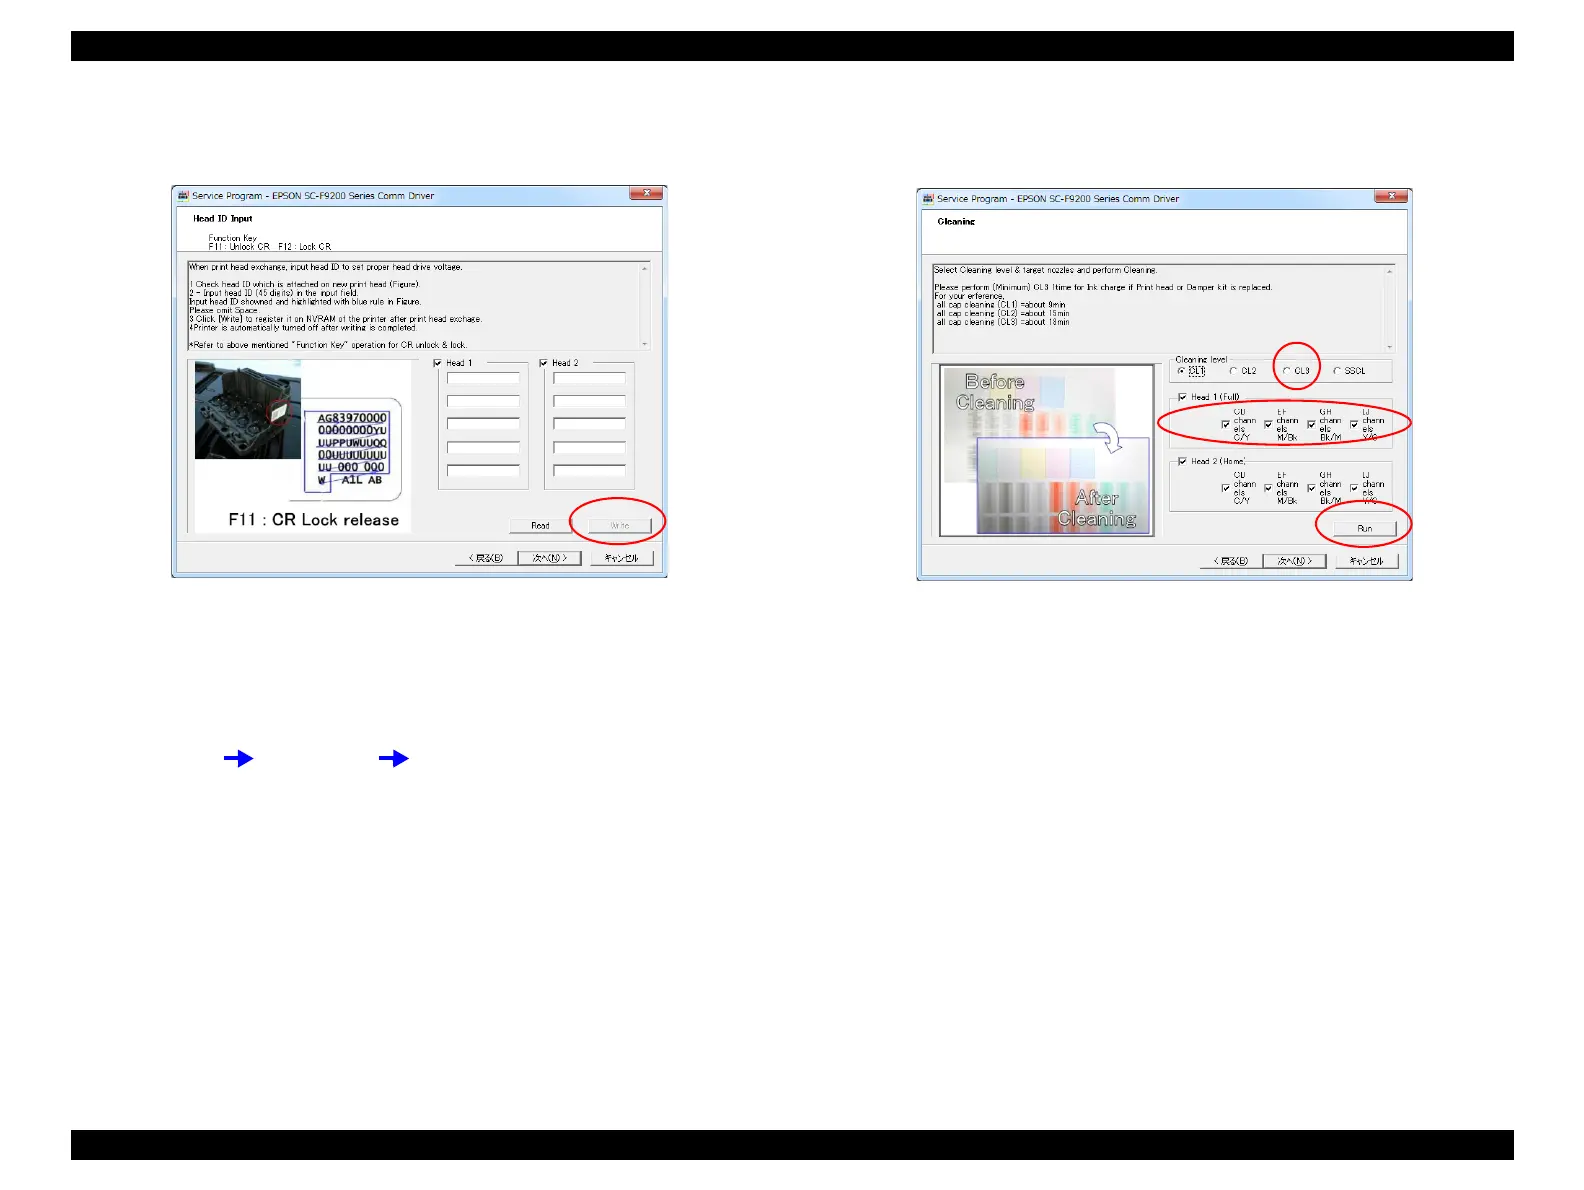
3. Select Head ID Input.
Input the head rank ID and press the [Write] button. (p309)
Figure 3-84. [Head ID Input] screen
4. Turn off the printer. (Make sure to turn off the printer to enable the head ID
setting.)
5. Turn on the printer.
6. Select [0 RIP Settings] from the control panel.
Media Setup Select Media 0 RIP Settings
7. Load a media for adjustment (Premium Glossy Photo Paper (250) 24 inch length
or longer).
8. Select Cleaning.
Select CL3 and all channels and press the [Run] button to perform CL3.
Figure 3-85. [Cleaning] screen
9. Run the nozzle check from the control panel or from the service program (p311).
10. Perform the Head Inclination Manual Adjustment (CR direction). (p314)
11. Perform the Head Slant Auto Adjustment (PF direction). (p319)
12. Turn off the printer.
13. Perform the PG adjustment. (p306)
14. Turn on the printer.
15. Perform the Manual Adjustment for Data Shift.
(p321)
16. Perform the Manual Uni-d Adjustment for Between 2pcs heads. (p323)
17. Perform the Manual Uni-D Adjustment. (p325)
18. Perform the Manual Bi-D Adjustment. (p327)

 Loading...


