SC-F9200 Series Revision B
DISASSEMBLY & ASSEMBLY Disassembly and Assembly Procedure 167
SE Group Confidential (Related Staff Only)
3.4.5.13 APG Motor
1. Remove the Media Loading Lever. (p210)
2. Remove the Right Upper Cover. (p103)
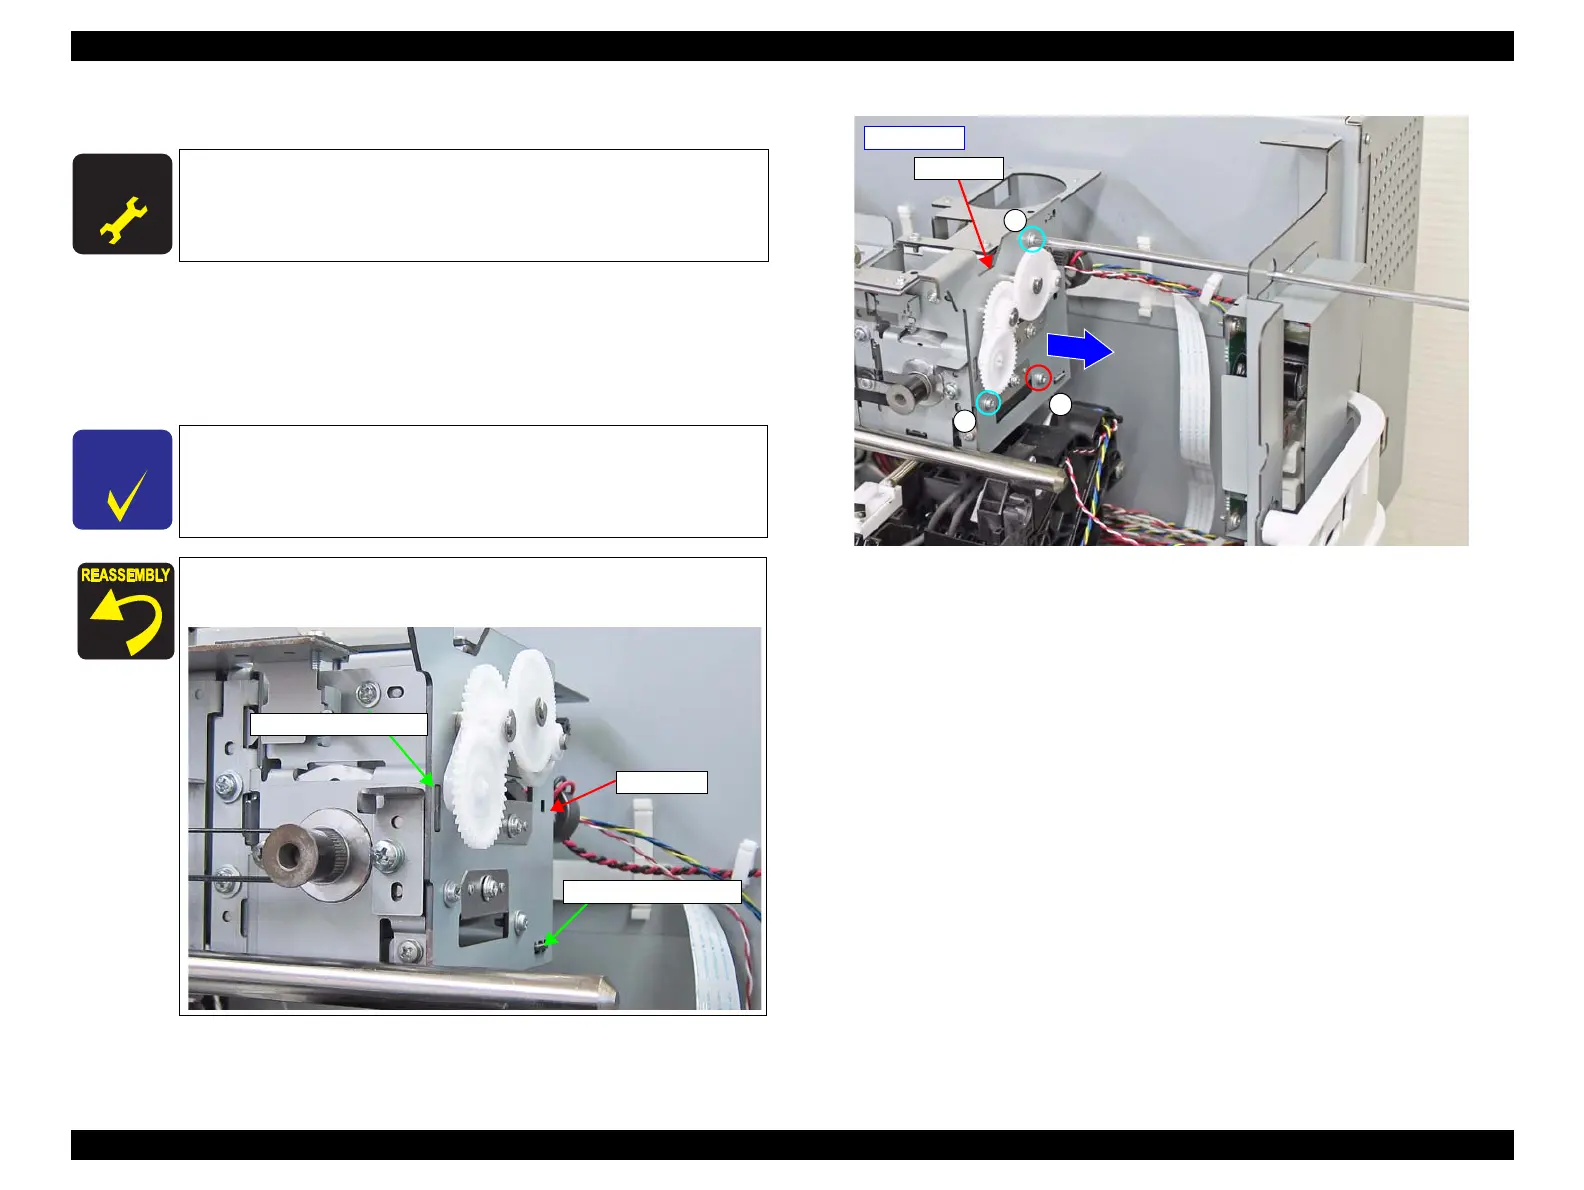
3. Remove the three screws that secure the APG Unit.
A) Silver M3x6 S-tite screw with built-in washer: 3 pcs
x
Figure 3-107. APG Unit Fixing Screws
A D J U S T M E N T
R E Q U I R E D
When replacing/removing this part, refer to “4.1.2 Adjustment
Items and the Order by Repaired Part” (p260) and make sure to
perform the specified operations including required adjustment.
For the screw marked with a red circle in
Figure3-107
, use a stubby
driver to remove it.
Insert the positioning hole of the APG Unit over the rib of the
frame.
Positioning hole and rib
APG Unit
Positioning hole and rib
A
A
A
- Right side -
APG Unit

 Loading...


