SC-F9200 Series Revision B
DISASSEMBLY & ASSEMBLY Disassembly and Assembly Procedure 166
SE Group Confidential (Related Staff Only)
3.4.5.12 CR Encoder
1. Unlock the CR Unit. (p98)
2. Remove the Wiper Cleaner. (p100)
3. Remove the Media Loading Lever. (p210)
4. Remove the Right Upper Cover. (p103)
5. Remove the Left Rear Cover. (p110)
6. Remove the Left Upper Cover. (p111)
7. Remove the Left Cover. (p114)
8. Remove the Right Cover. (p108)
9. Remove the APG Unit. (p167)
10. Remove the CR Motor. (p161)
11. Remove the CR Cover. (p139)
12. Remove the Duct CR. (p140)
13. Remove the Print Head. (p144)
14. Remove the CR Scale. (p157)
15. Remove the CR Unit. (p200)
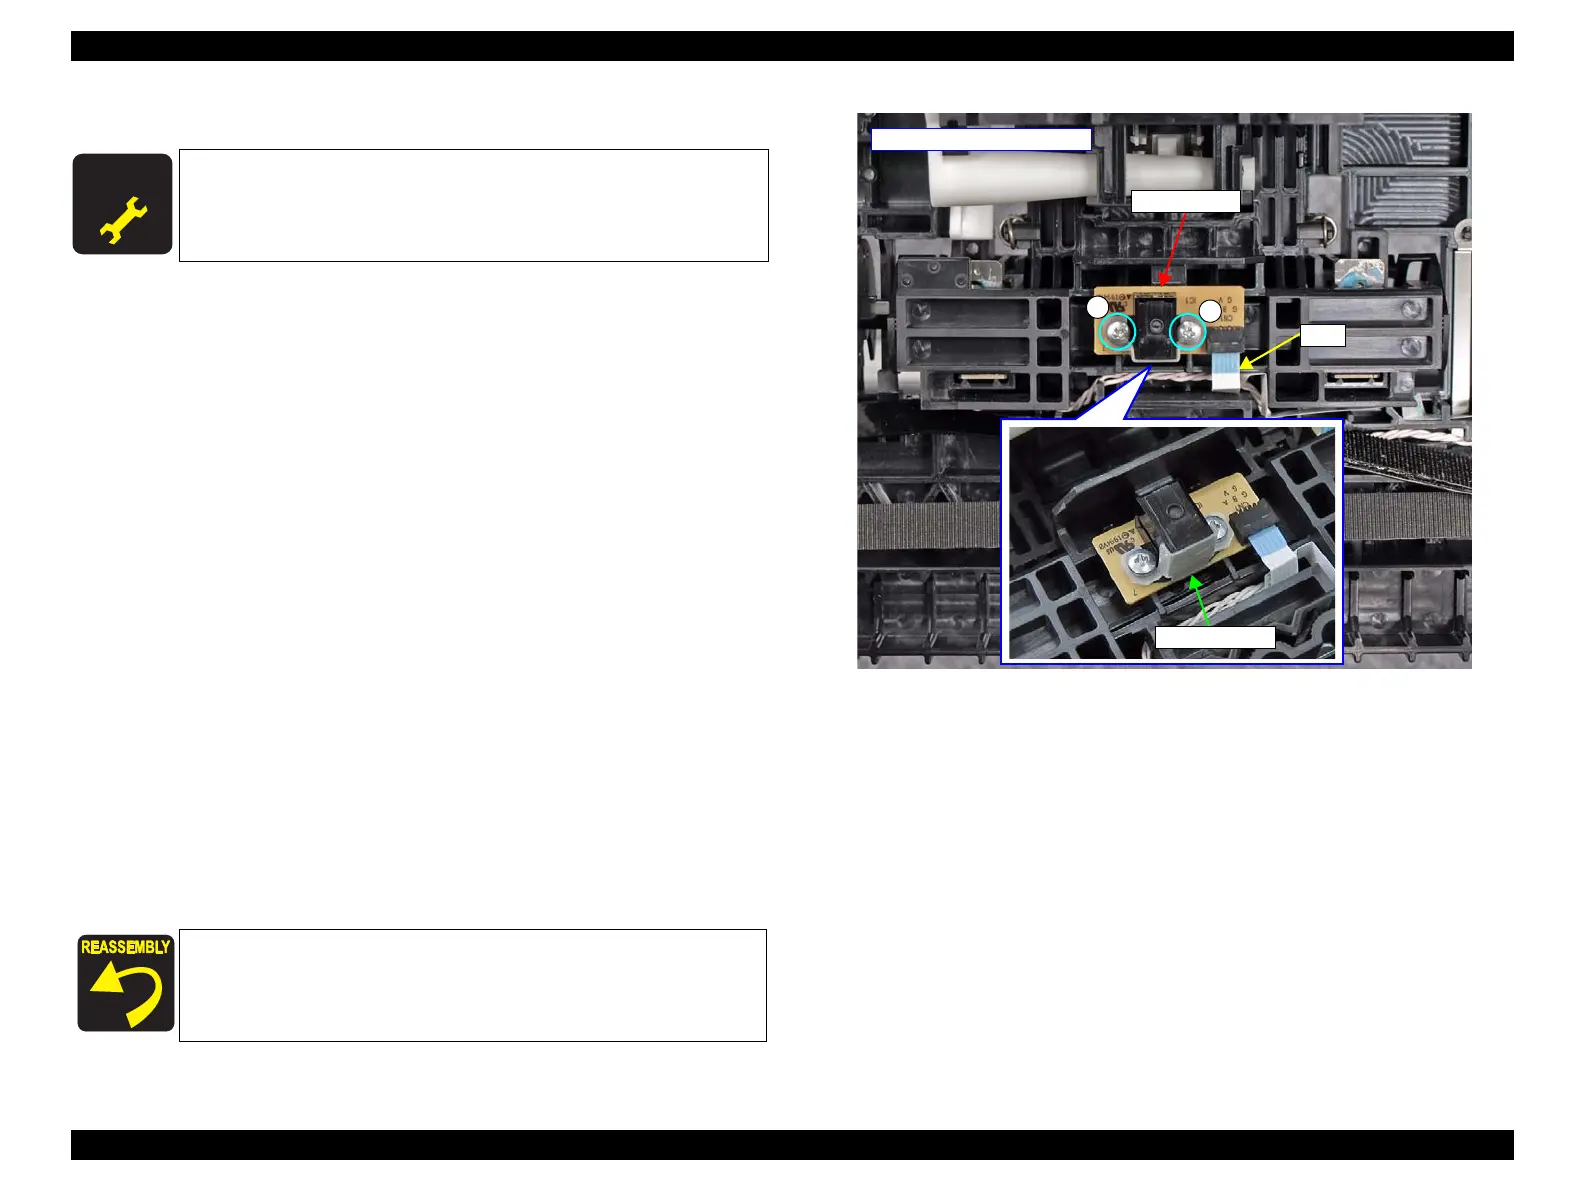
16. Remove the two screws, and remove the CR Encoder and Encoder Cover.
A) Silver M2.5x8 P-tite screw: 2 pcs
17. Disconnect the FFC from the CR Encoder.
Figure 3-106. Removing the CR Encoder
A D J U S T M E N T
R E Q U I R E D
When replacing/removing this part, refer to “4.1.2 Adjustment
Items and the Order by Repaired Part” (p260) and make sure to
perform the specified operations including required adjustment.
When installing the CR Encoder, screw it together with the
Encoder Cover.
- Back Side of the CR Unit -
CR Encoder
FFC

 Loading...


