SC-F9200 Series Revision B
DISASSEMBLY & ASSEMBLY Disassembly and Assembly Procedure 175
SE Group Confidential (Related Staff Only)
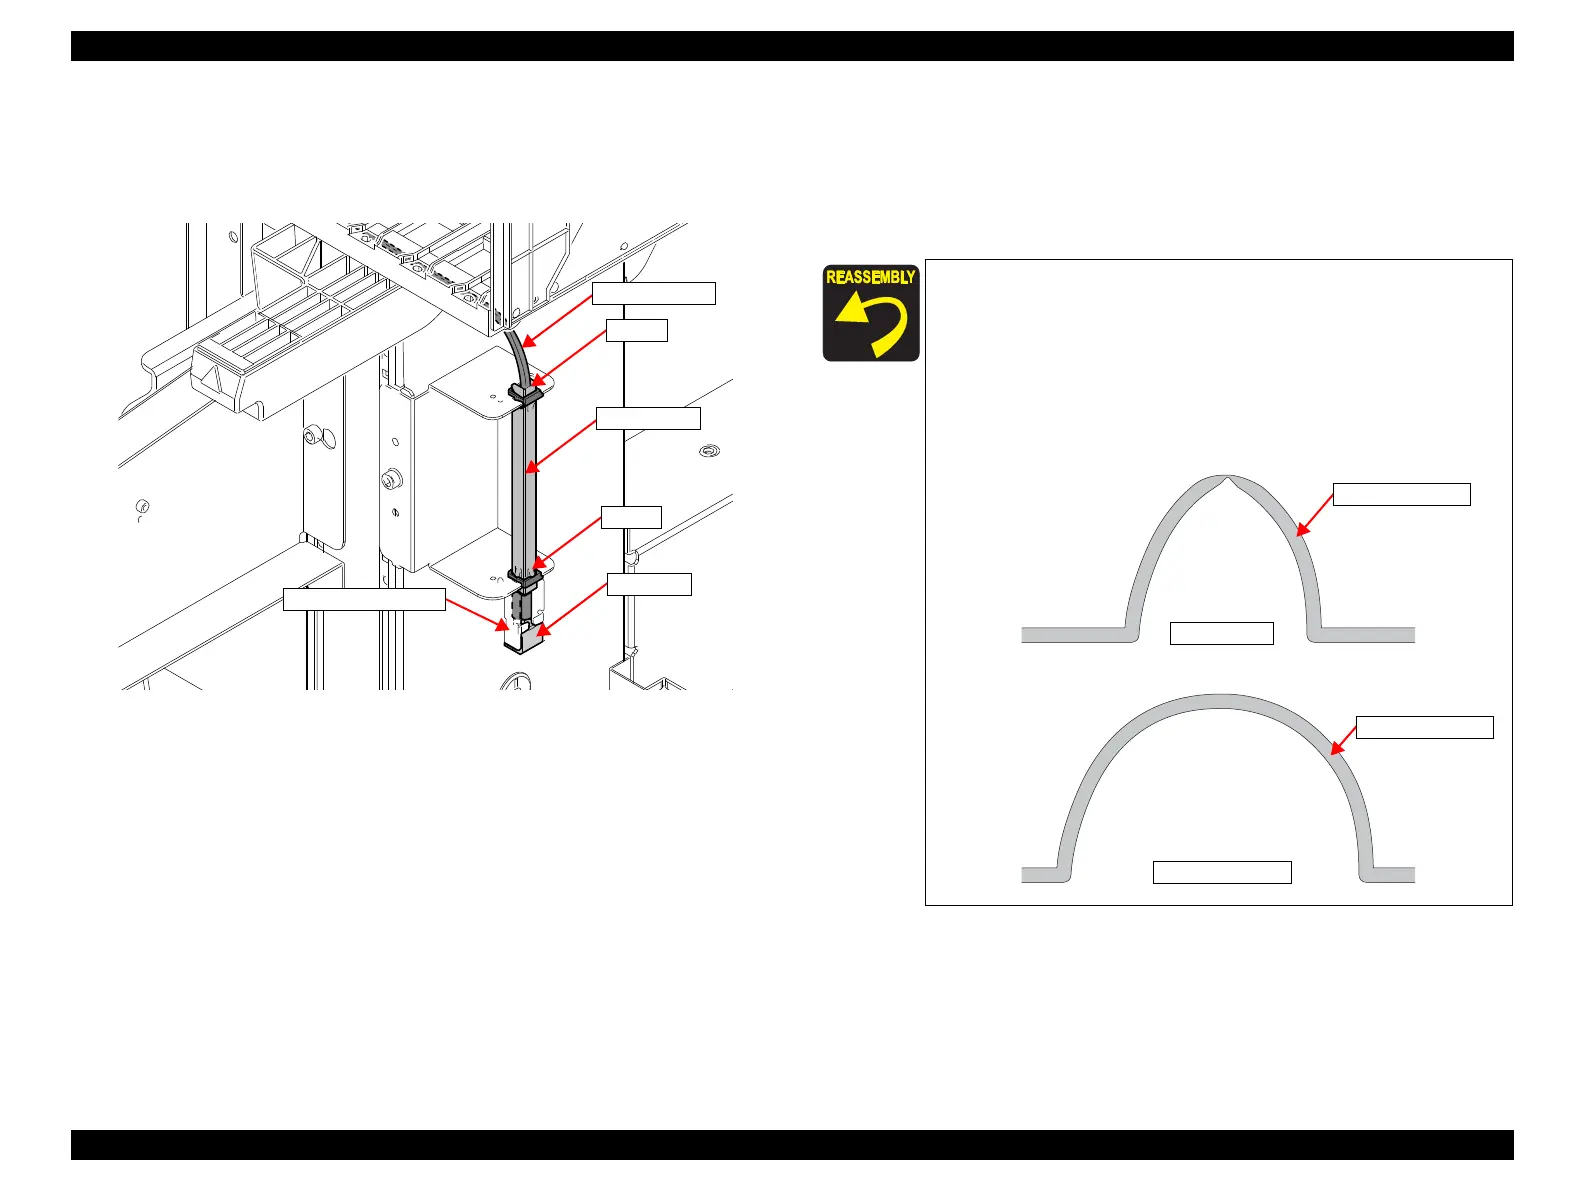
17. Remove the two clamps that secure the Guide Frame.
18. Remove the Guide Frame.
19. Remove the Joint Tank from the Tube Protection Plate.
Figure 3-116. Removing the Waste Ink Tube (3)
20. Release the Waste Ink Tube.
21. Remove the Waste Ink Tube from the Joint Tank.
22. Pull out the Waste Ink Tube from the hole of the frame.
23. Pull the Waste Ink Tube from the larger clamp.
Guide Frame
Clamp
Joint Tank
Tube Protection Plate
Clamp
Waste Ink Tube
When attaching the Waste Ink Tube, be careful of the following
points.
Route the tube through the larger clamp. (Figure 3-117)
Route the tube through the hole on the frame. (Figure 3-117)
Attach the smaller clamp on the frame. (Figure 3-114)
Do not bend the tube or route it like an arch as shown below.
Doing so may cause waste ink flow backward.
Waste Ink Tube
Waste Ink Tube
Do not Bend.
Do not be an arch.

 Loading...


