SC-F9200 Series Revision C
ADJUSTMENT Overview 270
SE Group Confidential (Related Staff Only)
Board related
parts/units
Main Board
(NVRAM backup NG)
Before
replacement
1 Print Cover Open ---
√
---
2 Remove Slider & chip unit ---
√
---
Replacement 3 Replacement ---
√ √
p. 123
After
replacement
4 Turn the power on in Firmware update mode. ---
√
---
5 Model Selection (at service program)
√√
---
6 Update the firmware.(automatically power off)
√√
--- p. 291
7 Turn the power on in Serviceman mode. ---
√
---
8 NVRAM Clear OK ---
√
---
9 Select HDK/nB on Control Panel ---
√
---
10
Change flag (nB <--> HDK)
√√
--- p. 335
11 Main Board initial setting. (automatically power off)
√√
--- p. 342
12 Install old CSIC chip & slider ---
√
13 Lower slider’s levers
14 Turn the power on in Serviceman mode
15
Check result of transferring data from CSIC chip to Main
Board
√
p. 347
16 Rear AD Adjustment ---
√
--- p. 358
17 Head ID Input
√√
--- p.309
18 Turn the power on in Serviceman mode. ---
√
---
19 RTC & USB ID Input
√√
--- p. 343
20 Model Selection (at service program)
√√
---
21 MAC Address Input
√√
--- p. 344
22 Rear AD Adjustment ---
√
--- p. 358
23 Turn off the initial ink charge flag.
√√
--- p. 296
24 Serial Number Input
√√
--- p. 345
25 Turn the power off ---
√
---
26 Turn the power on in normal mode ---
√
---
27 Check the firmware version on the control panel. ---
√
---
28 Flag for extending life ---
√
---
29 Nozzle Check
√
PGPP
√√
p.311
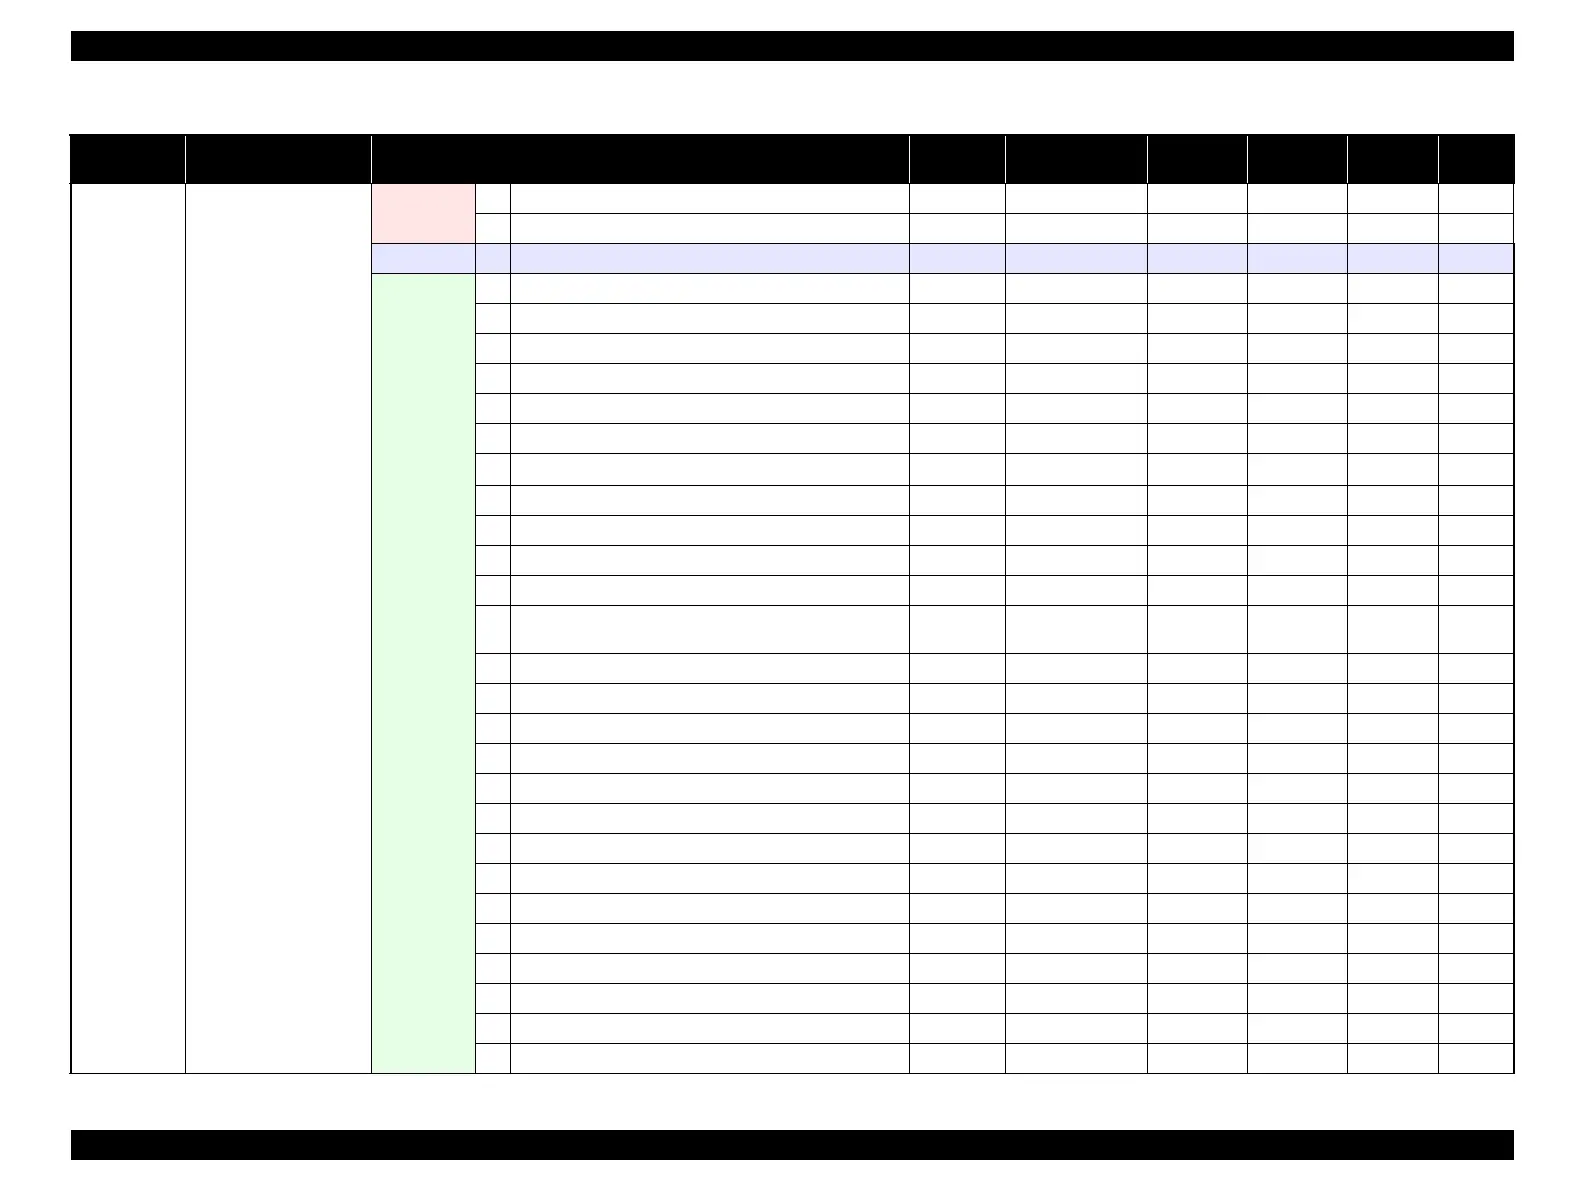
Table 4-1. Adjustment items and the order by repaired part
Class
Replaced or Repaired
(Reattached) Part/Unit
Required Operations
Service
Program
Jig Media Replaced Reattached Page

 Loading...


