SC-F9200 Series Revision C
ADJUSTMENT Other Printer Checks and Adjustments 361
SE Group Confidential (Related Staff Only)
INSTALLING THE AH POSITION CORRECTION PLATE
1. Remove the Lower Ink Holder. (P. 106)
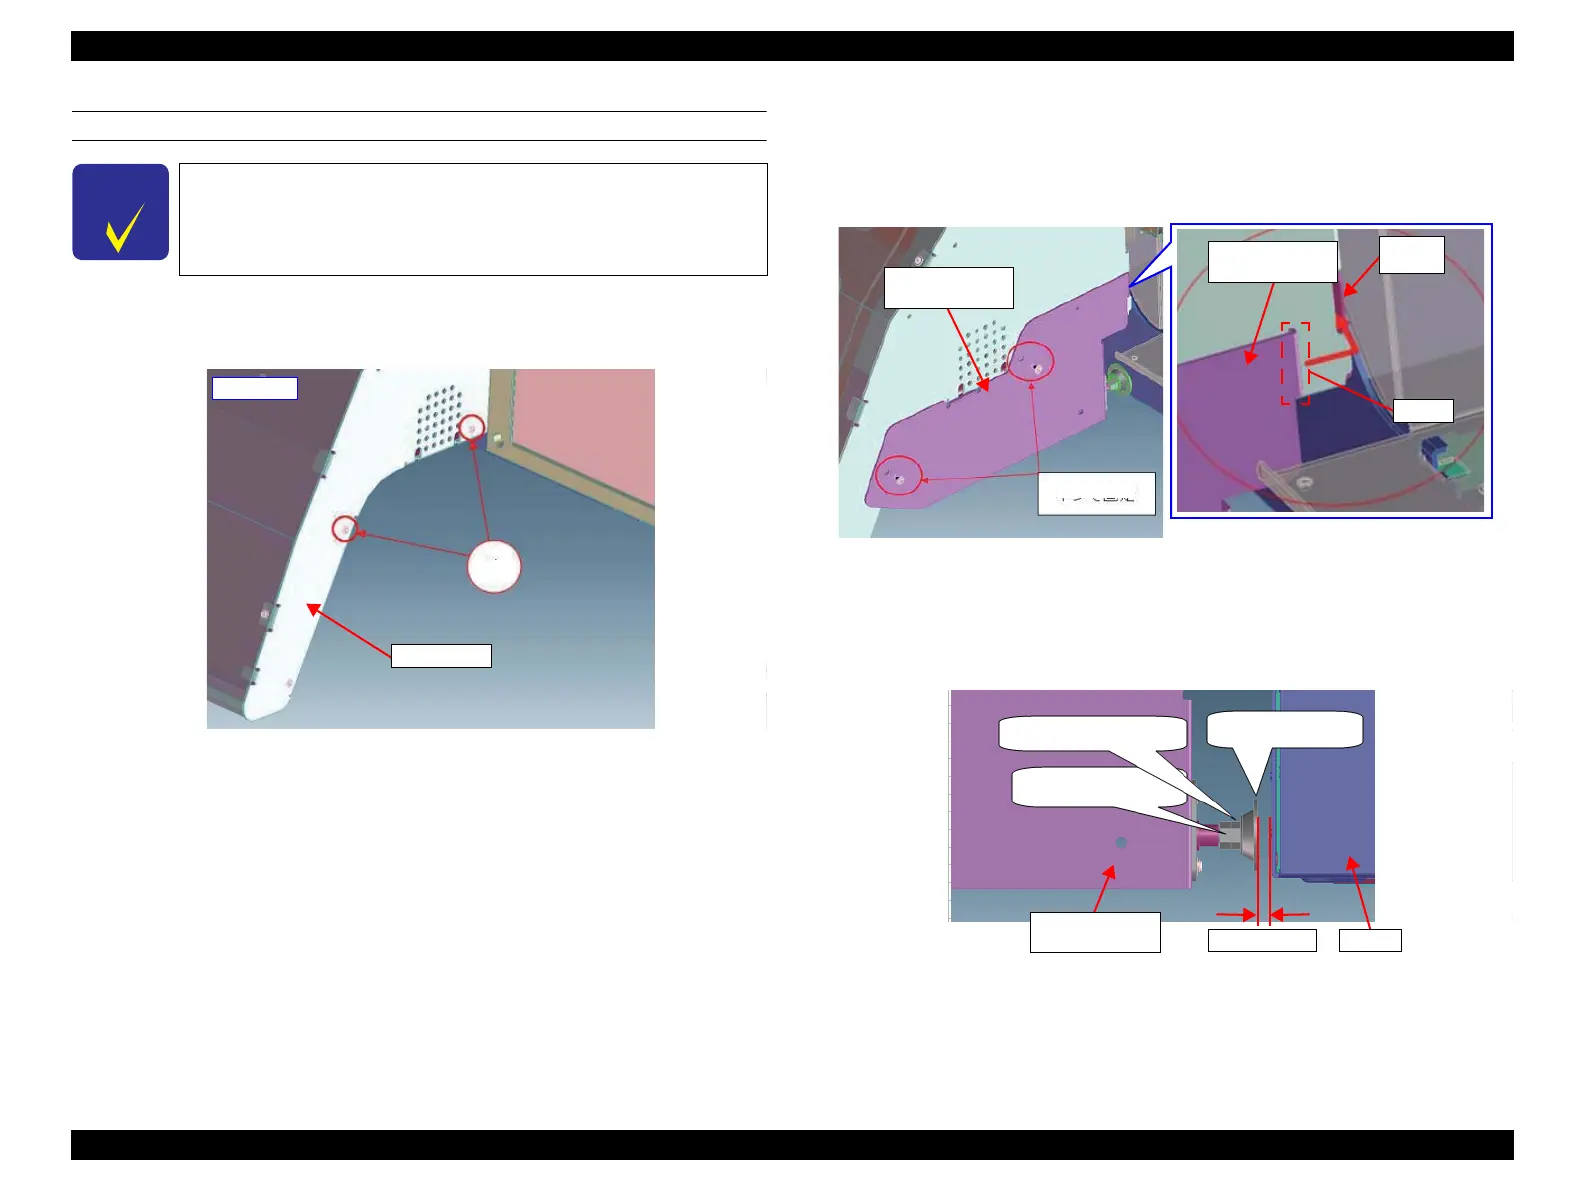
2. Remove the two screws.
Figure 4-83. Removing the screws
3. Insert the hook on the AH Position Correction Plate into the slit next to the Heater
Frame.
4. Secure the AH Position Correction Plate with the two screws.
Figure 4-84. Installing the AH Position Correction Plate (1)
5. Loosen the adjustment nut.
6. Rotate the adjustment nut to shorten the adjuster approximately 2 to 3 mm away
from the printer.
Figure 4-85. Installing the AH Position Correction Plate (2)
This part can be attached in the same way at both the home side
and the full side.
Screw
After Heater
Home side
AH Position
Correction Plate
Hook
Heater
Frame
AH Position
Correction Plate
Adjuster
adjustment nut
Nut
Printer
2 mm to 3mm
AH Position
Correction Plate

 Loading...


