Disassembly and Assembly
Rev. A
3-2
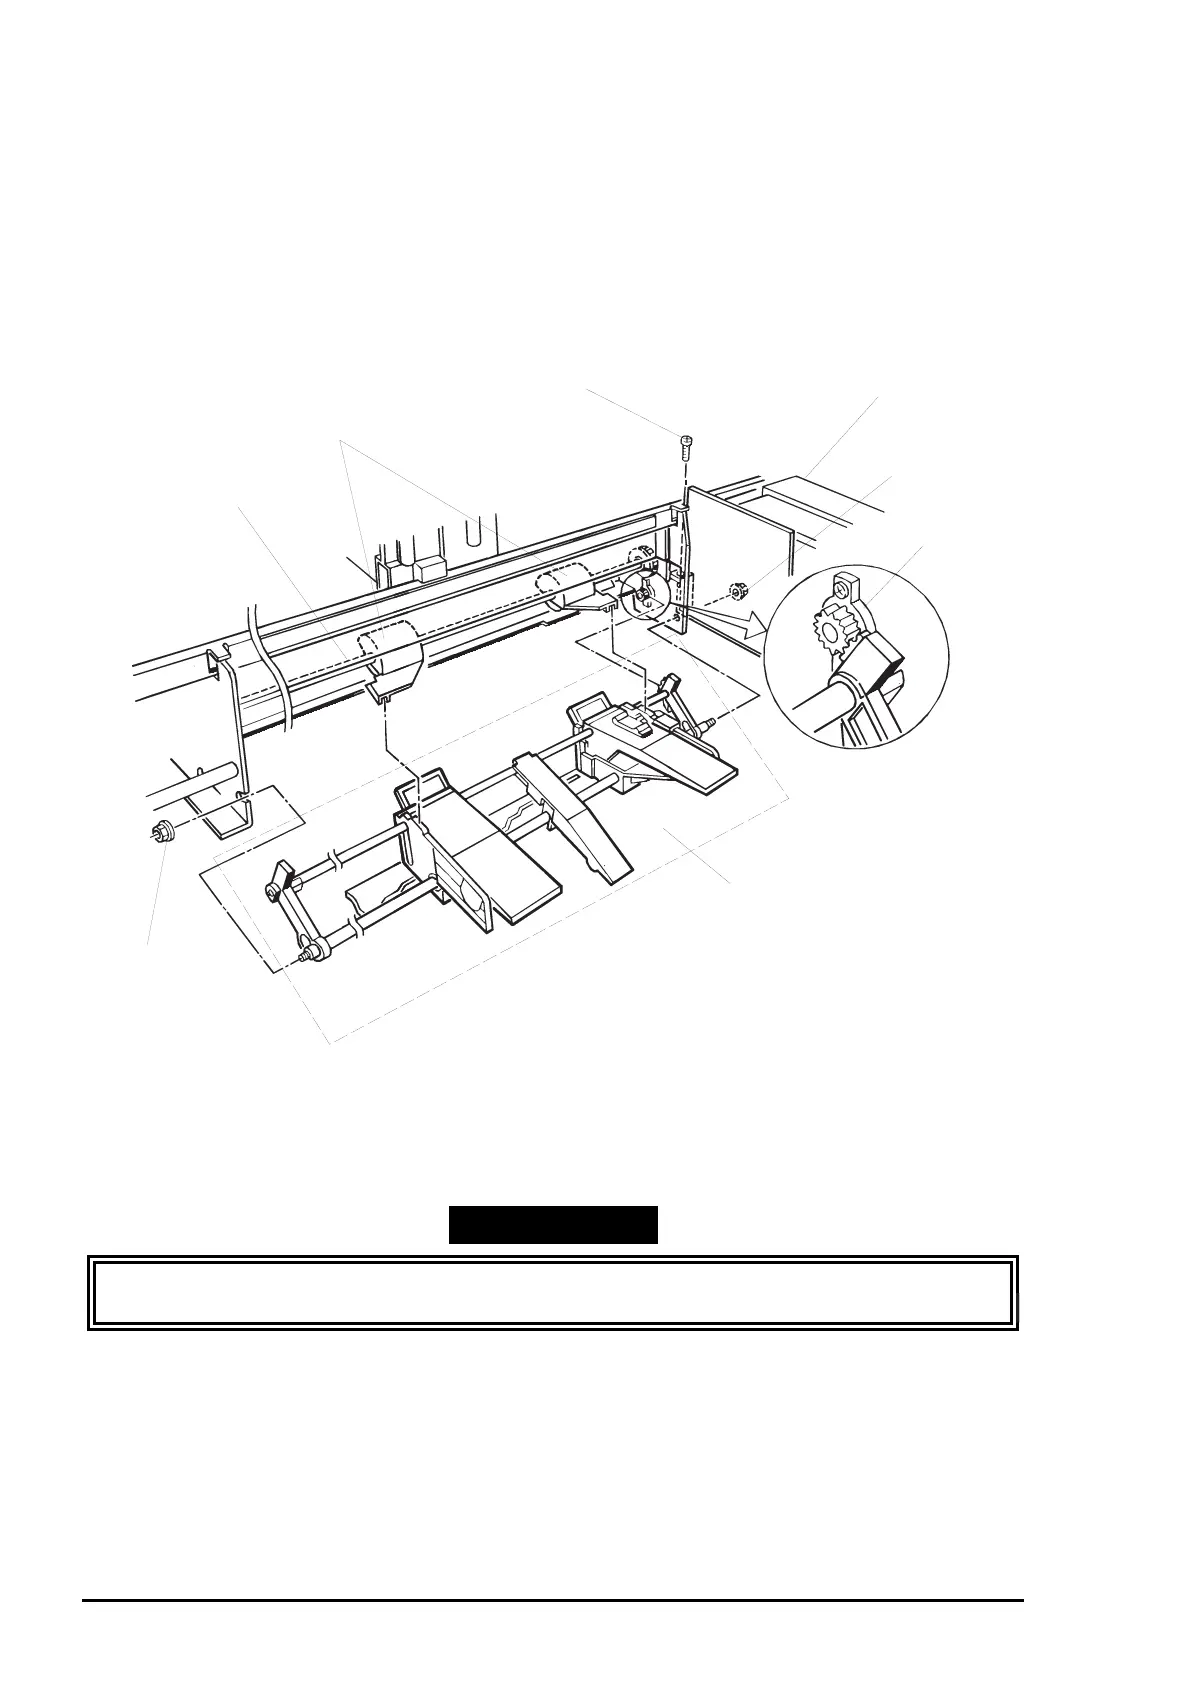
3.2.11.8 Edge Guide Unit Removal
1. Remove the printer mechanism unit. (See Section 3.2.6.)
2. Release the joints for the slide covers on the LD shaft and the edge guides.
3. Disconnect the connector cable for the PQ (Paper Quantity) sensor located at the right side of the right
edge guide.
4. Remove 1 screw (CBS, 3X8) securing the ink cartridge holder to the middle frame so that the flange
nut under the cartridge holder will be removed easily in the next step.
5. Remove 2 flange nuts (M4) securing the edge guide unit to the left frame assembly and middle frame
unit. Then remove the edge guide unit.
WORK POINT
When installing the edge guide unit to the printer mechanism unit, engage the rack on the
edge guide unit with the pinion on the damper.
CBS Screw (3X8)
Cartridge Holder Unit
Flange Nut
Rotary Damper
Edge Guide Unit
Flange Nut
Slide Covers
LD Shaft
Figure 3-21. Edge Guide Unit Removal