EPSON Stylus Photo R1900/R2880/R2000/R2000s/SC-P400 Series Revision I
Disassembly And Assembly Disassembling the Printer Mechanism 120
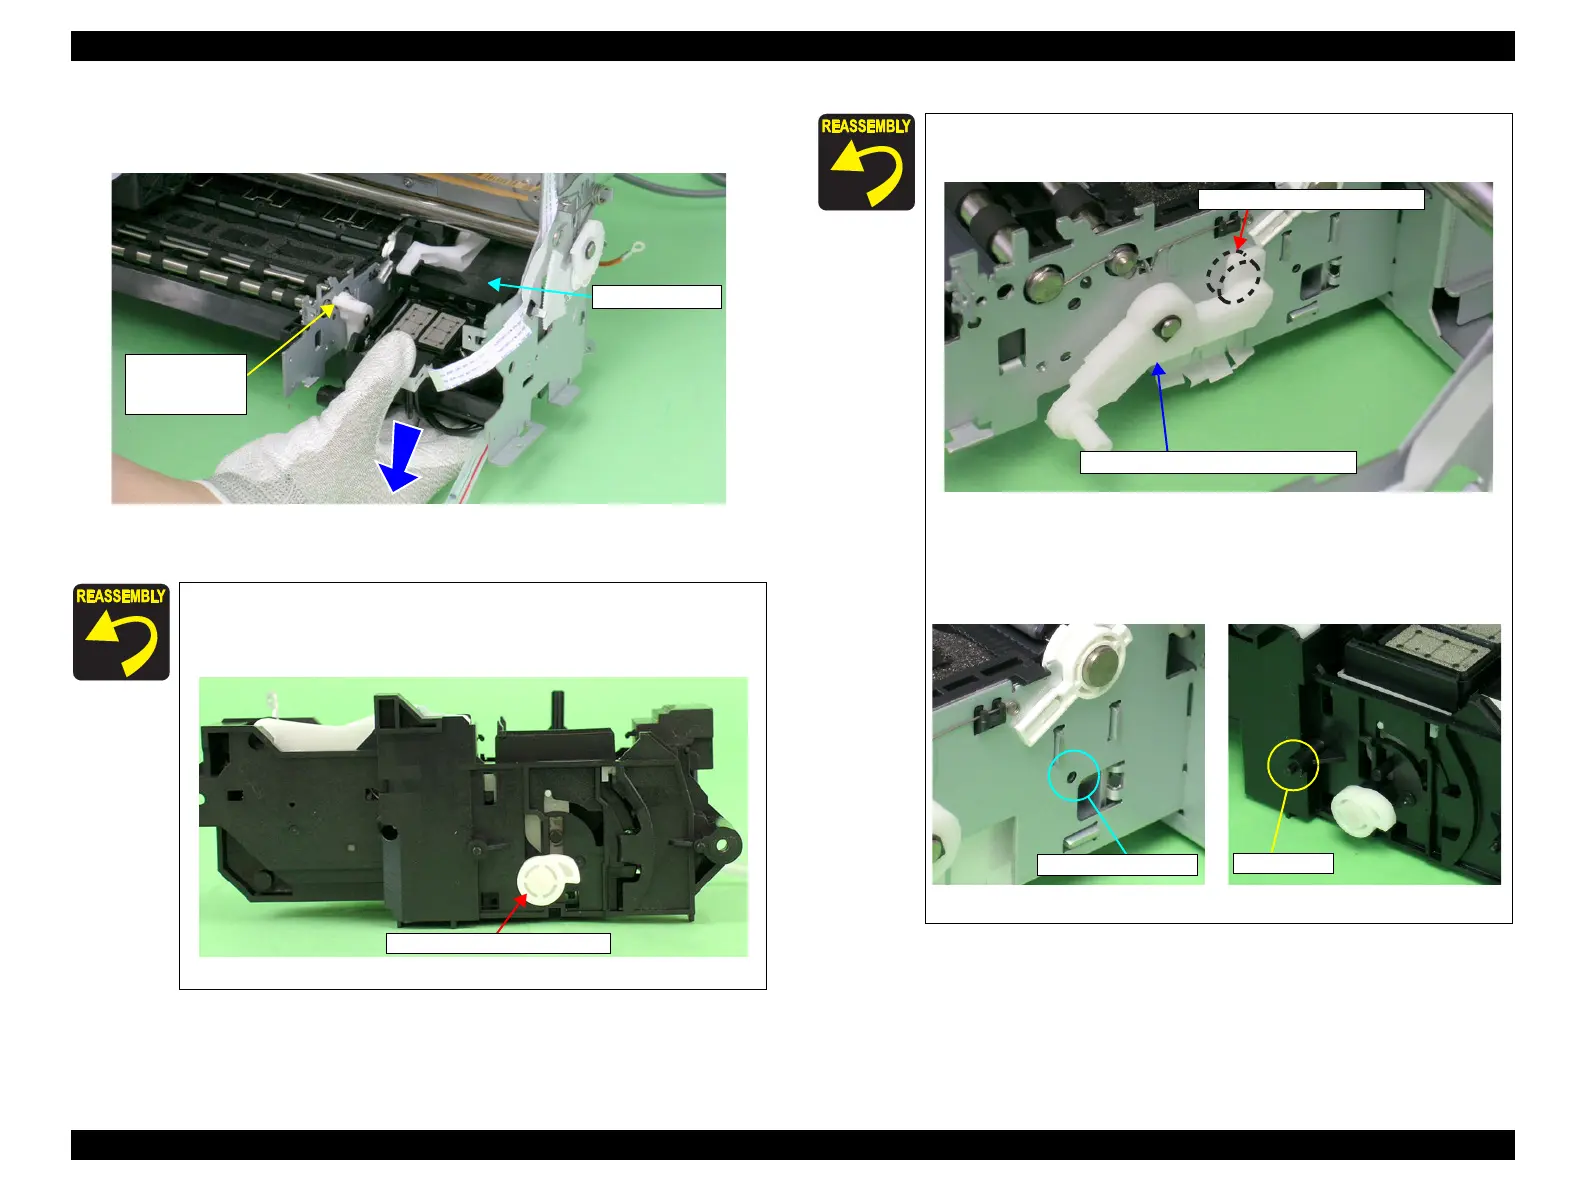
8. Remove the Ink System Unit downwards from the Main Frame keeping the Unit
from coming in contact with the Paper EJ Transmission Lock Lever.
Figure 4-125. Removing the Ink System Unit
When the Ink System Unit is removed from the Printer
Mechanism, the Paper EJ Lock Release Cam may drop off. In
such case, correctly install it referring to the figure below.
Figure 4-126. Installing the Paper EJ Lock Release Cam
Paper EJ
Transmission
Lock Lever
Ink System Unit
Paper EJ Lock Release Cam
Place the Paper EJ Lock Release Cam on the rear side of the
Paper EJ Transmission Lock Lever.
Figure 4-127. Reinstalling the Ink System Unit (1)
Align the positioning hole on the Main Frame with the guide
pin on the Ink System Unit.
Figure 4-128. Reinstalling the Ink System Unit (2)
Paper EJ Lock Release Cam
Paper EJ Transmission
Paper EJ Transmission Lock Lever

 Loading...


