EPSON Stylus Photo R1900/R2880/R2000/R2000s/SC-P400 Series Revision I
Disassembly And Assembly Removing the Sensors 134
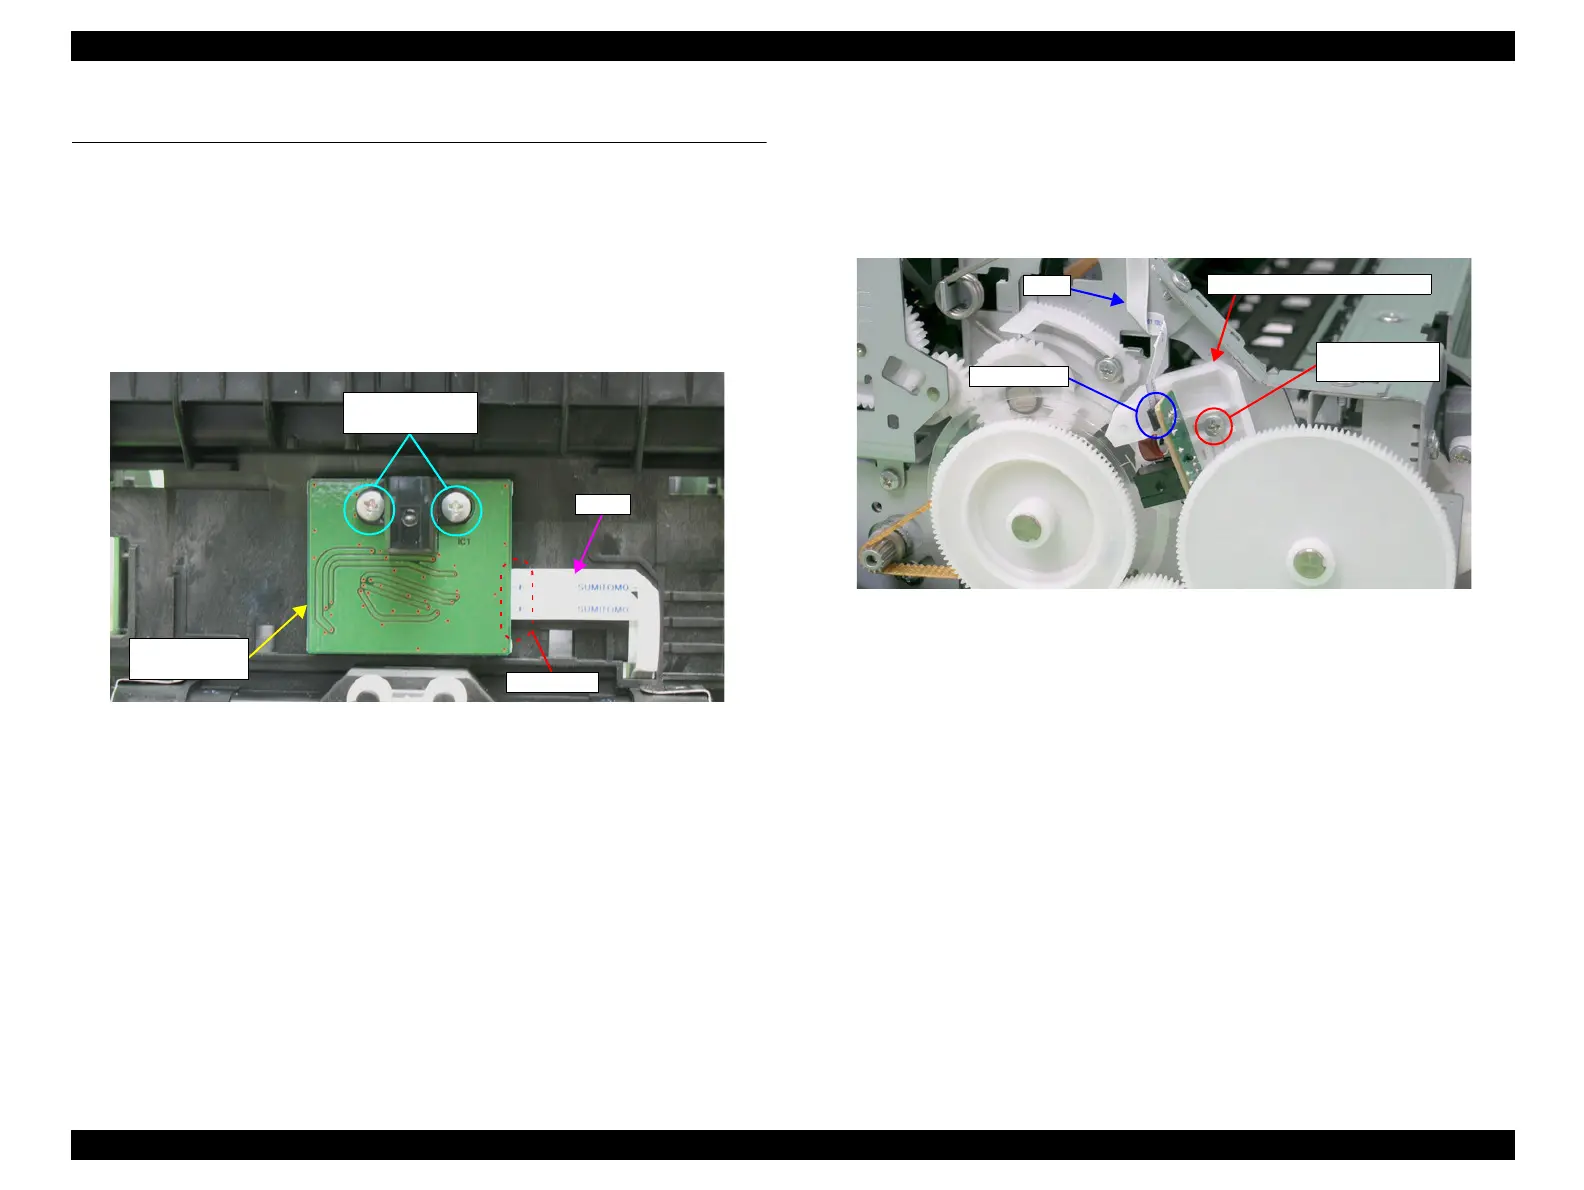
4.6 Removing the Sensors
4.6.1 CR Encoder
1. Remove the Carriage Shaft / Carriage Unit. (p.100)
2. Remove the two C.B.P. M2.6 x 5 screws that secure the CR Encoder Sensor
Board.
3. Disconnect the FFC of the PW Sensor and Ink Mark Sensor from the connector on
the CR Encoder Sensor Board, and remove the CR Encoder Sensor Board.
Figure 4-164. Removing the CR Encoder Sensor Board
4.6.2 PF Encoder
1. Remove the Upper Housing / Printer Cover. (p.83)
2. Disconnect the FFC from the PF Encoder Sensor Board.
3. Remove the C.B.S. M3 x 8 screw that secures the PF Encoder Sensor Holder.
Figure 4-165. Removing the FFC and the Screw that Secures
the PF Encoder Sensor Holder
FFC
Connector
13) C.B.P. M2.6x5
(3±0.5 kgf.cm)
CR Encoder
Sensor Board
PF Encoder Sensor Holder
5) C.B.S. M3x8
(6±1 kgf.cm)
Connector
FFC

 Loading...


