EPSON Stylus Photo R1900/R2880/R2000/R2000s/SC-P400 Series Revision I
Disassembly And Assembly Disassembling the Printer Mechanism 91
4.4 Disassembling the Printer Mechanism
4.4.1 APG Assy
1.
Remove the Upper Housing / Printer Cover. (p.83)
2. Disconnect the APG Motor connector cable from connector CN18 (red) on the
Main Board, and Remove the cable from the ASF Assy.
3. Disconnect the cables from the two APG Sensor connectors.
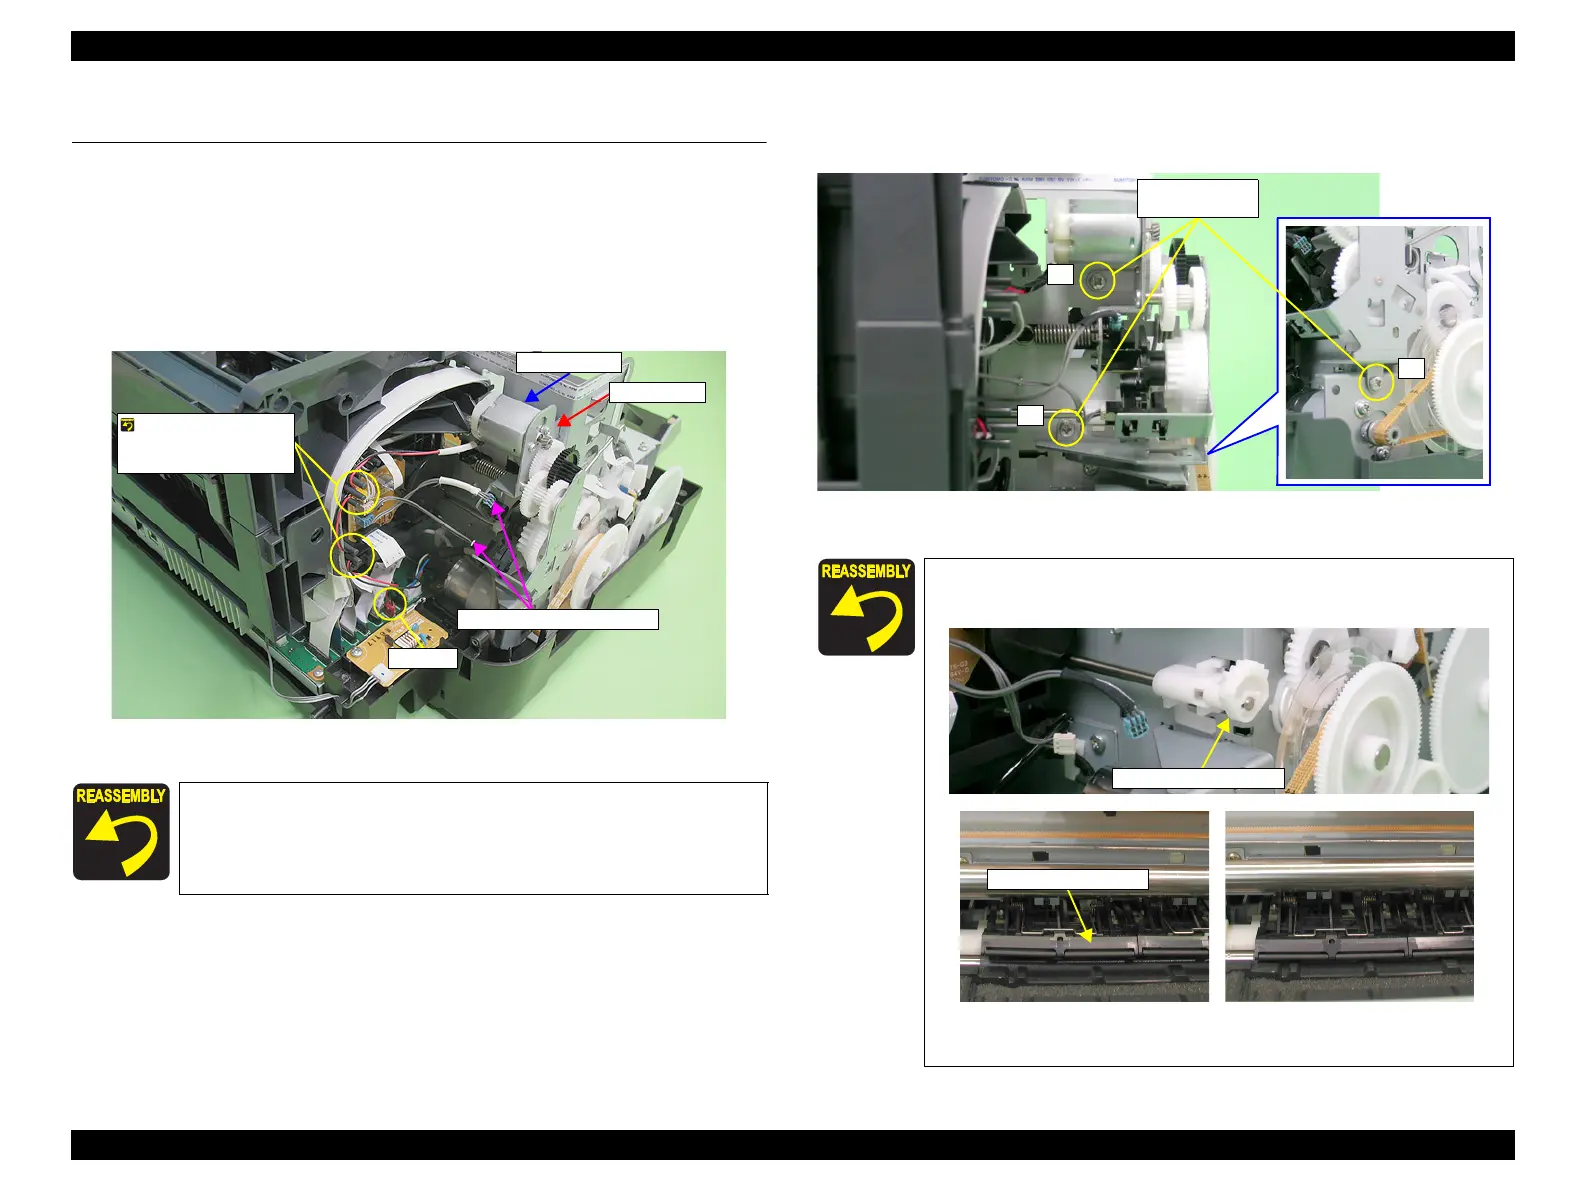
Figure 4-40. Disconnecting the Cables
4. Remove the three C.B.S. M3 x 6 screws that secure the APG Assy, and remove the
APG Assy from the Main Frame.
Figure 4-41. Removing the APG Assy
Referring to Figure 4-40, correctly route the APG connector cable.
Hook the APG Motor
cable on the two tabs
of the ASF Assy.
APG Assy
APG Motor
APG Sensor connectors
CN118
When installing the APG Assy, confirm the FLAG Release Assy
is not in the released state (with the Upper Paper Guide up).
Figure 4-42. Reinstalling the APG Assy
1
2
2) C.B.S. M3x6
(8±1 kgf.cm)

 Loading...


