EPSON Stylus Photo R1900/R2880/R2000/R2000s/SC-P400 Series Revision I
Disassembly And Assembly Removing the Boards 87
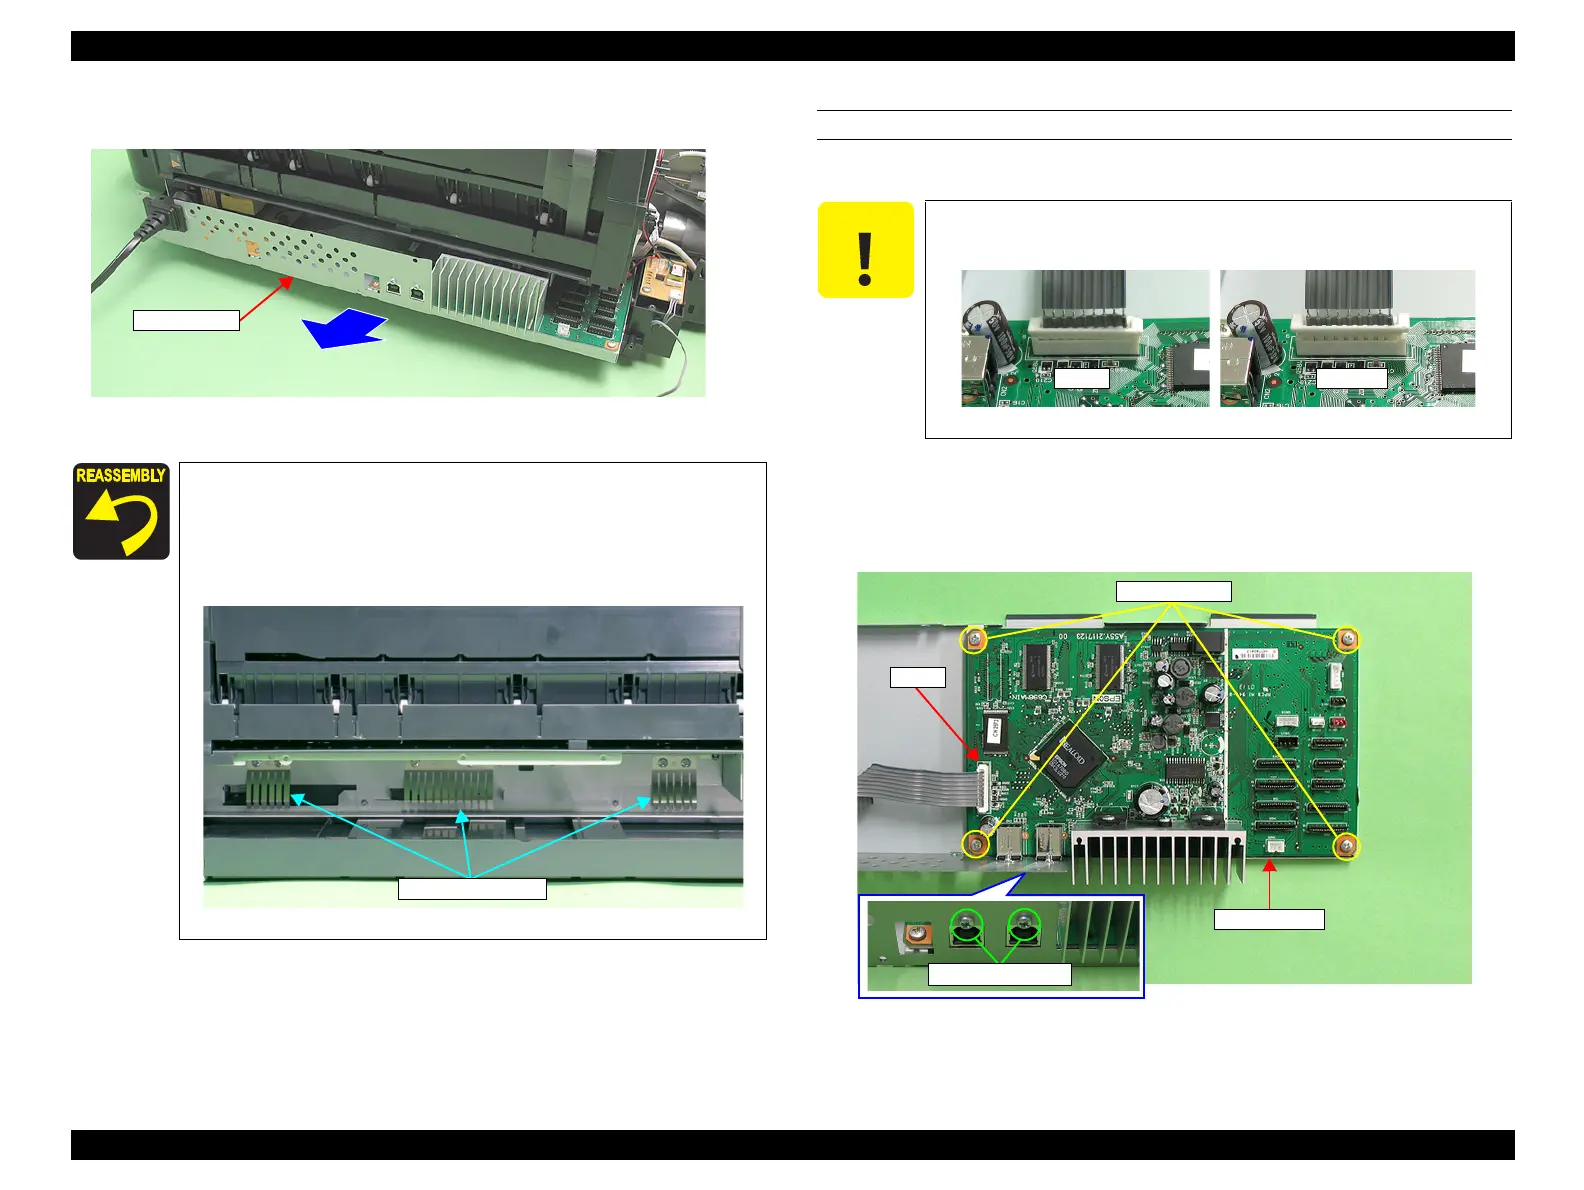
4. Pull out the Board Assy from the Printer.
Figure 4-27. Removing the Board Assy (2)
REMOVING THE MAIN BOARD
1. Remove the Board Assy (Main Board/Power Supply Board). (p.86)
2. Disconnect the Power Board cable from connector CN60 on the Main Board.
3. Remove the four C.B.S. M3 x 6 screws and two C.B.P. M2.6 x 5 screws that
secure the Main Board and remove the Main Board from the Board Assy.
Figure 4-30. Removing the Main Board
Confirm that the FFCs do not cross each other first, then
connect the FFCs and the cables to the Main Board while
paying attention to the edge of the Shield Plate.
Take care not to place the Board Assy onto the three Ground
Plates.
Figure 4-28. Reinstalling the Board Assy
When disconnecting the Power Board cable, be sure to unlock
CN60 on the Main Board.
Figure 4-29. Handling the Power Board cable (CN60)

 Loading...


