Epson Stylus Pro 7700/7710/7700M/7710M/7900/7910/9700/9710/9900/9910/WT7900/WT7910/9890/9908/7890/7908 Revision I
DISASSEMBLY & ASSEMBLY Disassembly and Assembly Procedure 276
Confidential
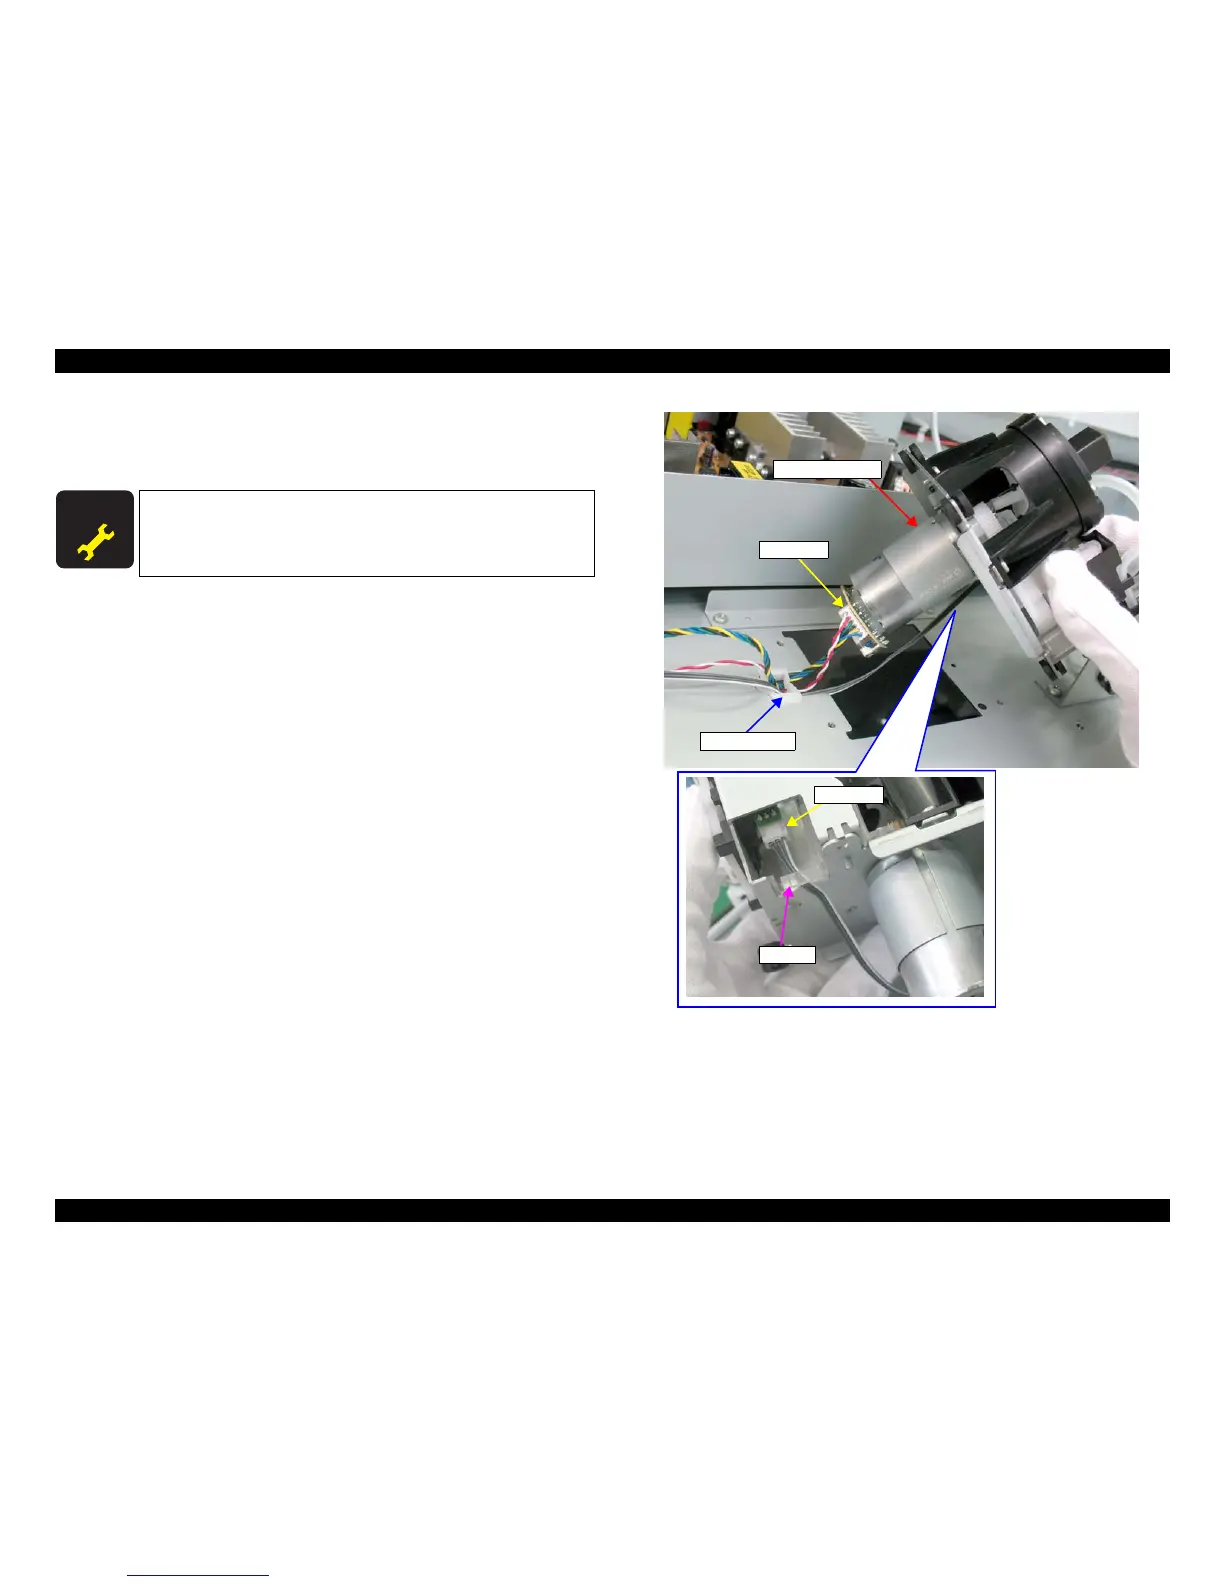
4. Hold up the Pressurizing Unit, and release the harness from the clamp and the
cable retainer.
5. Disconnect the two connectors, and remove the Pressurizing Unit.
M
Figure 4-124. Removing the Pressurizing Unit
A D J U S T M E N T
R E Q U I R E D
Be sure to refer to Chapter 5 “Adjustment” (see p351) and perform
specified adjustments after replacing the Pressurizing Unit.
<Adjustment Item>
1. Counter Clear (Pressure Motor)
Connector
Clamp
Pressurizing Unit
Connector
Cable retainer

 Loading...


