Epson Stylus Pro 7700/7710/7700M/7710M/7900/7910/9700/9710/9900/9910/WT7900/WT7910/9890/9908/7890/7908 Revision I
DISASSEMBLY & ASSEMBLY Disassembly and Assembly Procedure 201
Confidential
4.4 Disassembly and Assembly Procedure
This section describes procedures for disassembling the components allowed to be
disassembled. Unless otherwise specified, disassembled units or components can be
reassembled by reversing the disassembly procedure.
4.4.1 Special operation for servicing
4.4.1.1 Unlocking the Carriage Unit manually
1. Remove the Control Panel. (p203)
2. Remove the IC Cover R and IC Shaft Cover R. (p206)
3. Remove the Maintenance Tank R. (p208)
4. Remove the Right Cover. (p209)
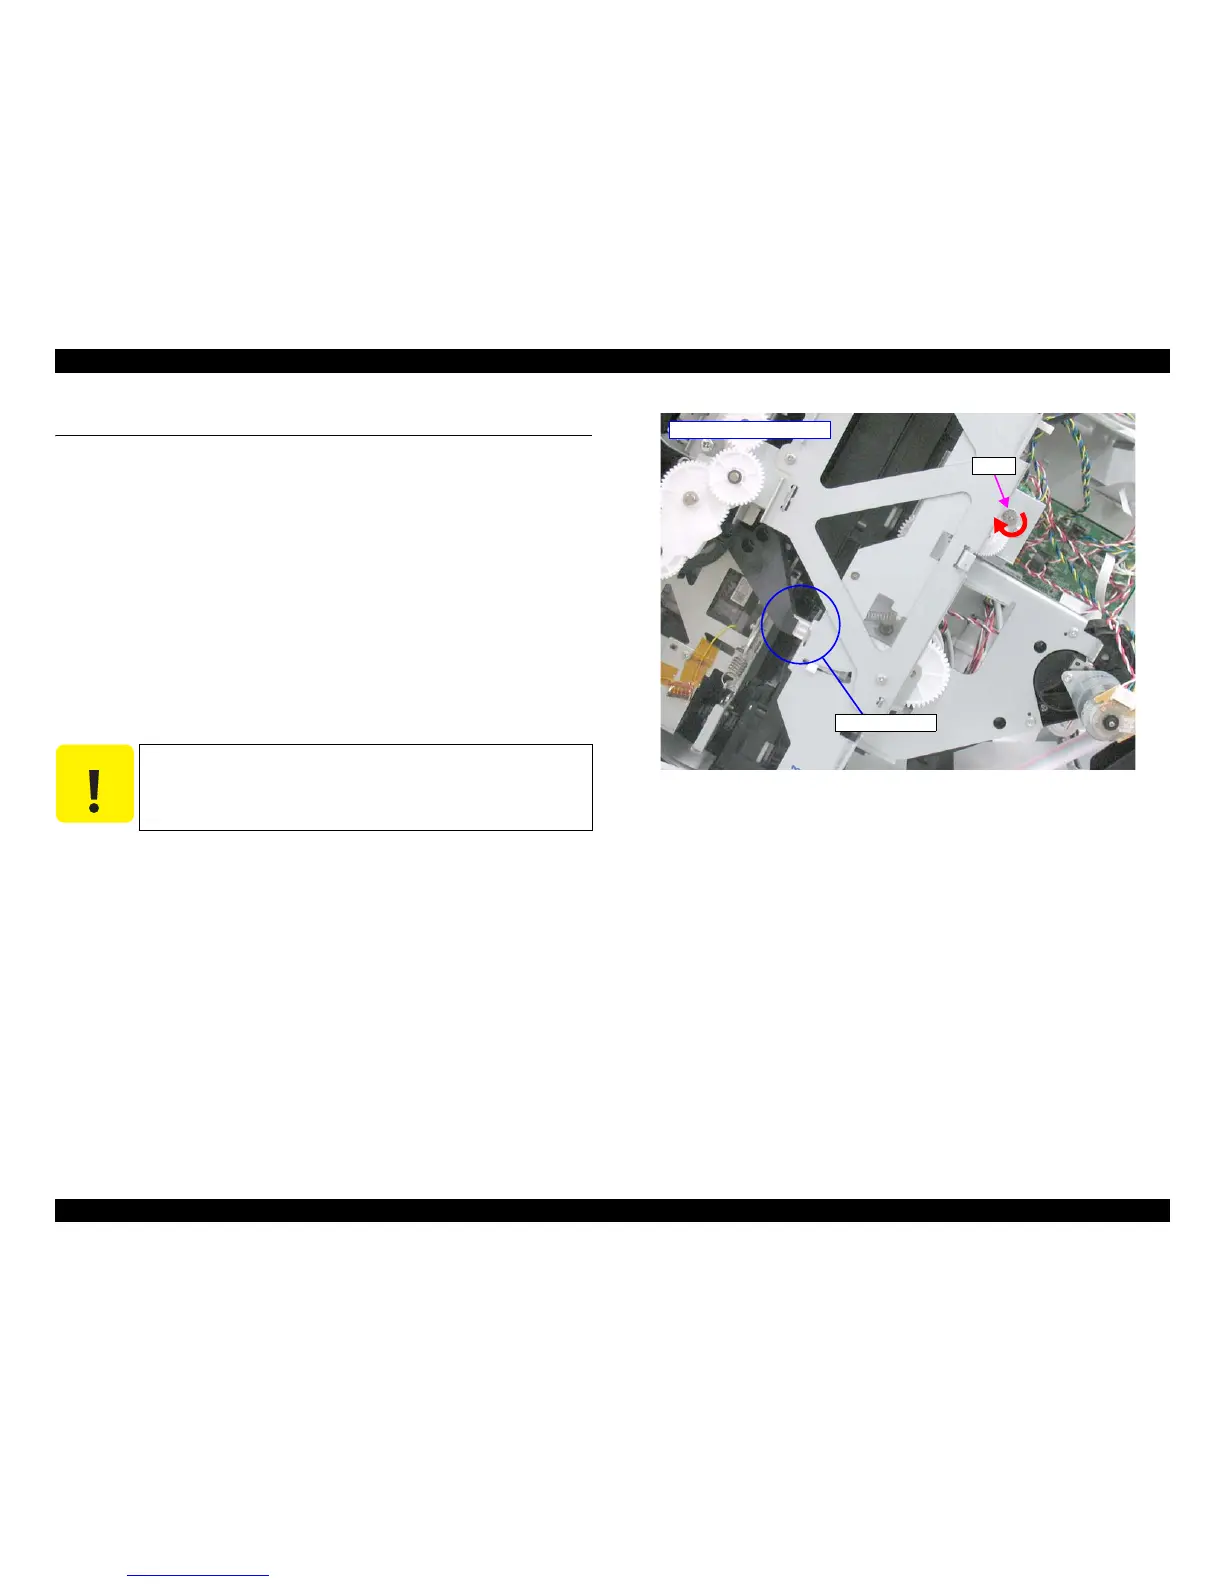
5. Rotate the gear shown in the figure clockwise to unlock the Carriage Unit.
Figure 4-12. Unlocking the Carriage Unit
C A U T I O N
When unlocking the lock manually according to this procedure,
turn on the printer to initialize it after reassembling. (In this
initialization process, the Carriage Unit will be locked, and the
Printhead will be capped.)
- As seen from the right -
Gear
Locked position