99
Related tasks
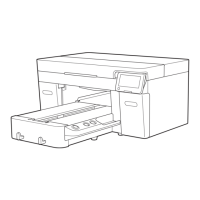
Adjusting the Height of the Platen
Fine-tuning Print Head Alignment
Related topics
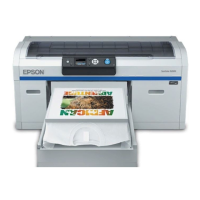
Loading a T-shirt
Fine-tuning Print Head Alignment
You can fine-tune adjustments after performing a head alignment. Make sure the height adjustment lever
is set to the 1 position.
Each movement of one step in platen height is +3 of Offset Head Alignment value. For example, if you
move the height adjustment lever from 1 to 3, the offset head alignment value is +6. When you subtract
the garment thickness (1 for most T-shirts) from the offset head alignment value, you get a final offset
value of +5. Select this final offset value as the Offset Head Alignment setting.
Position number
(platen height)
Starting offset value Garment thickness
(T-shirt example)
Final offset value
1 0 –1 –1
2 +3 –1 +2
3 +6 –1 +5
4 +9 –1 +8
1. Adjust the height of the platen by moving the height adjustment lever (usually to position 3 for T-
shirts).
2. Press the right arrow button on the control panel to display the menu.
3. Press the up or down arrow button to highlight Printer Setup, and press the right arrow button to
select it.
4. Press the right arrow button to select Offset Head Alignment.
5. Press the up or down arrow button to select +5 and press the OK button.
6. Press the left arrow button twice to return to the home screen.
Parent topic: Print Head Alignment
Related tasks
Aligning the Print Head

 Loading...