74
Software Setting Mode
In the software setting mode, you can set the following customized values and memory switches
which are software switches of this printer.
Starting the memory switch setting mode
Follow the steps below to run this mode.
1
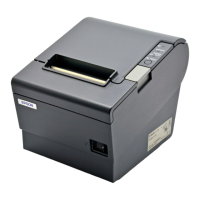
Install the roll paper.
2
Close the roll paper cover.
3
While pressing the Feed button, turn the power on. (Keep pressing the
button until the printer starts printing.)
The printer starts printing the current status of the printer.
When the printer finishes printing the printer status, the following message is printed and
the POWER LED flashes. (The printer is now in the self-test wait mode.):
“Select Modes by pressing Feed button.
Continue SELF-TEST: Less than 1 second
Mode Selection : 1 second or more”
4
Press the Feed button. (Keep pressing the button until the printer starts printing.)
The printer starts printing instructions.
5
After the printing has been completed, press the Feed button 2 times.
6
Press the Feed button again. (Keep pressing the button until the printer
starts printing.)
The printer starts printing instructions. Follow them.
After one setting has been completed, the printer stores the setting and then starts initializing.
After that, the printer returns to the normal mode.
Print density Automatic paper reduction
Interface mode USB class
Print speed NV graphics memory capacity
Command execution during offline Transmission of status notice
Buzzer Settings Automatic power off time
Paper position immediately after the specific
state
Column emulation settings
For detailed information about customized values and memory switches, see "Software
Settings" on page 46.
 Loading...