31
Chapter 2 Setup
2
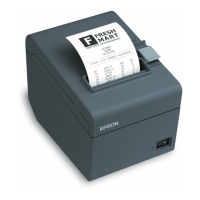
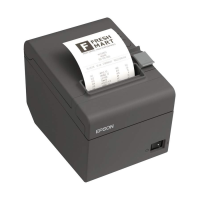
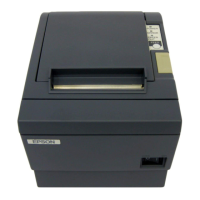
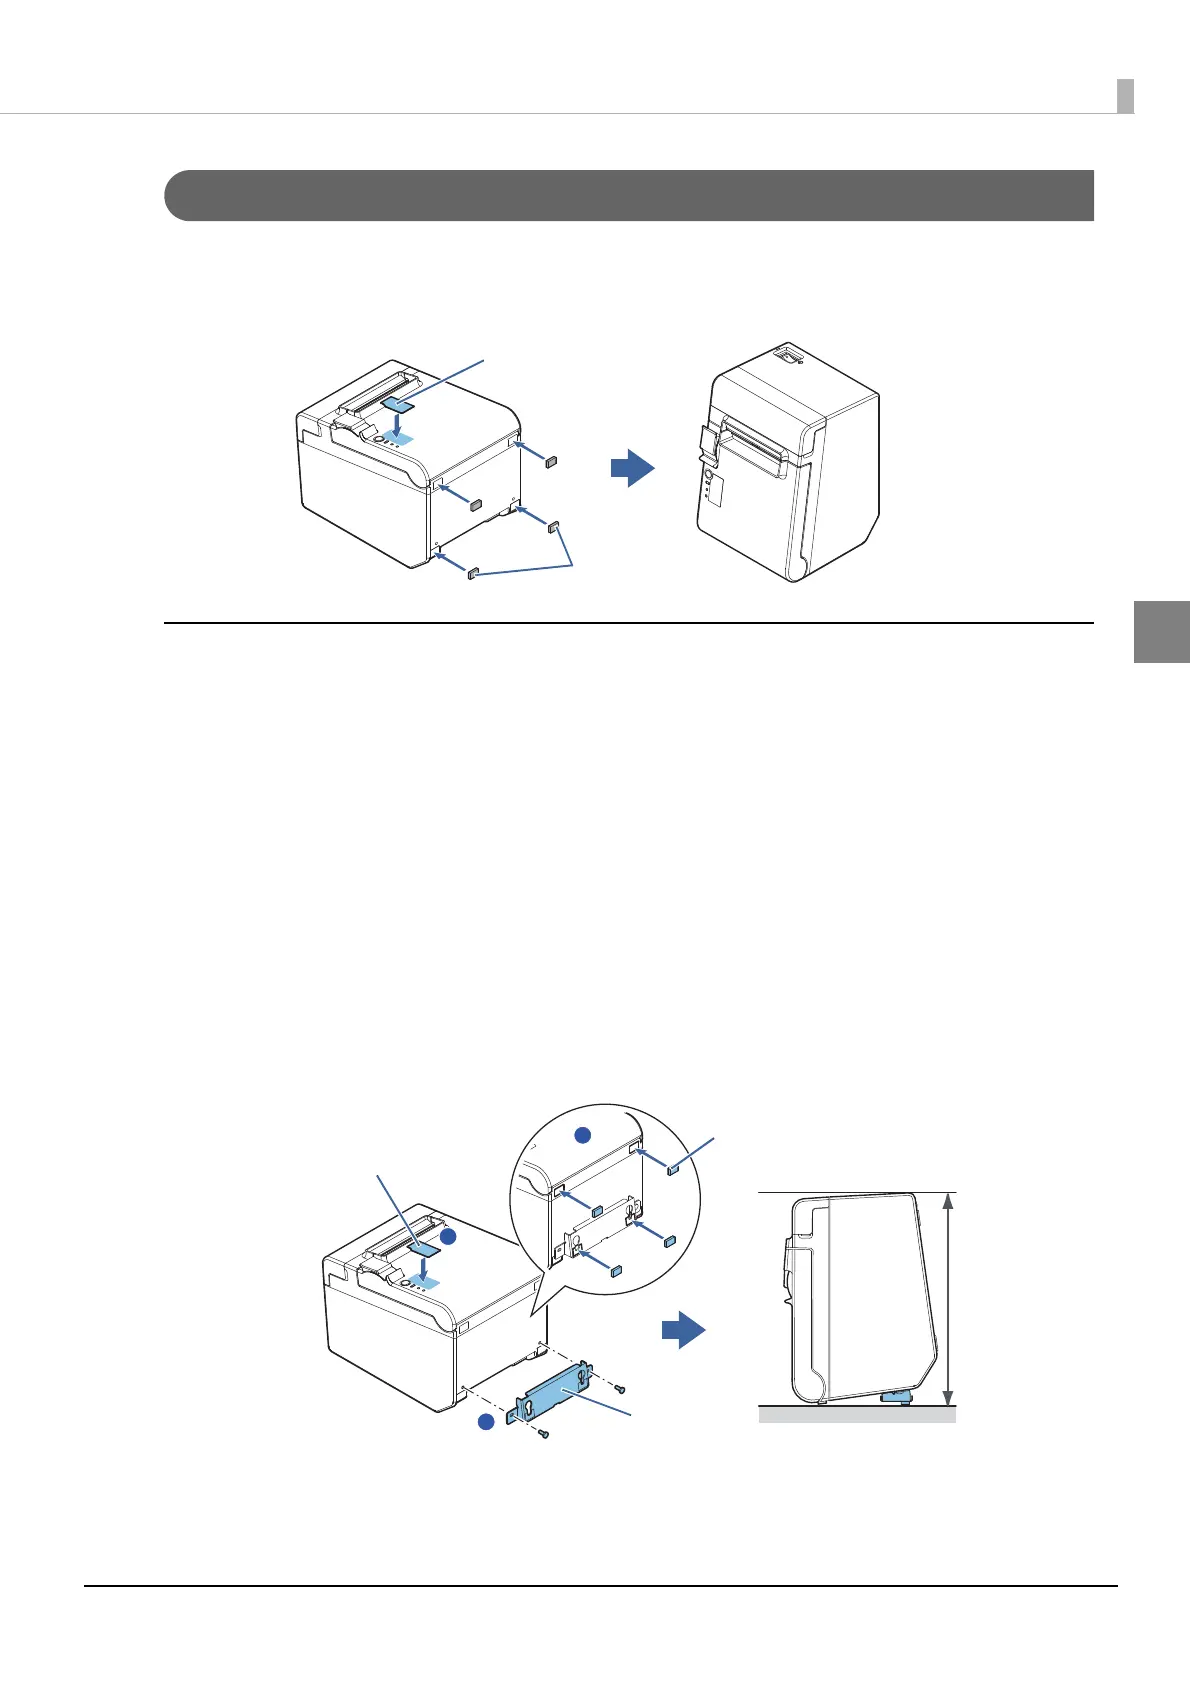
Installing the product Vertically
When installing the product vertically, be sure to attach the included control panel label for vertical
installation on the roll paper cover, and attach 4 rubber feet in the rectangular indents in the product
case, as shown in the illustration below.
Vertical installation
You can install the product so that the roll paper cover is upright to the mounting surface using the
included wall hanging bracket.
1
Attach the control panel label for vertical installation on the roll paper
cover.
2
Install the wall hanging bracket on the product, and fix it using 2 included
screws.
3
Attach 2 rubber feet in the rectangular indents in the product case, and
attach 2 rubber feet within the scribed line on the hanging bracket.
4
Place the product with the wall-hanging-bracket-side down.
Control panel label for
vertical installation
Rubber feet
1
2
3
Wall hanging
bracket
Rubber feet
Control panel label
for vertical installation
207 mm
{8.15"}
 Loading...