Installing the Hardware
6. Push on the ejector levers until they are parallel with the front panel; this
action fully seats the connectors with the backplane.
7. Secure the card in the chassis by tightening the screw at the top and
bottom of the front panel. Use a Phillips screwdriver to tighten each screw
to a maximum torque of 5.0 inch-lbs (0.6 Newton-meters).
8. Repeat steps 2 to 7 for each card to be installed.
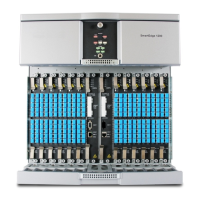
2.7.1 Install Blank Cards
Caution!
Risk of equipment damage. High temperature can damage router cards. Insert
a blank card in each empty slot.
When all cards have been installed, insert a blank card into every empty slot,
and tighten the captive screws at the top and bottom of the front panel.
2.7.2 Install Transceivers
Caution!
Risk of severe damage to your eyes. Do not stare into the connector or directly
view the laser beam emerging from the connector. All versions of the optical
cards are Class 1 products, which use lasers to convert electrical signals to
optical signals that can damage your eyes. Keep the connectors covered until
you are ready to connect the fiber-optic cables.
Install Transceivers
Figure 13 Installing a GBIC Transceiver
35
27/153 30-CRA 119 1170/1 Uen A | 2010-04-09