37
ELECTRIC SHOCK CAN KILL.
• DoNOToperatetheunitwiththecoverremoved.
• DoNOTapplypowertotheunitwhileholdingorcarryingtheunit.
• DoNOTtouchanytorchpartsforwardofthetorchhandle(nozzle,heatshield,elec-
trode, etc.) with power switch on.
SECTION 4 OPERATION
ARC RAYS CAN BURN EYES AND SKIN; NOISE CAN DAMAGE HEARING.
• WearweldinghelmetwithNo.6or7lensshade.
• Weareye,ear,andbodyprotection.
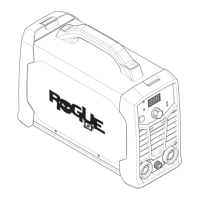
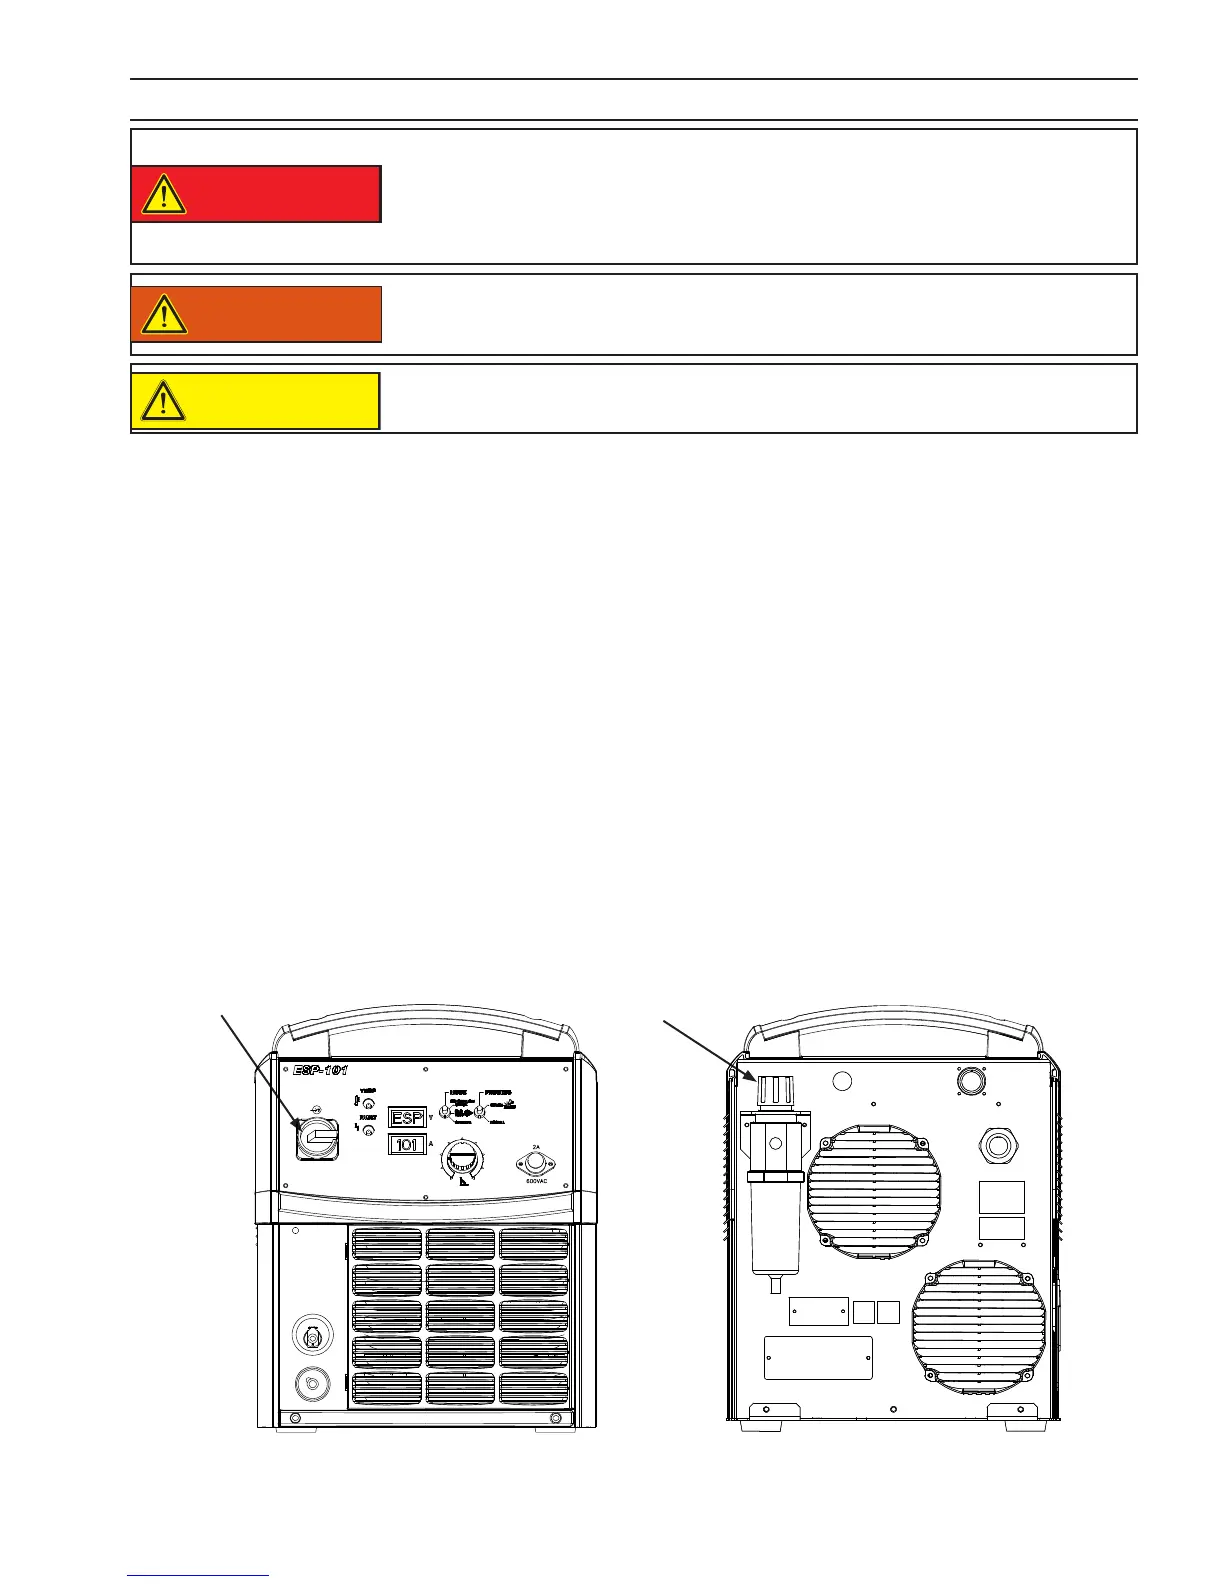
Figure 4-1. ESP-101 Controls
Position the ESP-101 at least 10 feet (3 meters) from the cutting area.
Sparks and hot slag from the cutting operation can damage the unit.
4.1 ESP-101 Controls
A. Power Switch (ON-OFF)/(I-O). Turn knob clockwise to "ON" ("I") position for normal operation. Turn knob
counterclockwise to switch "OFF" ("O").
Note that with the switch in the "ON" ("I") position, power is provided to the main transformer and the low voltage
control circuitry. In the "OFF" ("O") position, the unit is shut down; however, power is still present in the unit. To remove
power from the power source, power must be disconnected at the line disconnect switch or the fuse box.
B. Pressure Regulator. Regulates cut gas pressure. Rotate clockwise to increase and counterclockwise to de-
crease. Pressure reading is indicated on the lower display screen. Pressure unit of measure is indicated on the
upper display screen.
A
Note:
The unit is shipped from the factory with the regulator adjusted to deliver 80 psig (5.5 bar) to the torch from a 95 psig
(6.5 bar) supply. If supply pressure to the machine is greater than 95 psig (6.5 bar) up to the maximum recommended
150 psig (10.3 bar), rotate pressure regulator knob counterclockwise to reduce the pressure delivered to the torch
back to 80 psig (5.5 bar). Follow GAS TEST instructions, see D.2.
B
Note:
With or without Junction Box installed: When using 4.5' (1.4 m) or 17' (5.2 m) torch assemblies, plasma gas settings
should be reduced 5 - 10 psi (.35 - .69 bar) for optimum performance.
4.0 Operation
WARNING
DANGER
CAUTION