Press to release the lens.
If necessary, retouch the lens.
Otherwise, start edging the second lens. Select the lens directly on the screen, on the left or right of the
work area.
The edging screen for the second lens is displayed. All finishes chosen and the modifications made
are kept.
3. PERFORM A HIGH-BASE BEVEL
This section describes the procedures for the creation of a high-base bevel:
• Description of the high-base bevel screens, (F p.33)
• Perform a high-base bevel in “automatic trajectory” mode or “front surface tracking” mode. (F p.34)
The use of the high-base bevel is determined by two parameters: frame and lens.
• Concerning the lens, the main constraint is the thickness of the nasal and temporal edges.
• Concerning the frame, the crucial elements are the bridge and shape of the groove. The hinge is an
additional factor in the case of a metal frame, the arms for a plastic frame.
For this job, the lens base must always match the frame base perfectly. Too great a difference
between the two could be detrimental to the quality of your job.
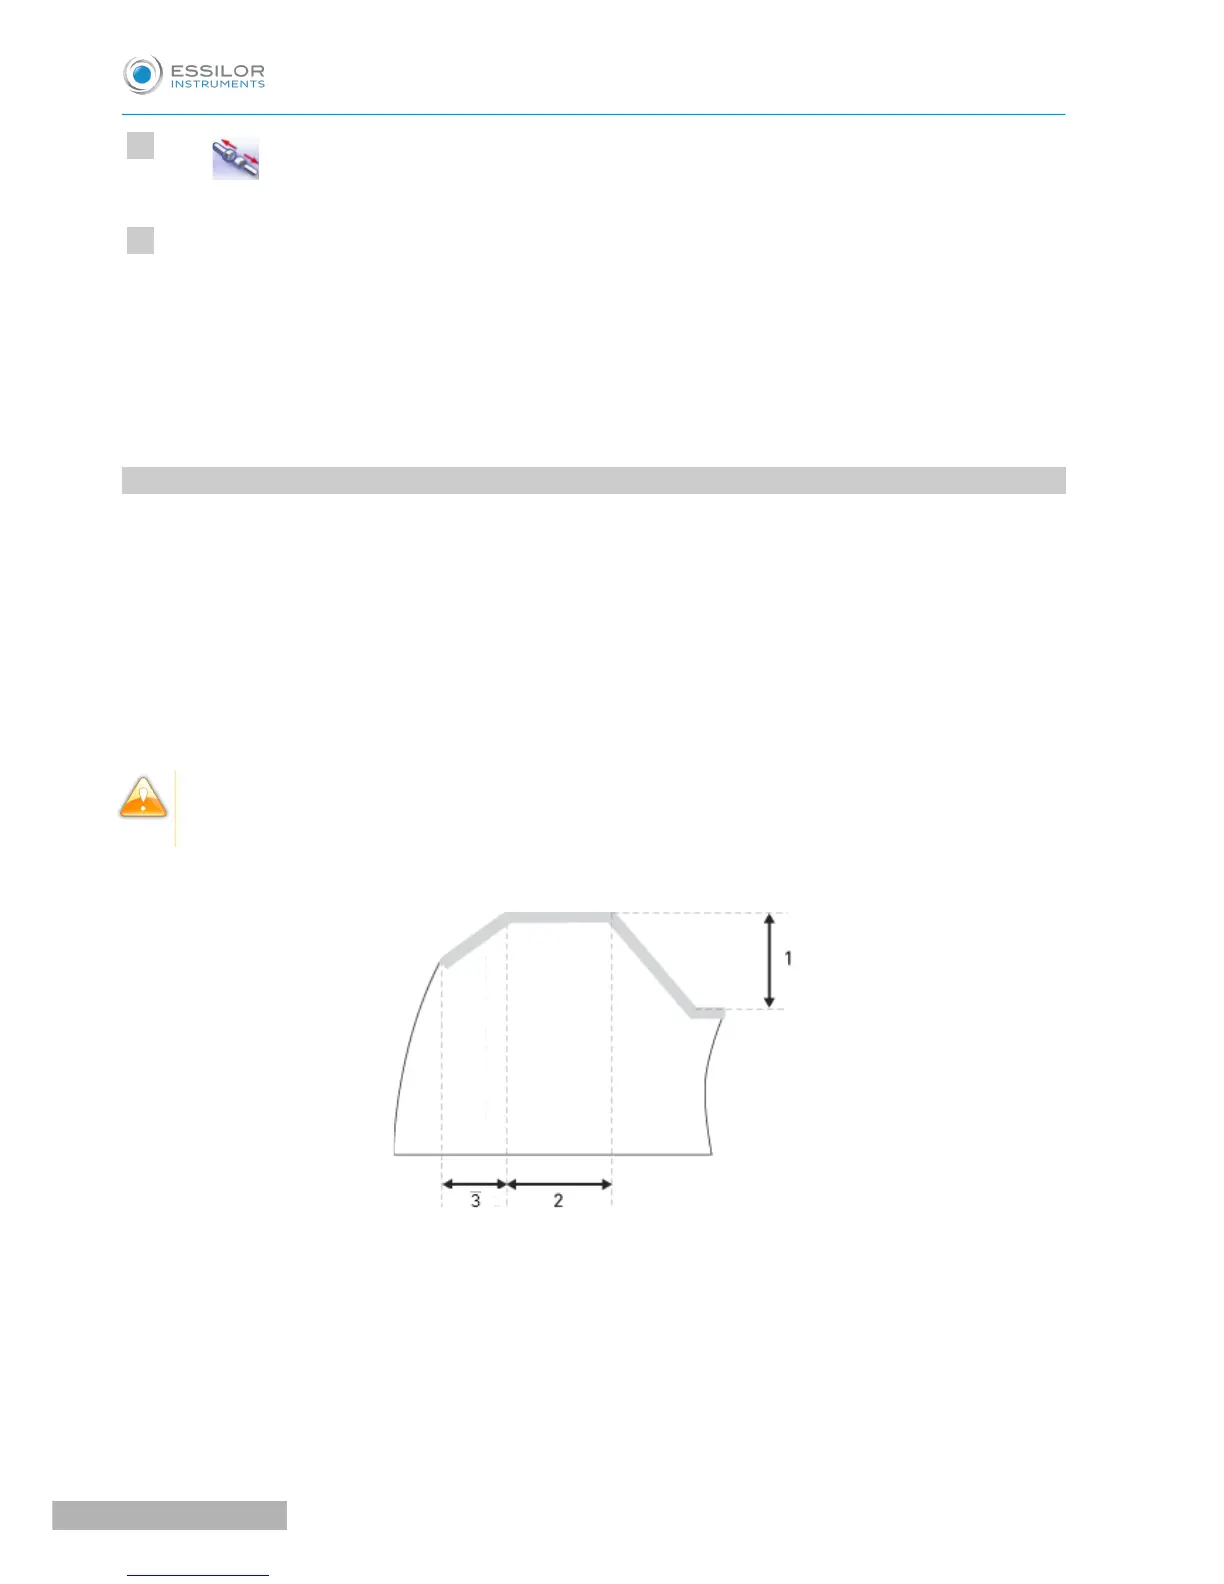
Cross-section of a high-base bevel
1: Shelf bevel value
2: Width of the flat side of the bevel
3. Front surface tracking value