4. CHANGING OR CLEANING THE EDGER TOOLS
This menu lets you change the edger’s “small tools” module:
• to replace them with tools of a different diameter (drill bits) or clean them (mill bit and drill bit),
• to replace them with new tools,
• to install the Step++ tool,
• to install the engraving tip.
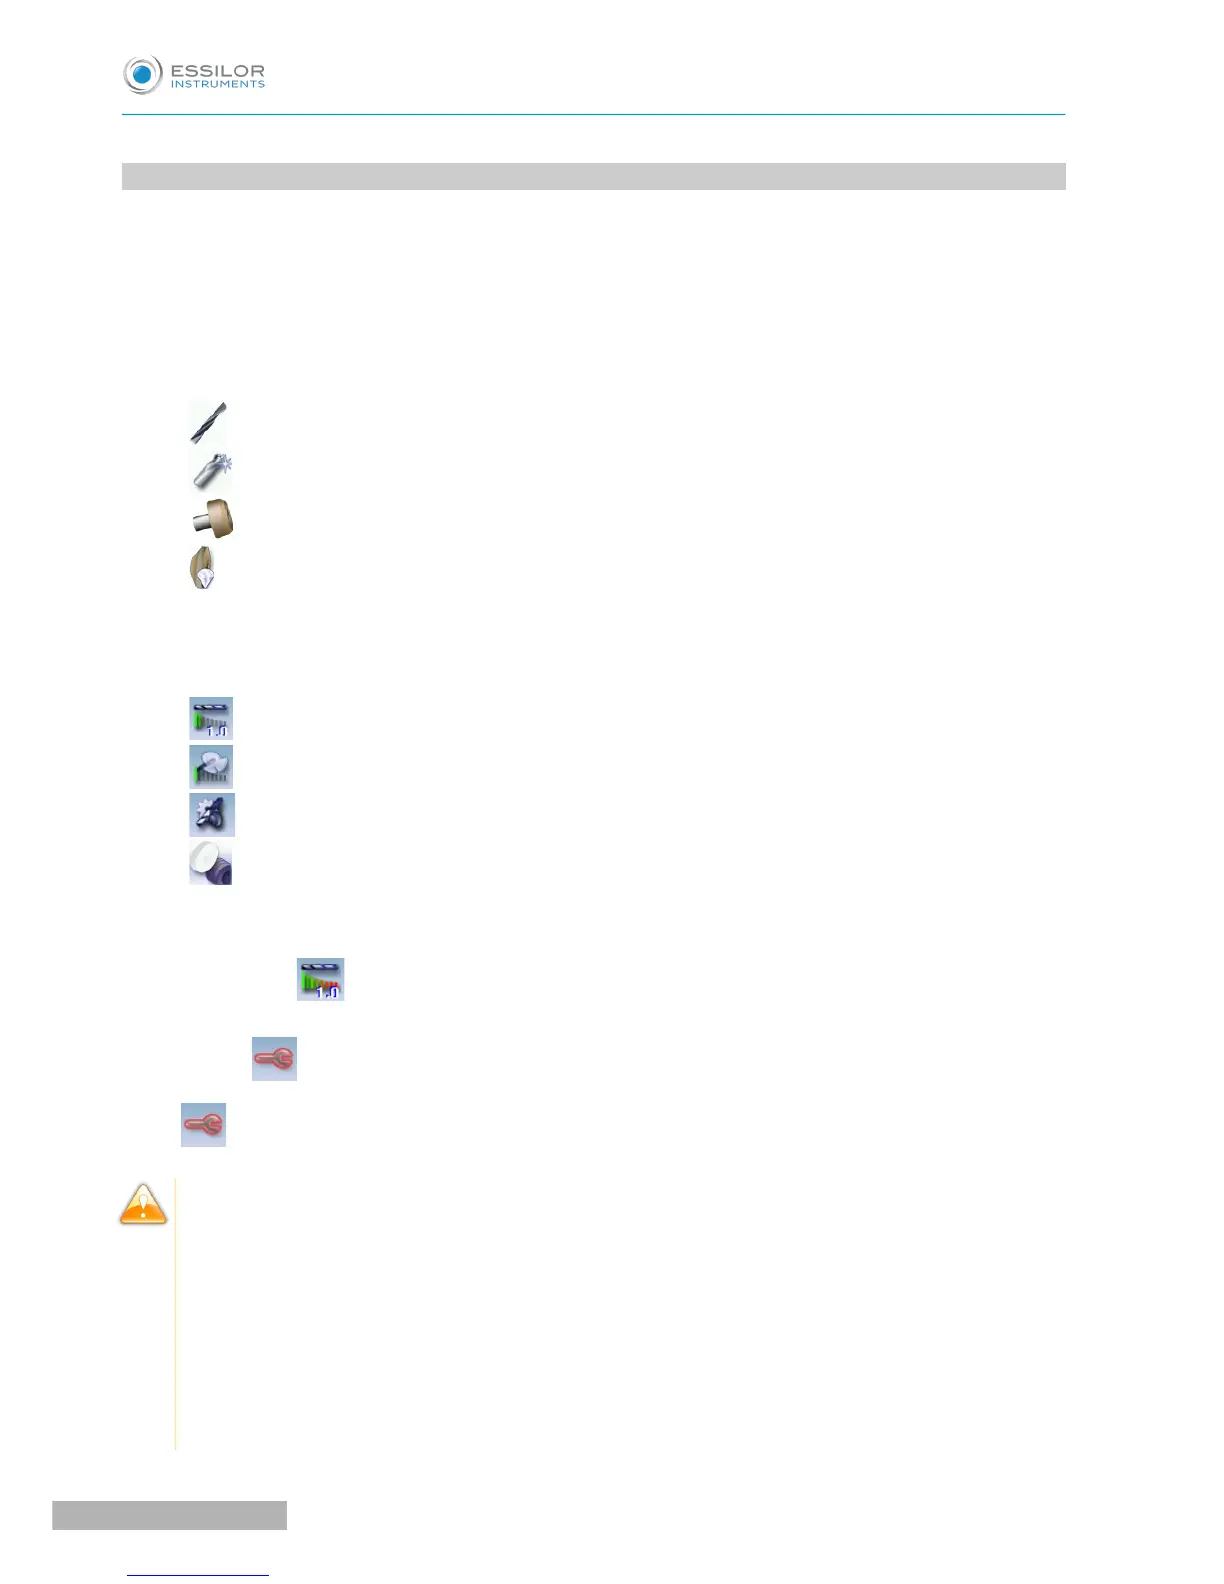
You can replace:
• The drill bit
• The mill bit
• The Step bevel++ wheel
• The chamfering wheel
Wear indicators
Indicators in the information bar inform you of the wear level of certain tools:
• Wear of the 1.0 mm or 0.8 mm drill bit
• Mill bit wear
• Wear of the chamfering wheel and the step++ wheel
• Dressing of the polishing wheel: press above to directly access the dressing menu
The colour of the indicator informs you of the level of wear of the tool:
• Green for a new tool
• Blinking red for a worn-out tool that needs to be changed: press on it to directly access the tool
change menu.
The indicator enables you to know the level of wear of the spindles (change by a technician only):
press to directly access the spindle preventive maintenance.
• Always use tools recommended by Essilor.
• Never use the edger if one of the tools is missing from the module. Never remove a used or
broken tool if you cannot replace it.
• All tools coming into contact with the module must be clean and dry in order to prevent water
from seeping into the mechanisms.
• The use of broken tools may cause lens breakage or errors with respect to lens shape or drill-
hole diameter: change the tools as soon as they are worn (check the indicators and statistics of
your edger).
• Incorrect positioning of the tools may cause breakage or errors with respect to lens shape or
drill-hole diameter: fully insert the tools and tighten the screws as much as possible.