8. PERFORM A DRILLED JOB
You have the option of adding or modifying drillings on a job.
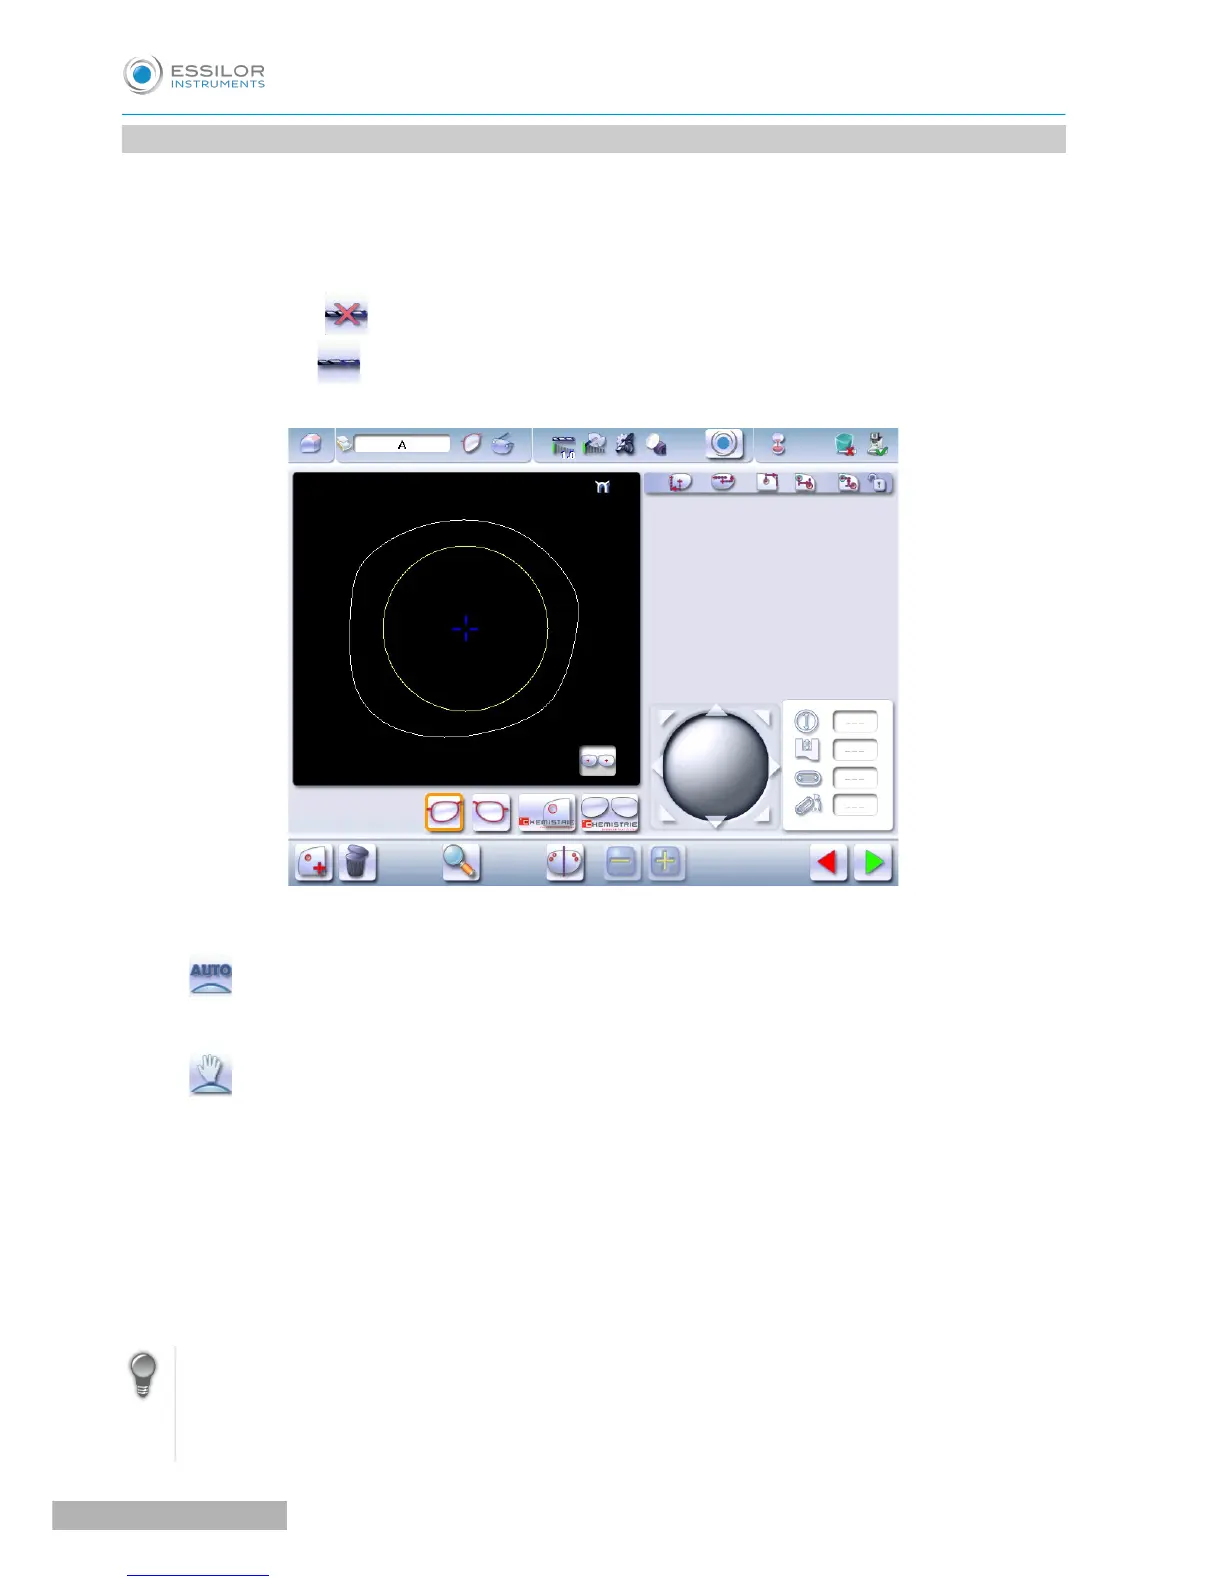
The function can be accessed on the edging screen:
Carry out:
• a short click on (when the job does not show drilling),
• a long click on (when the job already shows drilling).
The following screen will appear:
You can do the drilling in automatic mode or in customized mode:
• In automatic mode (F p.63), you do not have anything to configure. The drilling angle consists of
the average value calculated at right angles with the front surface of the lens for each drilling point.
The lens edging starts automatically after the feeling cycle.
• In customized mode (F p.65), you can do the following:
◦ Drilling at right angles with the front or rear surface: you can modify the diameter but not the
drilling angle which is automatically calculated by the edger based on the lens curve.
◦ Customized drilling: you can modify the diameter and angle for each drilling point.
• You can consult the description of the customized drilling screen (F p.64).
Two different diameter drill bits are available: a 1 mm bit and a 0.8 mm bit. If the diameter of the drilling
point is smaller than that of the installed drill bit, an error message is displayed. Change the drill bit or
modify the diameter of the drilling points.
You can also create various combinations:
• Drilled bevel
• Drilled high-base bevel