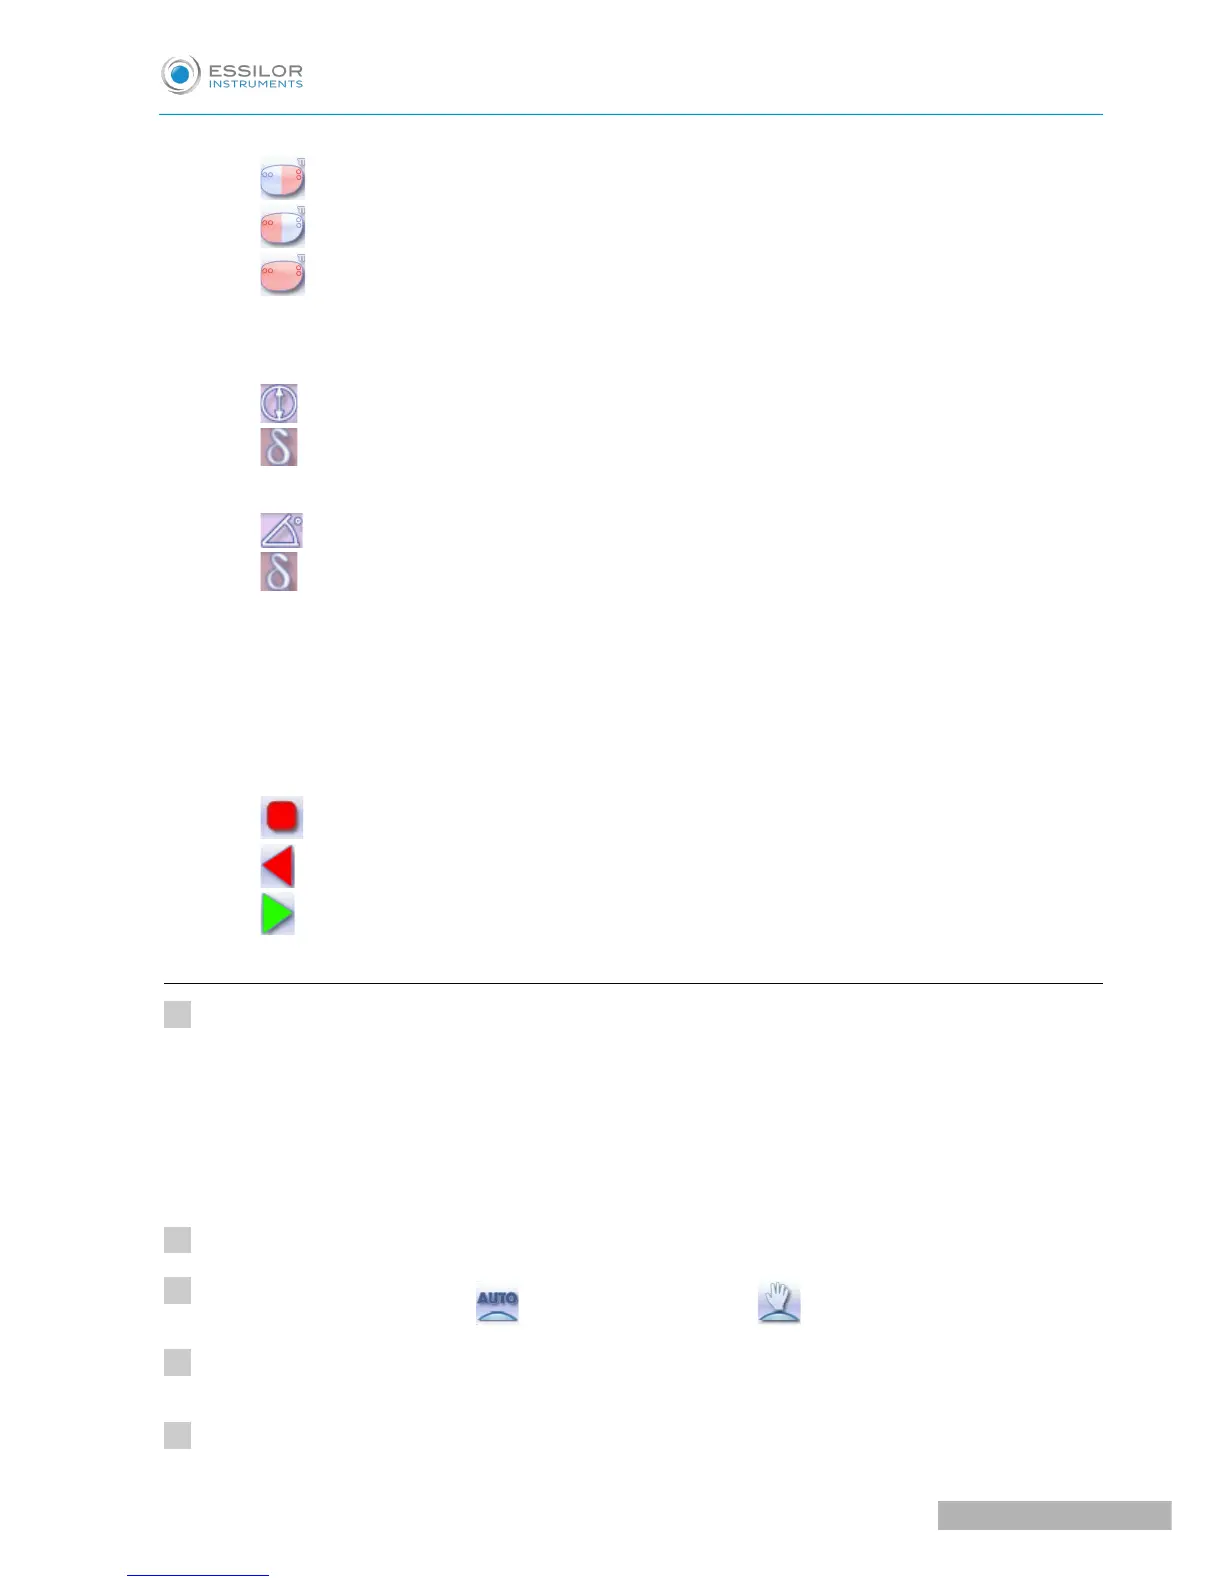
2. Select the drilling points
◦ Nasal side
◦ Temporal side
◦ All drilling points
3. Modify the selected value
4. Modify the diameter
◦ Diameter value (mm)
◦ Difference between the initial value and the modified value
5. Modify the drilling angle
◦ Drilling angle value (degrees)
◦ Difference between the initial value and the modified value
6. Cross-sectional view
Cross-sectional view of the lens after the feeling cycle, showing the angle of the drill bit at the selected
drilling point.
7. Reminder of size reduction/increase applied to lens diameter
8. Navigation
◦ Stop the cycle
◦ Return to the main edging screen without saving your changes
◦ Starting the cycle
c. Customized drilling
Call up the desired shape located on the tracer or on the job management program.
The shape is displayed on the edger work screen.
After the tracing of a shape with drilling settings:
• The drilling function is selected by default.
• The automatic mode is selected by default.
Select lens material.
Change the edging mode. Press to select customized mode .
Select the type of cycle.
Choose whether or not to polish and/or chamfer your lens.