8. Bevel tilt
9. Front surface tracking step bevel screen
10. Front surface tracking value
The value of front surface tracking must be between 0 mm and 1.3 mm. This value is definable only in
the “front surface tracking” screen.
11. Frame base
12. Lens base
13. Bevel Base_Range of values of the lens base necessary for the frame
If the lens base used is out of range: the range values are shown in red.
14. Reminder of size reduction/increase applied to lens diameter
15. Window showing the bevel trajectory on the lens section
Centre of the flat side of the bevel
Front surface/rear surface of lens
16. Number of shelf bevel values
Transition from 4 to 8 shelf bevel values.
Transition from 8 to 4 shelf bevel values.
Transition into free shelf-bevel creation mode (Half Jacket specific_option)
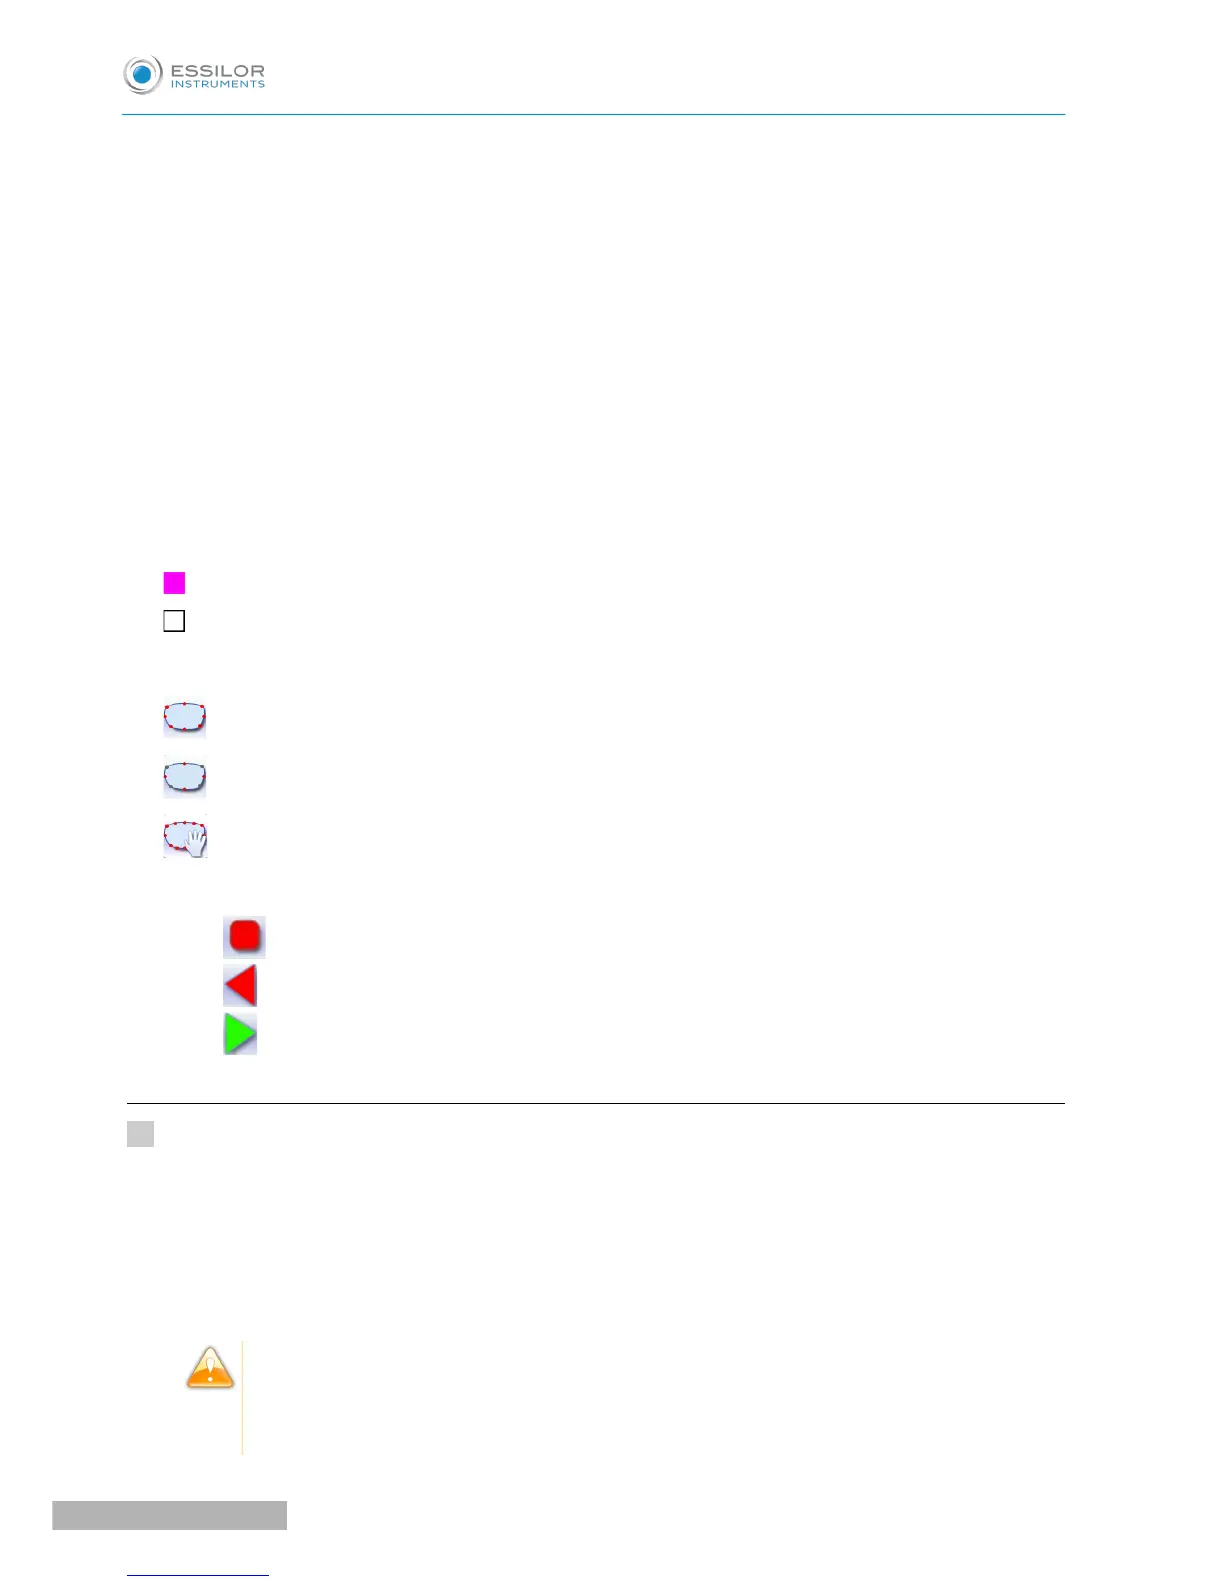
17. Navigation
◦ Stop the cycle
◦ Return to the main edging screen without saving your changes.
◦ Start the edging cycle
b. Perform a Step bevel
Call up the desired shape located on the tracer or on the job management program.
The shape is displayed on the edger work screen.
After the tracing of a high-base frame:
• The step finish is selected by default.
• The customized mode is selected by default.
In the step finish, you cannot polish your bevel. Nevertheless, the step wheel was designed to
create a finish that is equivalent to polycarbonate lenses.
You have the option of polishing the flat side of the bevel.