Press the “cycle start” button (front face) or .
The edging cycle starts.
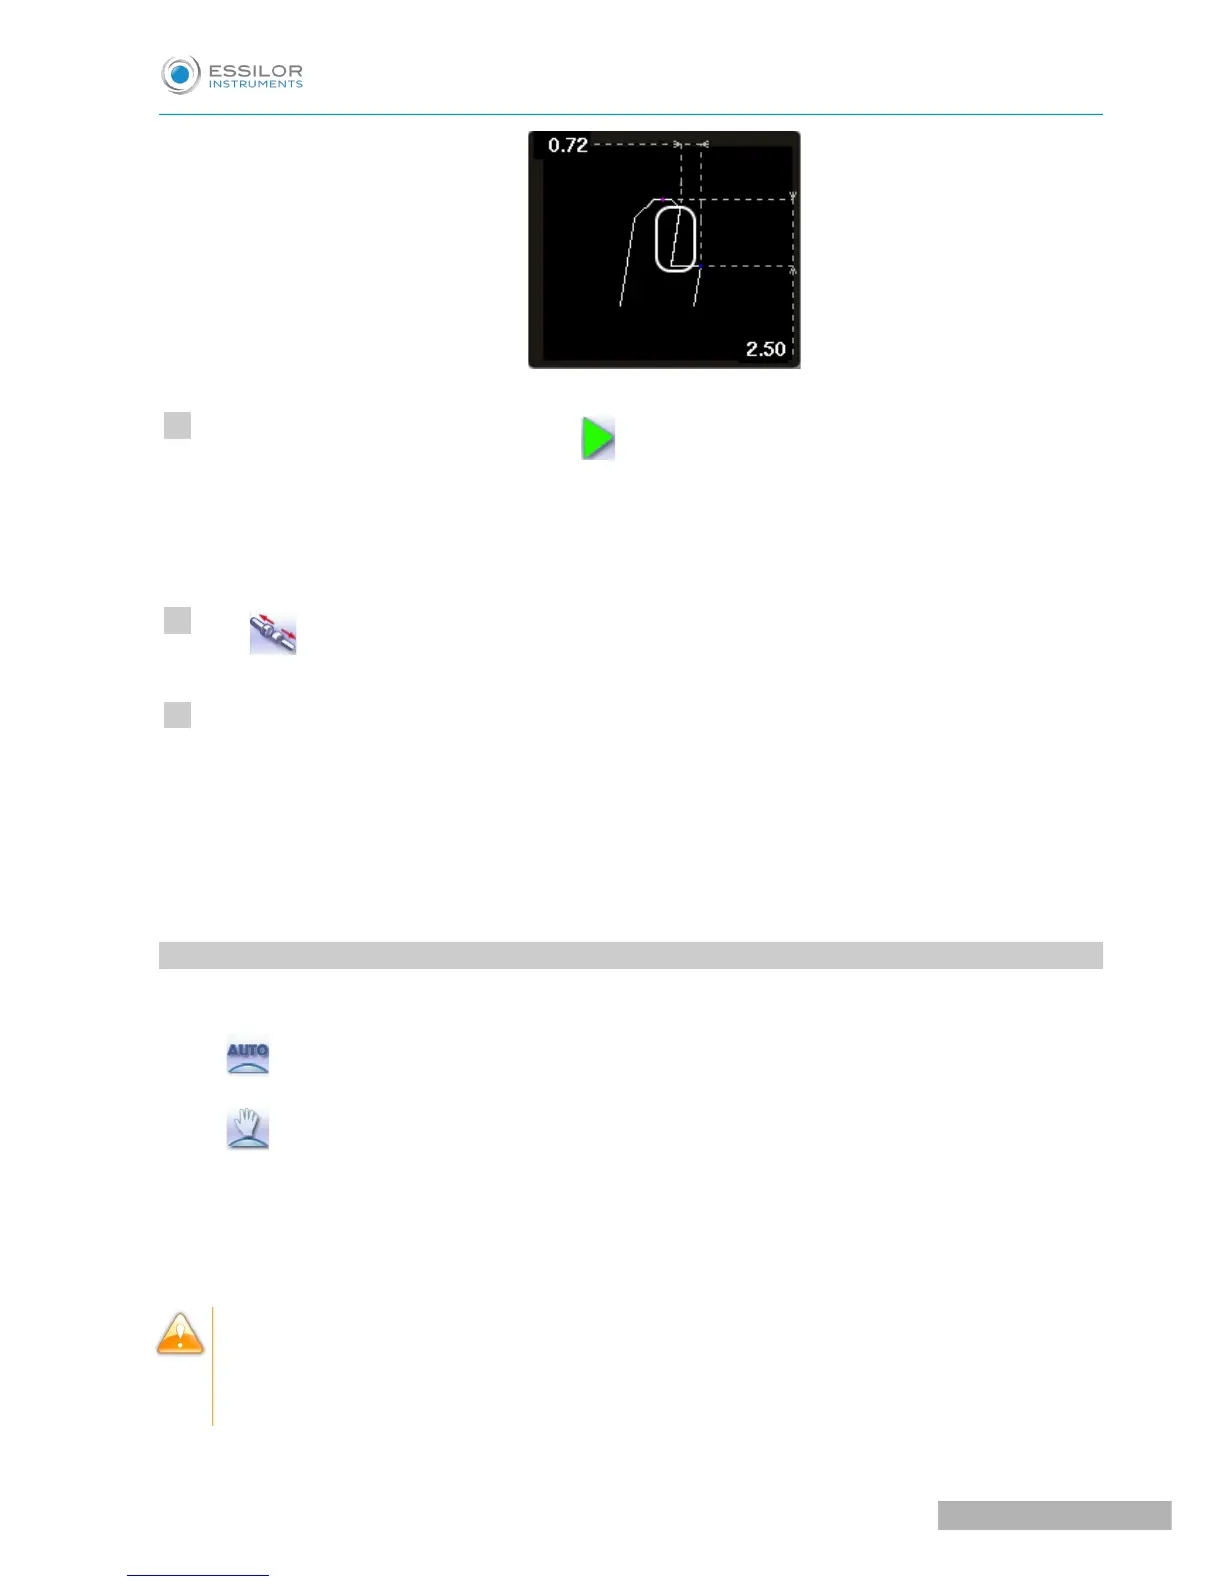
When the edging cycle is finished, the retouch screen is displayed.
Press to release the lens.
If necessary, retouch the lens.
Otherwise, start edging the second lens. Select the lens directly on the screen, on the left or right of the
work area.
The edging screen for the second lens is displayed. All finishes chosen and the modifications made
are kept.
5. GROOVING
This section describes the procedures for the creation of a groove:
• In automatic mode (F p.50), you do not have to configure anything. All the data is automatically
retrieved from the tracer. The lens edging starts automatically after the feeling cycle.
• In customized mode (F p.52), you can perform a front/rear surface tracking, a distributed groove
or a lens curve tracking. You can also do the following:
◦ a general modification of the groove curve (F p.54)
◦ a modification at a point of the groove curve (F p.55)
◦ a displacement of the groove curve (F p.56)
• You can consult the description of the customized groove screen.
In certain cases, the lens base or thickness makes grooving impossible.
> An error message is displayed.
> The white central line becomes red on the entire contour of the lens.