The area definition screen is displayed on a 1:1 scale. You can thus refer to a sample lens placed on
the screen.
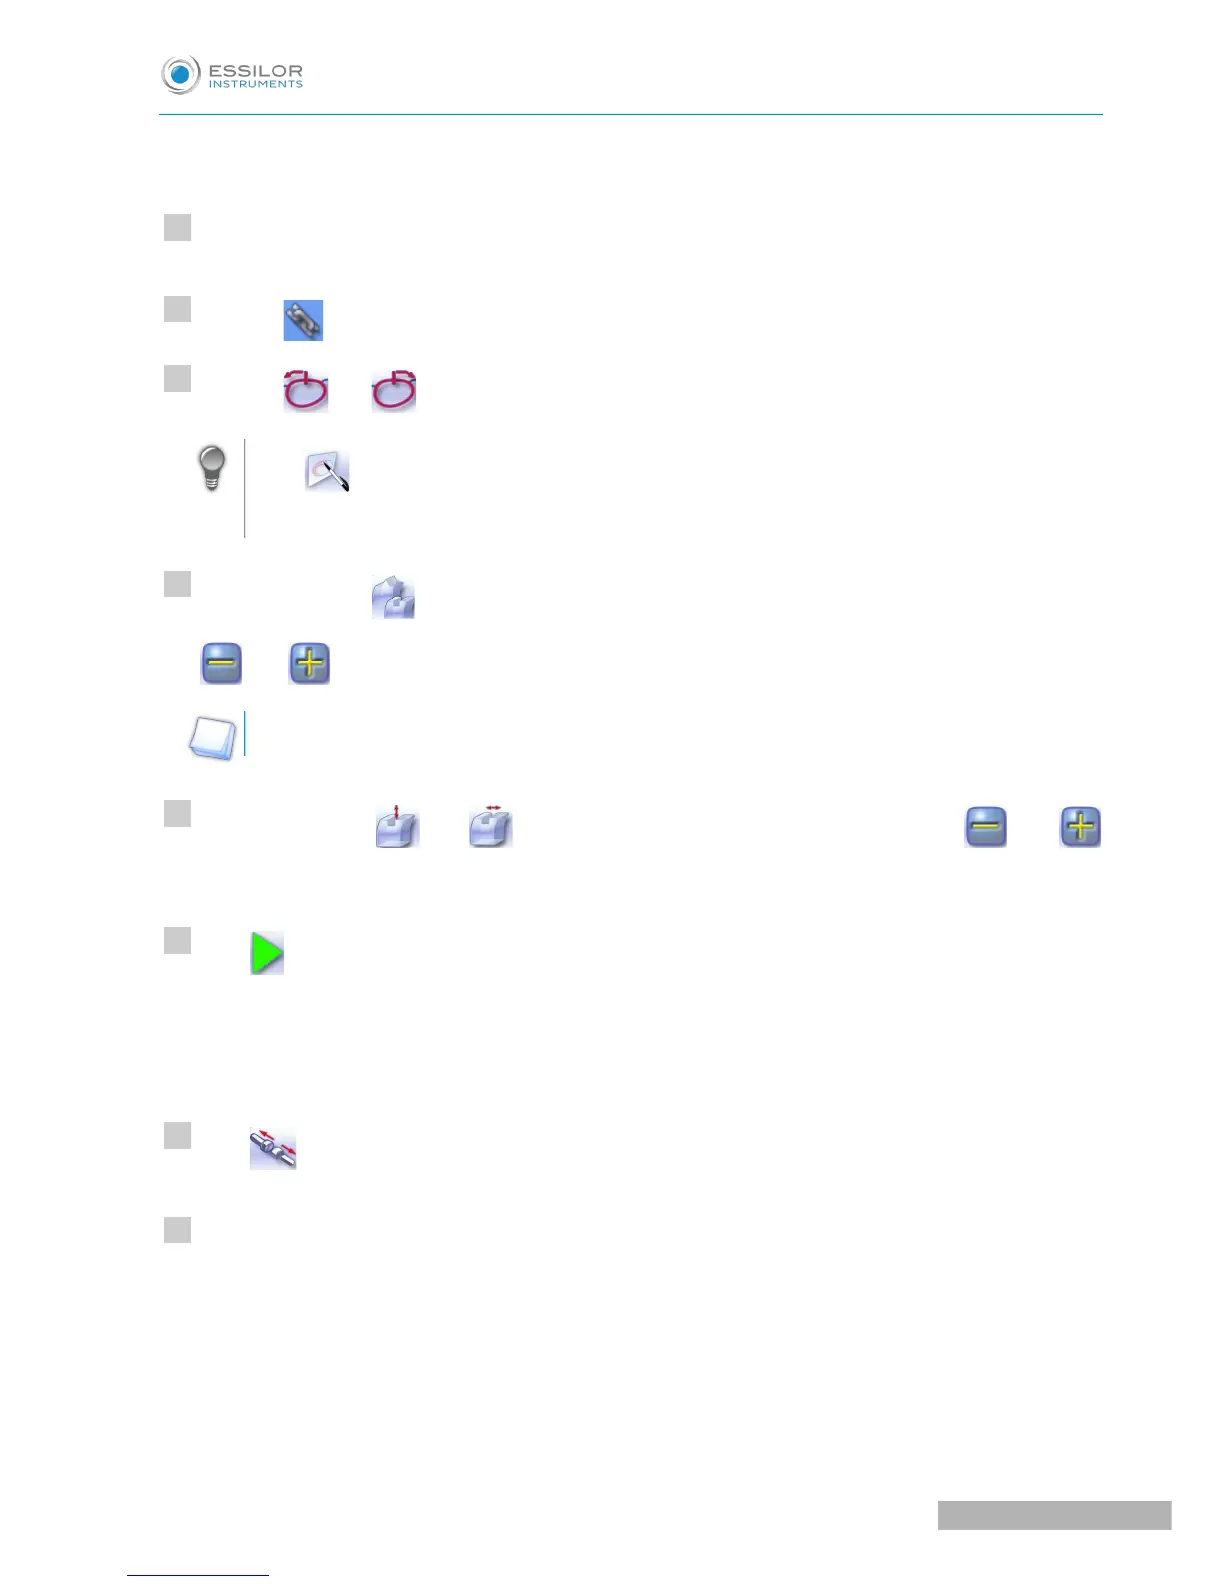
Select the finish you want in area 1, then area 2.
Press the button to unlock an area delimitation point.
Press the and buttons to move the unlocked point.
Press to move the delimitation points directly on the touch screen. The two points are then
unlocked. Drag them with the stylus.
If necessary, press to modify the position of the center of the groove or bevel using the buttons
and .
This value cannot be modified in automatic mode.
If necessary, press and to modify the groove depth and width using the and
buttons.
Press .
The edging cycle starts.
When the edging cycle is finished, the retouch screen is displayed.
Press to release the lens.
If necessary, retouch the lens.
Otherwise, start edging the second lens. Select the lens directly on the screen, on the left or right of the
work area.
The edging screen for the second lens is displayed. All finishes chosen and the modifications made
are kept.