Maintenance
90 FIP-500
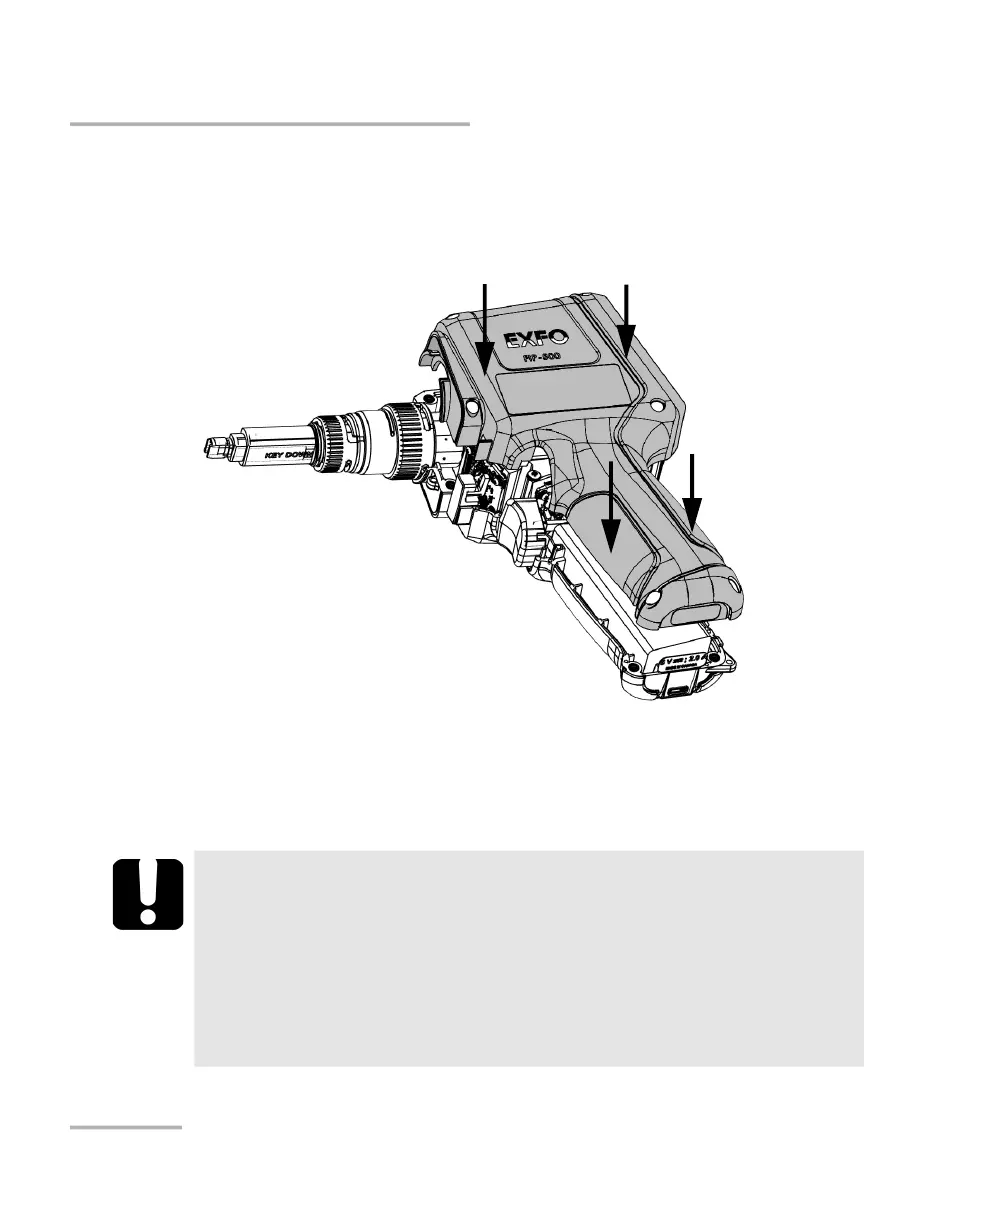
Replacing the Battery
11. Carefully place the side panel back on the unit, making sure that it is
aligned properly with the other side of the unit and that the trigger has
not moved. There should be no gap between both sides of the unit. If
necessary, slightly move the side panel until alignment is correct.
12. Using a 2.5 mm hex socket screwdriver, turn the screws (6) clockwise
until they are tightened.
This will secure the side panel into place.
IMPORTANT
If the battery LED turns to red when you turn on the unit,
simply connect the unit to a power outlet and let the new
battery charge for a few minutes.
It could take a few charge/discharge cycles before the battery
LED indicator and the on-screen battery status icon reflect the
actual power level of the new battery.