65
© Ferno s.r.l. Rel.05042024
XT Series Extrication Devices
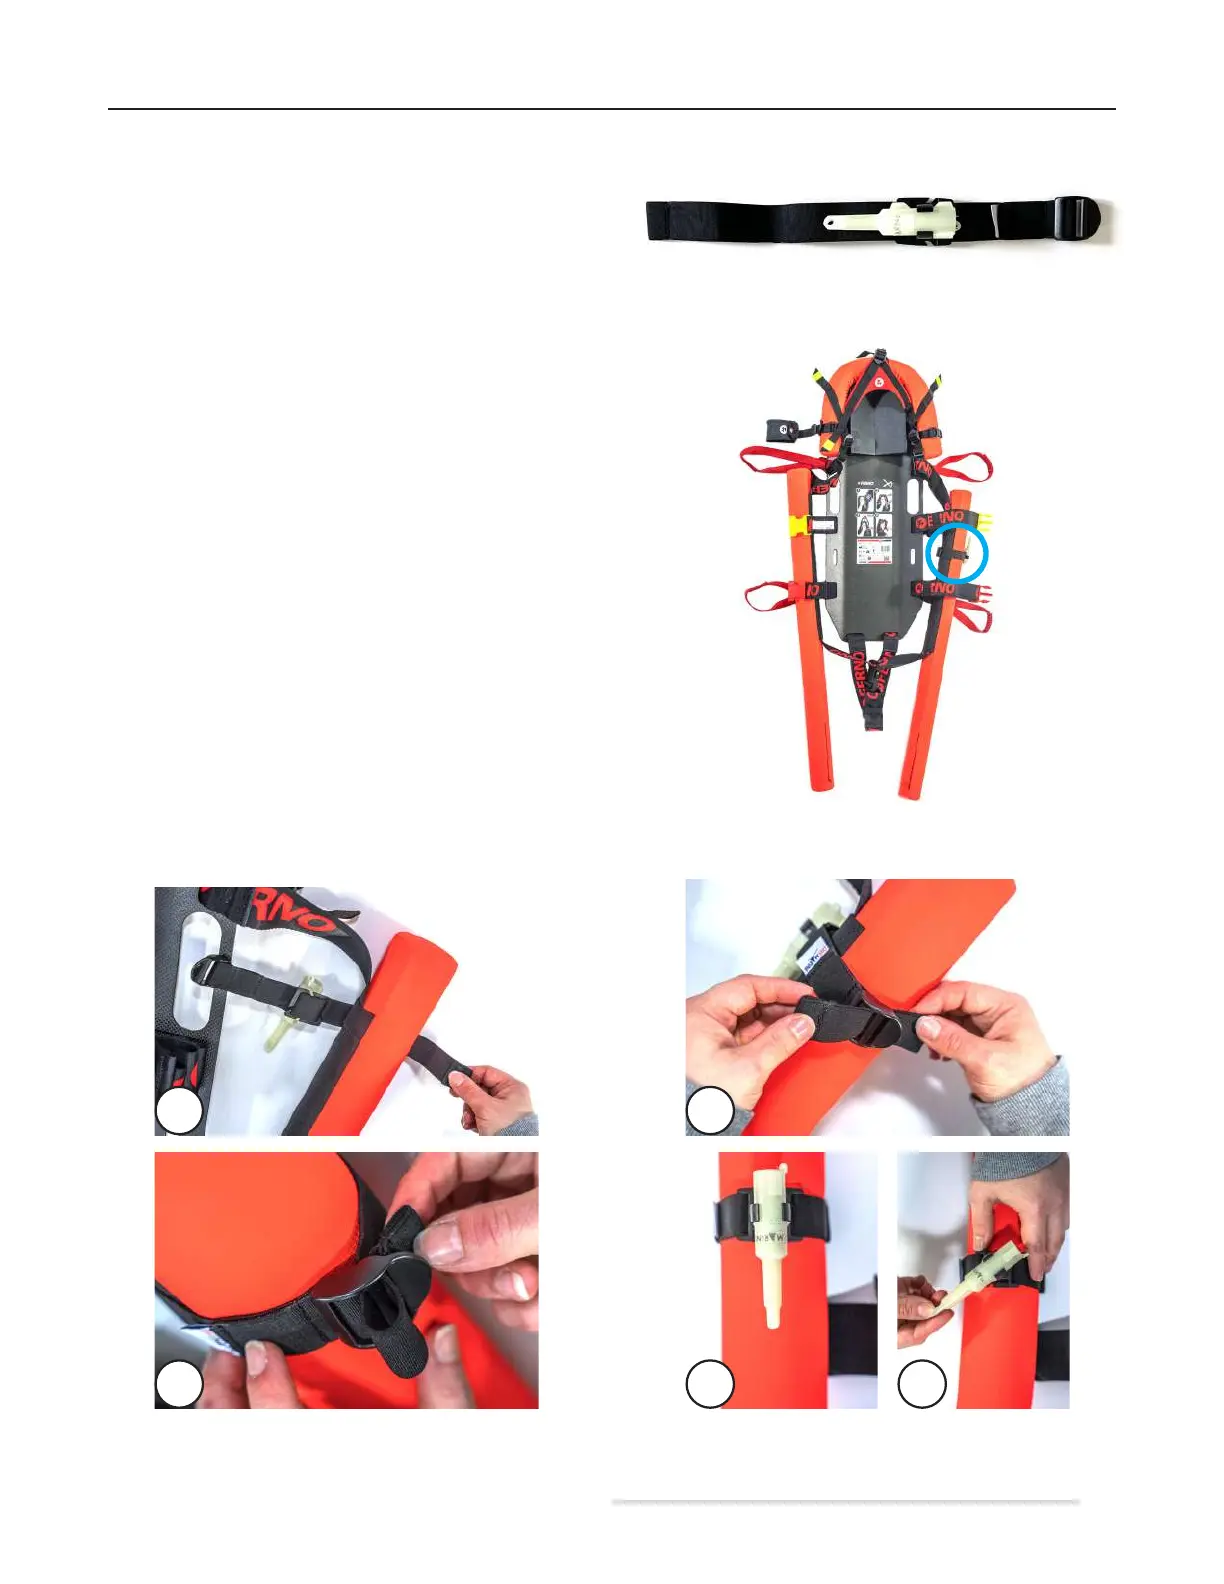
6.3.7 Signal light assembly
The signal light is supplied pre-assembled on the special
fastening strap, which can be installed either on the right or
left side of the XT Floating, attached to one of the two breast
oats or to one of the two sides of the head-end oat.
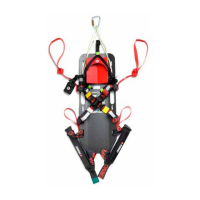
It is important to ensure that the light is mounted in a section
of the oat that does not allow it to slip out accidentally. For
this reason, we recommend positioning it at the sleeve into
which the longitudinal restraint passes (Figure 120).
In this way, the restraint itself will block the accidental
slipping of the signal light from either side.
To proceed with installation, follow the steps below:
- Place the strap around the oat so that the light remains on
the outside.
- Insert the elastic strap into the two loops of the buckle
(Figures 121B and 121C).
If applied correctly, the signal light will activate when it
comes into contact with water.
To facilitate switching on, the position of the light can be
changed by rotating the relevant holder (Figure 121D and
121E).
Figure 119 - Signal light
Figure 120 - Recommended signal light positioning
121A 121B
121D121C 121E
Figure 121 - Signal light application