A0U571B - KelNet Lock - User Guide 10. RECYCLING
55
10.3 Complete recycling of the Secure Unit
To completely recycle the Secure Unit, perform the following procedure:
1. Cut the power to the Secure Unit. If the USB cable is connected to the Input Unit, disconnect it.
2. Press the Secure Unit button: this wakes up the Secure Unit microprocessor and so discharges the power
supply's capacitors, otherwise the microprocessor remains active and there is no restart.
3. Reconnect the power supply: the Secure Unit green LED starts to flash (10 seconds, maximum).
4. While it is flashing, press the Secure Unit push-button 10 times: the LED will start to flash more rapidly,
before stopping and remaining illuminated.
5. Wait until the LED goes out.
After recycling, all the settings are reset to their "factory" values (default value): see section 9.
10.4 Recycling the Input Unit’s authentication keys
This procedure is for reverting to the factory authentication keys.
To recycle the Input Unit’s authentication keys, perform the following procedure:
1. Cut the power to the Input Unit. If the USB cable is connected to the Input Unit, disconnect it.
2. Dismount the Input Unit.
3. Wait 5 seconds.
4. Reconnect the power supply: The Input Unit’s red LED starts flashing (10 seconds, maximum).
5. While it is flashing, press the Secure Unit’s push-button twice: the LED will start to flash more rapidly.
6. Wait until it stops flashing.
7. Put the Input Unit back together so that the anti-tear switch is activated.
10.5 Complete recycling of the Input Unit
To completely recycle the Input Unit, perform the following procedure:
1. Cut the power to the Input Unit. If the USB cable is connected to the Input Unit, disconnect it.
2. Dismount the Input Unit.
3. Wait 5 seconds.
4. Reconnect the power supply: The Input Unit’s red LED starts flashing (10 seconds, maximum).
5. While it is flashing, press the anti-tear switch 10 times: the LED remains lit and stops flashing.
6. Wait until the LED goes out.
7. Put the Input Unit back together so that the anti-tear switch is activated.
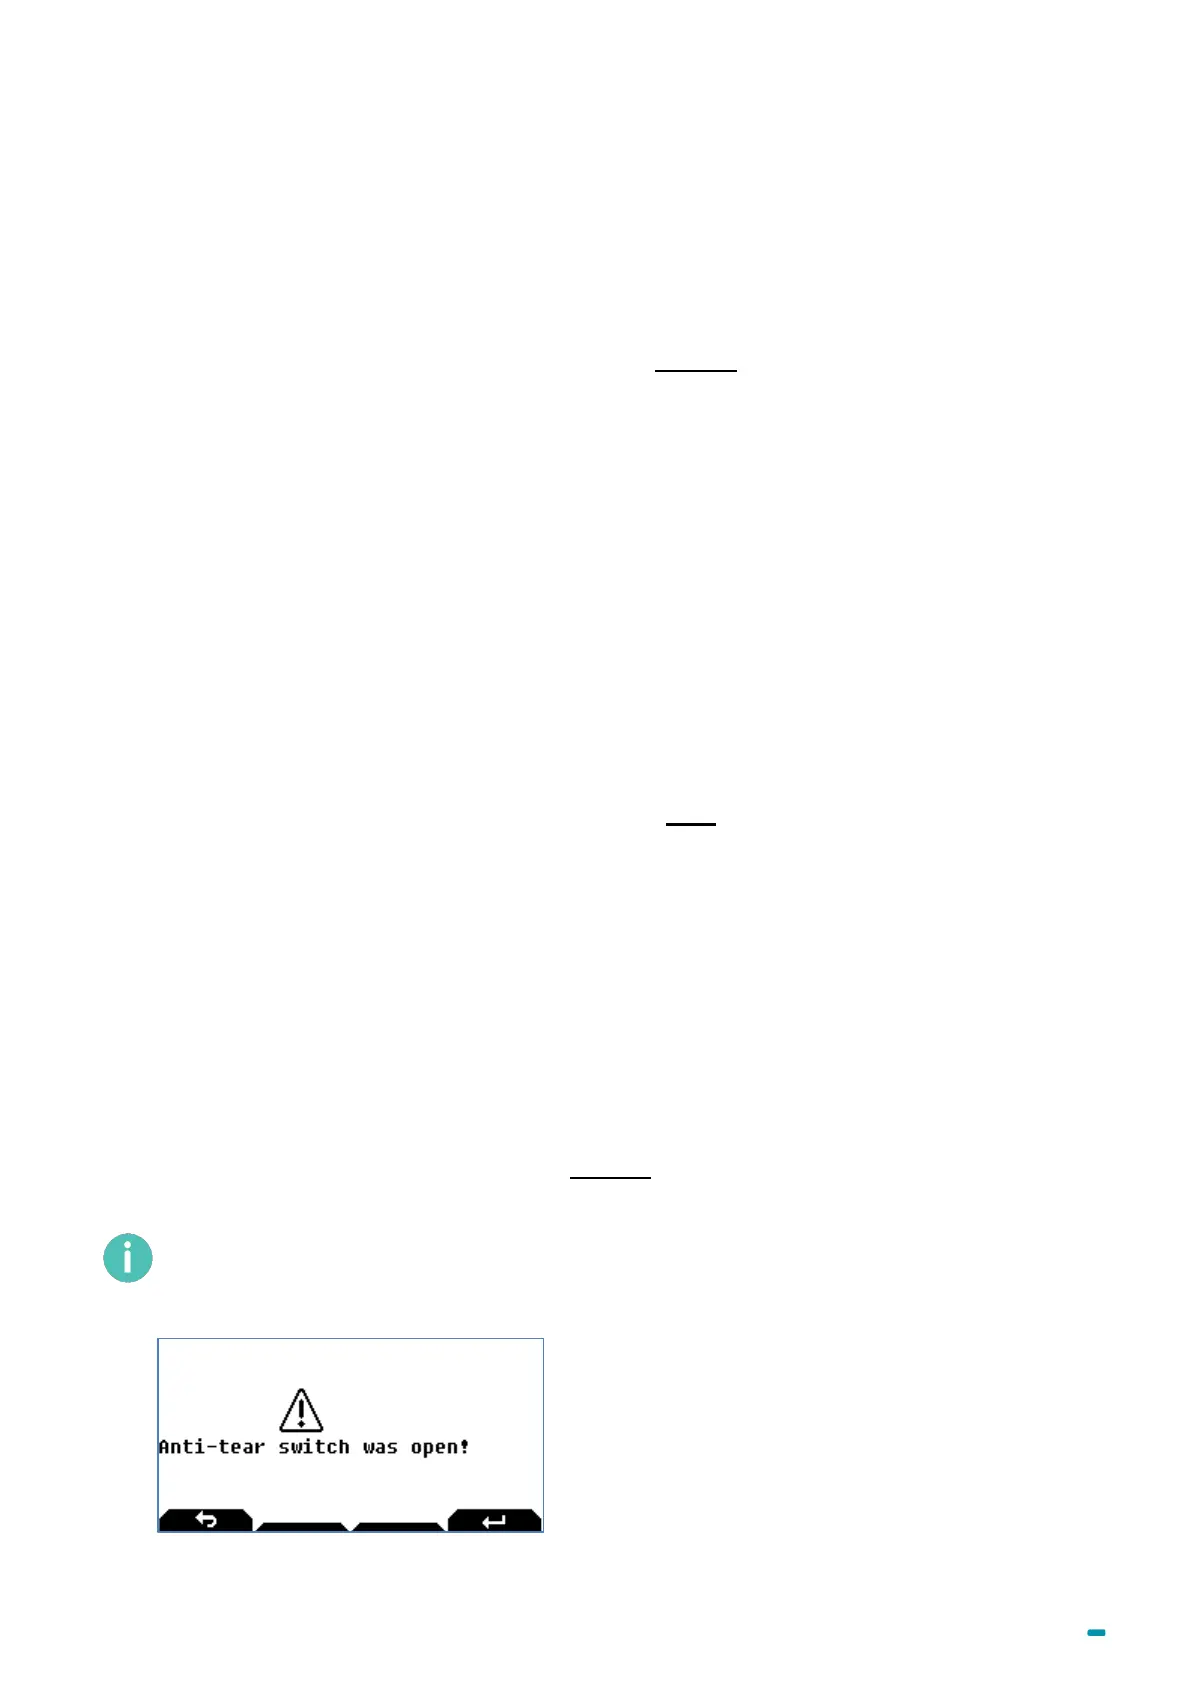
As long as the anti-tear switch is open, the "Anti-tear open" message is displayed and only access to
the Input Unit’s menu is authorised.
Otherwise, the following message is displayed:
This message is displayed until there is a valid identification, but it does not prevent the Input Unit from being
used.