Maintenance Instructions
16.1.15 Kapitel/Chapter 7: Maintenance Instructions - Seite/Page 131
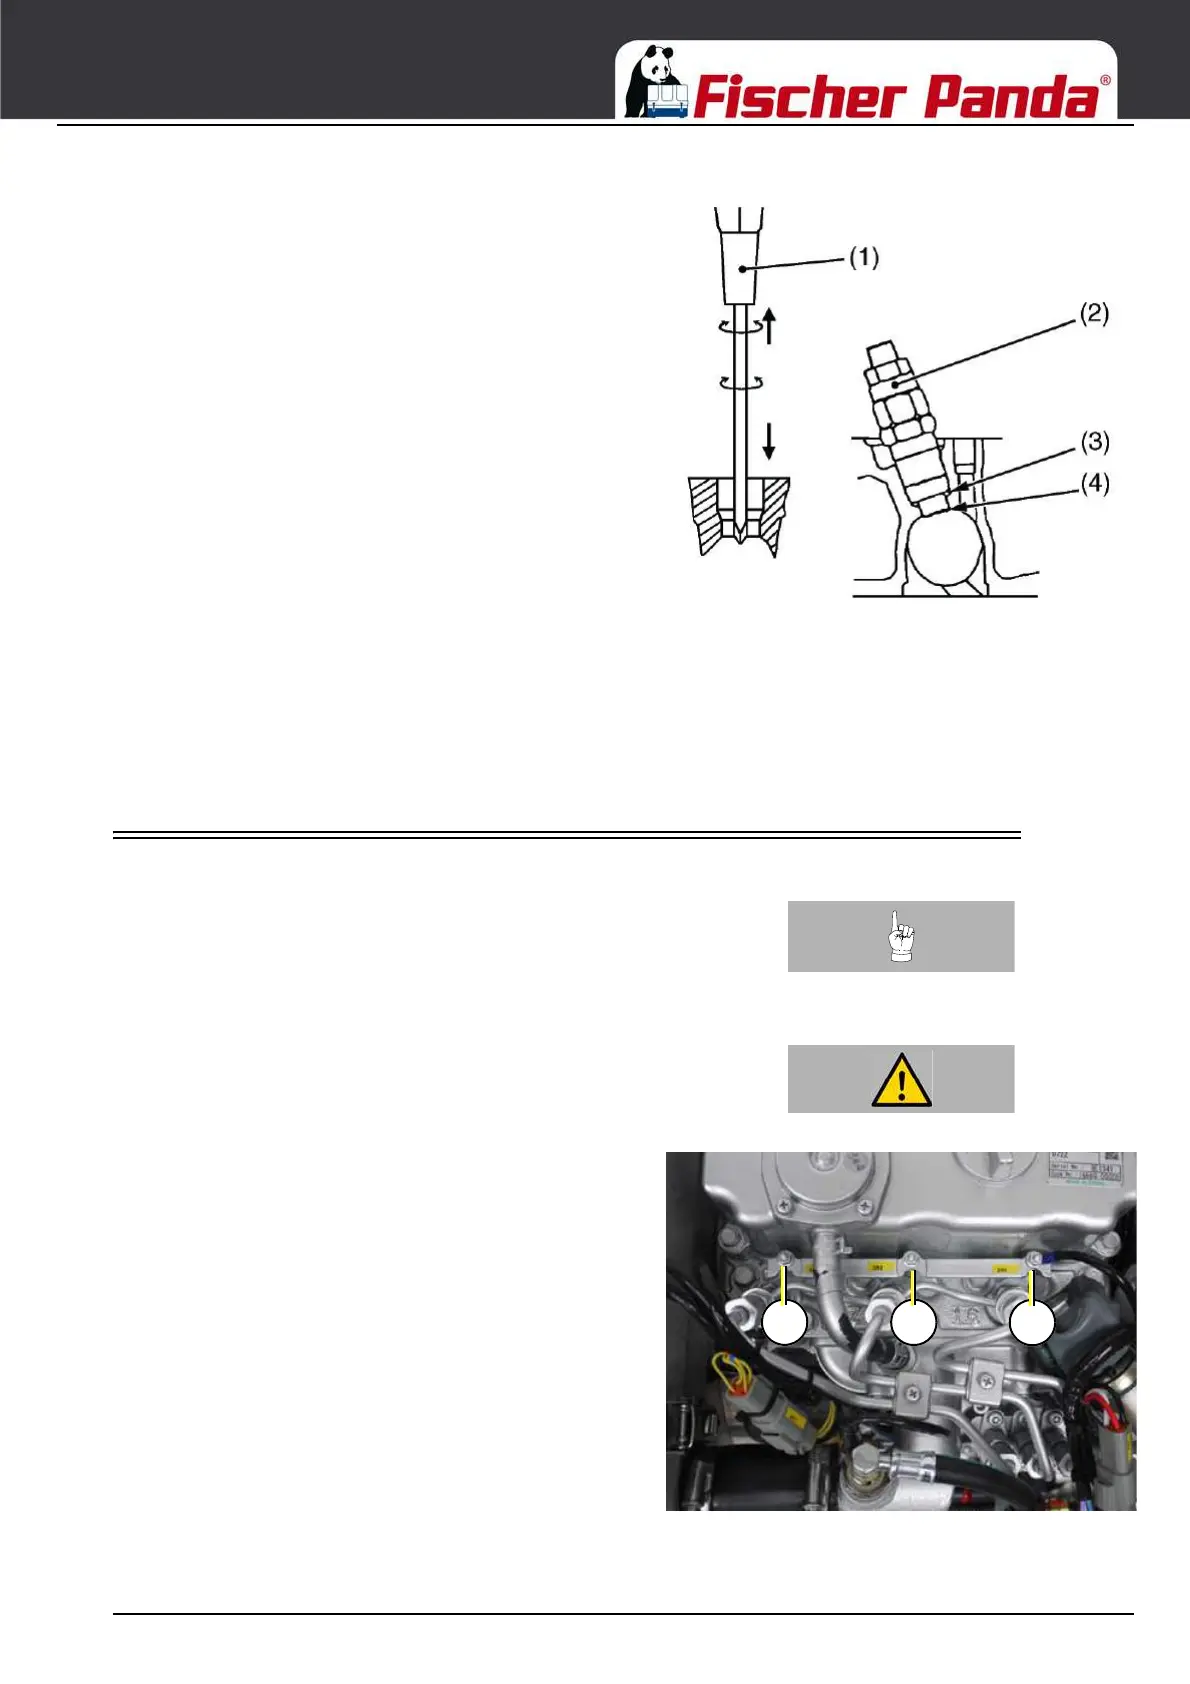
Fig. 7.13-5: Injection nozzlesRemoving the nozzle heat shield ring seal within the
scope of the maintenance work.
IMPORTANT!
• Use a phillips screwdriver (1) with a diameter greater than
the hole in the heat ring seal (approx. 6 mm (1/4 in)).
1. Lightly turn the screwdriver (1) into the hole in the heat
ring seal.
2. Rotate the screwdriver three to four times in each
direction.
3. When rotating the screwdriver, slowly extract the heat ring
seal (4) together with the injection nozzle gasket (3).
4. If the heat ring seal drops back in, repeat the procedure
above.
For assembly:
• If the injection nozzle is uninstalled for cleaning or
maintenance purposes, the heat seal ring and the injection
nozzle gasket must be replaced.
(1) Phillips screwdriver(2) Injection nozzle
(3) Injection nozzle gasket (4) Heat ring seal
7.14 Replacing the Glow Plugs
NOTE:Representative procedureThe described procedure is representative for Fischer Panda
generators. The original location of the item must be taken
from the generator description of this manual. All
replacements and repairs should be done by a trained
person.
ATTENTION!Ensure that the generator cannot be started up
accidentally. Remove battery main switch.
Fig. 7.14-1: Glow plugs1. Open the capsule.
01. Glow plugs



 To Next Page