Assembly
5.2 Mounting the coupling
36 Edition 09/2022 M4602-02en
NOTICE
Damage to property
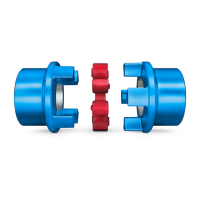
Damage to the elastomer components from cleaning agents.
• Ensure that the elastomer components do not come into contact with cleaning agents.
NOTICE
Damage to property
Damage to the shaft end, the coupling parts and/or the parallel key.
• Note the handling instructions regarding assembly of the coupling parts.
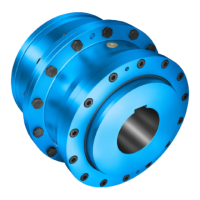
Couplings of type FN are supplied with the hub carrier part (120) attached.
Observe the following instructions:
1. Drain the operating fluid and collect the operating fluid for application later.
2. Remove the screws (139).
3. Remove the hub carrier part (120) from the main coupling.
4. Remove the O-rings (117, 138).
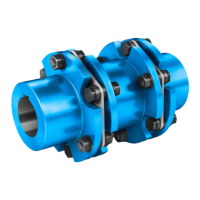
5.2.1 Mounting the coupling hubs5.2 Mounting the coupling
1. Unscrew the set screw out of coupling parts 1 (1), 11 (11), 32 (32) or 120 (120) until a
collision with the parallel key or the shaft is no longer possible.
2. Clean the bores and the flange surfaces.
3. Coat the bores of coupling parts 1 (1), 11 (11), 32 (32) or 120 (120) and the shaft ends
with MoS
2
assembly paste (e.g. Microgleit LP 405).
4. Mount coupling parts 1 (1), 11 (11), 32 (32) or 120 (120) on the shaft. The coupling part
is to be installed with the entire bore length until it comes into contact with the shaft
shoulder.
WARNING
Danger due to bursting of the coupling
If you do not observe the information stipulated here when assembling coupling parts with
a tapered bore, then this can cause the coupling to burst in operation. There is a risk of
fatal injury from flying fragments. If a coupling bursts in an area at risk of explosion, then
this can result in an explosion.
• Mount coupling parts 1 (1), 11 (11), 32 (32) or 120 (120) with tapered bore and parallel
keyway onto the shaft in cold condition. Secure the coupling parts with suitable end
plates without pulling the coupling parts further onto the cone (fitting dimension=0).