Maintenance
8.6 Dismantling the FLUDEX coupling
M4602-02en Edition 09/2022 61
6. Check the hub bore and the shaft for damage and protect them against corrosion.
7. Replace damaged parts.
When reinstalling the coupling parts, please observe the information in Chapters Assembly
(Page27) and Maintenance intervals (Page55).
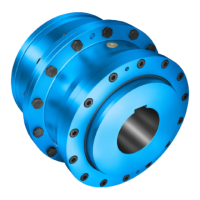
8.6 Dismantling the FLUDEX coupling8.6 Dismantling the FLUDEX coupling
Information
We recommend having the FLUDEX coupling dismantled by Flender.
Before dismantling, mark the position of the housing parts on the flange in relation to each
other.
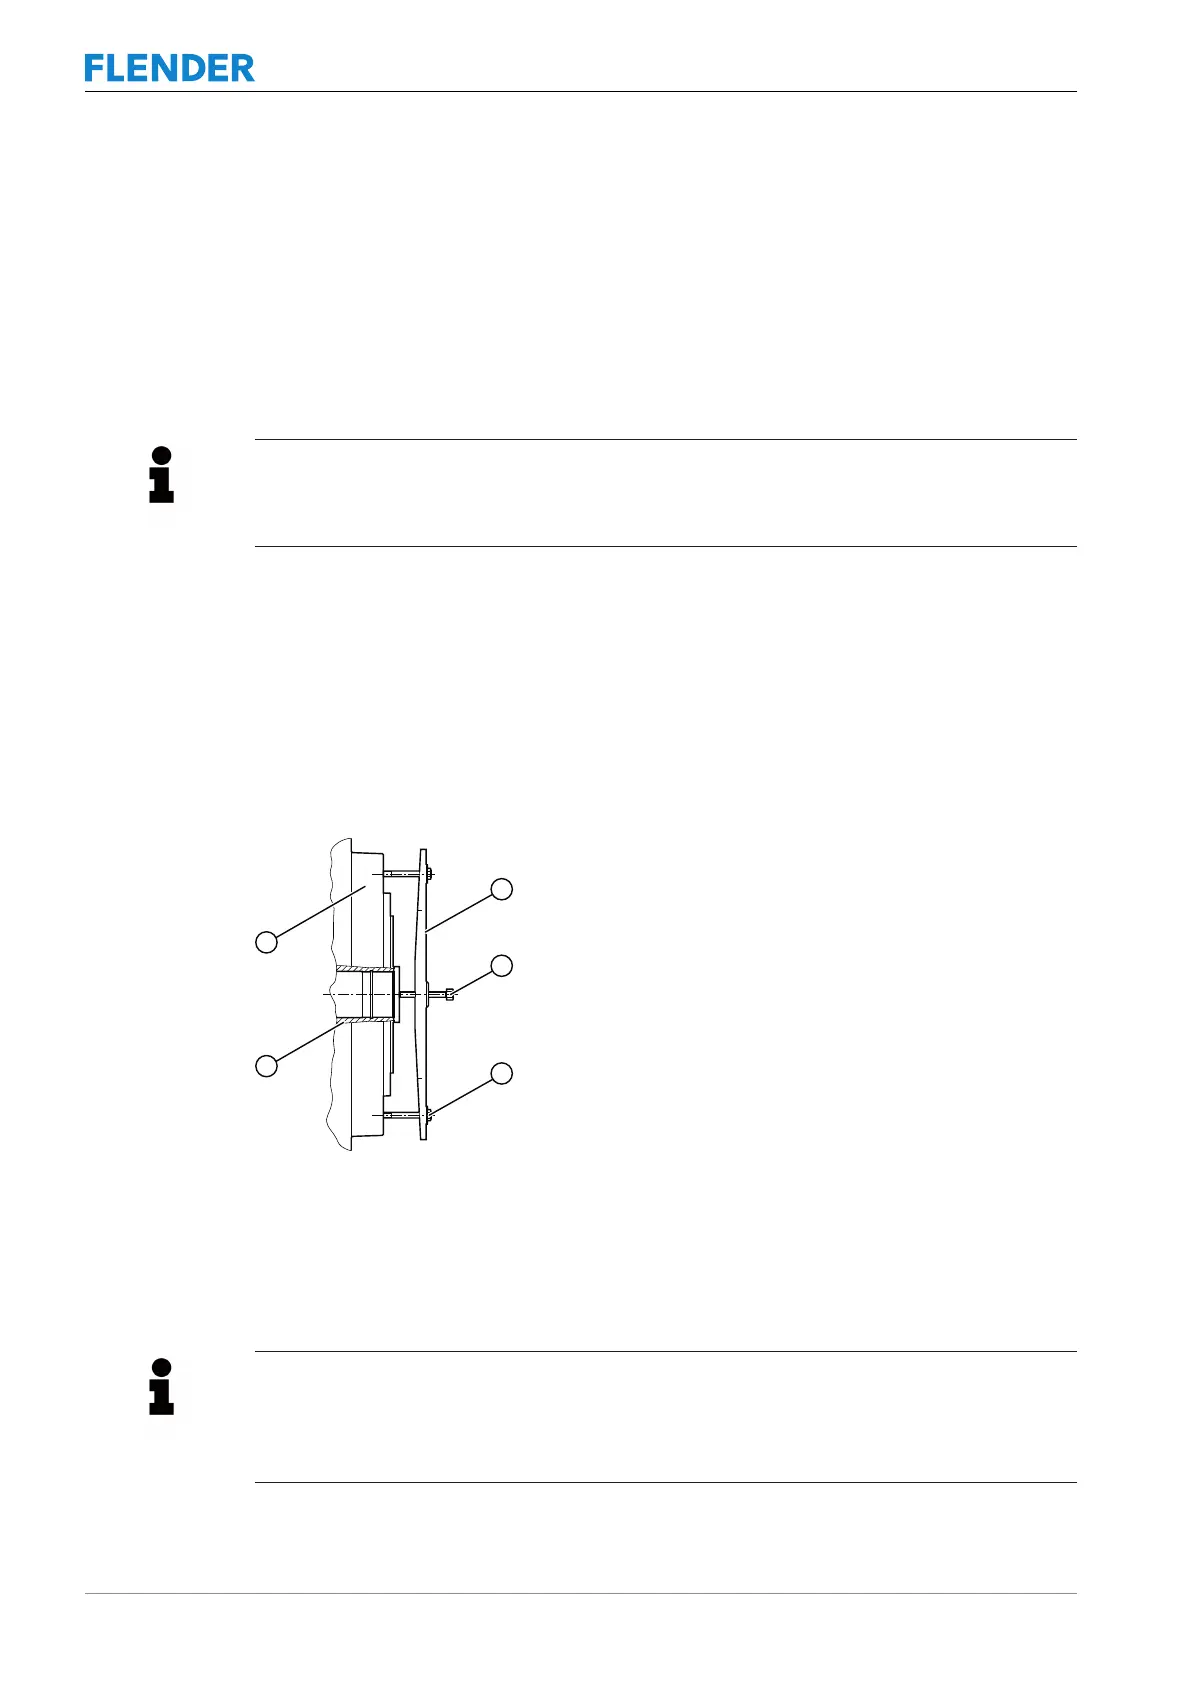
1. The housing parts of the main coupling, shell (101) and cover (102) are connected at the
outer flange by bolts (130) and nuts (131). Remove the bolts (130) and nuts (131).
2. To pull off the shell (101) and cover (102), attach a pressure spindle with bridge and
drawing bolts.
The compressive force acts on the front of the shaft. Insert the drawing bolts into the
flange threads of the shell (101) or cover (102).
After removing the shell and cover, the internal parts (rolling-contact bearing, shaft seal-
ing rings, etc.) are accessible.
Figure8-2: Dismantling the FLUDEX coupling
① Shell (101)
② Bridge
③ Pressure spindle
④ Drawing bolts
⑤ Shaft
Information
Replace the sealing elements each time you dismantle the coupling.
Check the rolling-contact bearings. If they are in good condition, you can use the rolling-
contact bearings again.