Maintenance
8.7 Reassembling the FLUDEX coupling
62 Edition 09/2022 M4602-02en
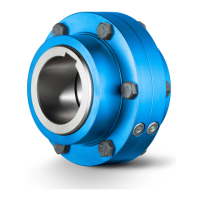
8.7 Reassembling the FLUDEX coupling8.7 Reassembling the FLUDEX coupling
Reassembly is carried out in the reverse order of dismantling. Observe the marking on the
parts.
1. Before reassembly, clean all components from old grease residues.
2. Lightly grease the O-ring (114) to make the assembly easier.
3. Fit the shaft sealing rings (111; 132) with a grease filling between the dust lip and the
sealing lip.
4. For the version with the additional Fey seal (plates), fill the space between the shaft
sealing ring and the plates as well as the slat receiving flute in the shaft with grease.
5. After removing the old thread and cleaning the sealing surfaces, apply a new thread to
the flange points that were sealed with a sealing thread.
Place the sealing thread in a circle on the intended place of the sealing surface, whereby
the thread ends must cross. The sealing surface must be undamaged and may be lightly
greased to better position the sealing thread.
For tightening torques for the bolt connections, see Chapter Tightening torques and widths
A/F (Page80).
For reassembly, follow the instructions in Chapters Assembly (Page27) and Commissioning
(Page47).